How to Sew a Patchwork Sleep Mask — Free Sewing Pattern
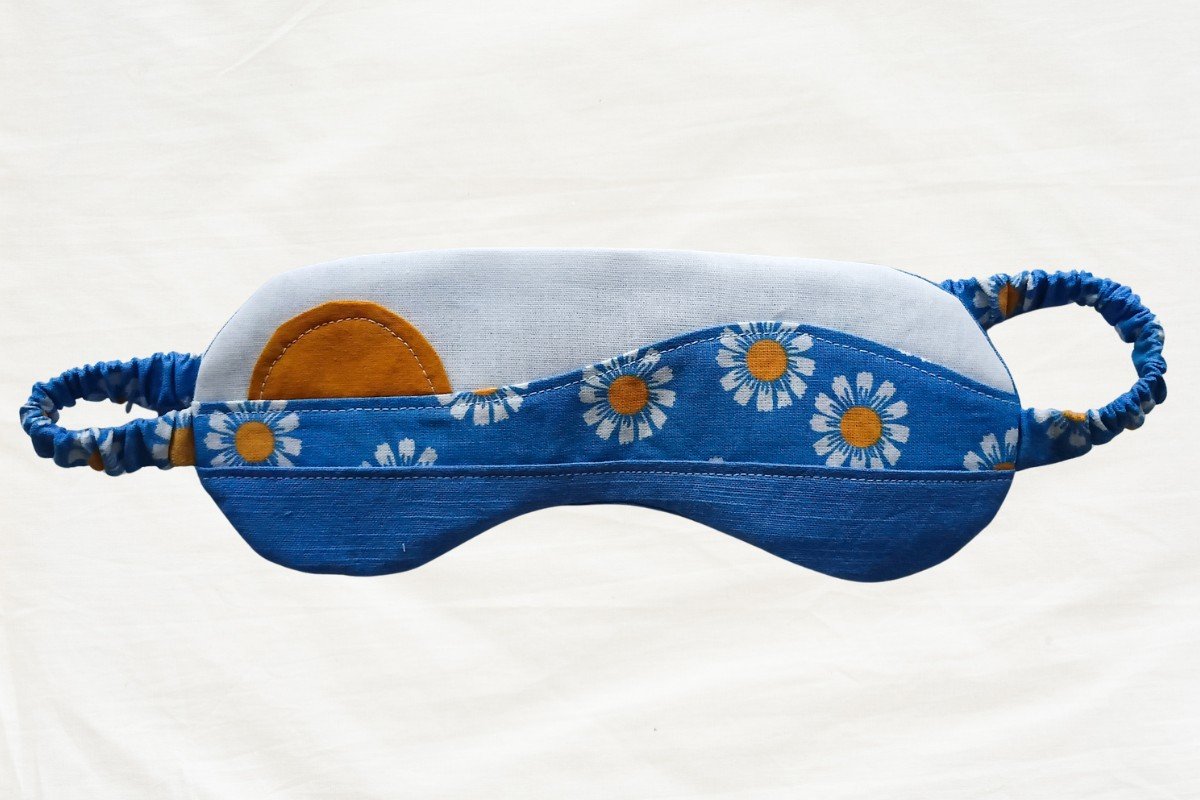
If you’ve already made a basic sleep mask and you’re ready for something a little more interesting to sew, this patchwork sleep mask tutorial is just the thing for you. I designed this mask to mimic a sunrise or sunset. It uses three main fabric pieces to make up a colour-blocked mask front and a fabric covered elastic for the strap. It’s a fantastic scrap buster as you only need those fabric remains you’ve been collecting.
So let’s get started sewing our patchwork sleep mask. The free PDF pattern is available in the tutorial below.
Ps:I also have a basic DIY sleep mask tutorial with a free pattern and a separate post on how to sew a sleep mask with an adjustable strap if you’d like to sew a different type of sleep mask.
What You’ll Need
Here’s what you will need
- Fabric scraps
- Batting — at least 30 × 15 cm (11¾ × 6 in)
- Firm elastic — 45 cm (17¾ in) long, 1–2 cm (⅜–¾ in) wide
- Matching thread
- Safety pin or bodkin
- Fabric marker or chalk
Download the Free Pattern
The Sunset Sleep Mask pattern is available as a free download below. You may NOT sell or distribute it in any way. Please refer people to this blog post if you want to share it.
Printing instructions
- Select your paper size (A4 or US Letter) in your printer settings before printing.
- Set the print scale to Actual Size or 100%. Do not select Fit to Page.
- Print the first page only and check the test square: the larger box should measure 1 inch and the smaller box 2 cm.
- If both measure correctly, print the remaining pages.
Cutting Your Fabric
Cut the following pieces and transfer all notches from the pattern.
- Piece A — cut 1 in your first patchwork fabric
- Piece B — cut 1 in your second patchwork fabric
- Piece C — cut 1 in your third patchwork fabric
- Sun detail — cut 2 in your chosen fabric
- Batting — cut 1 using the backing pattern piece
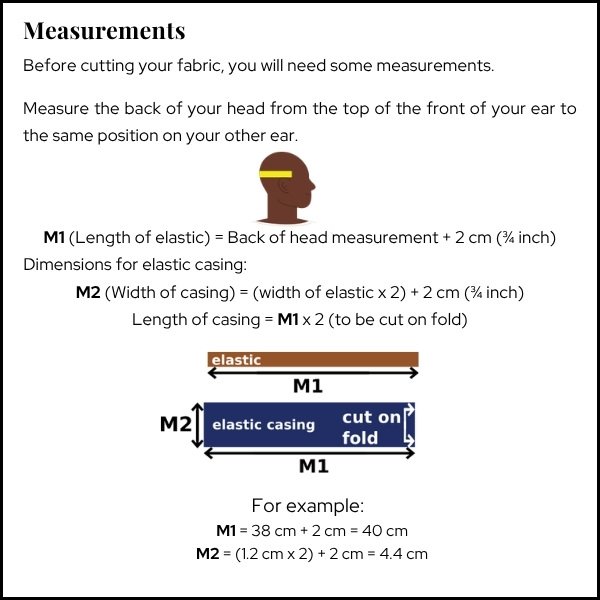
- Follow the graphic below for the elastic length and fabric for the casing
How to Sew the Patchwork Sleep Mask
Step 1: Sewing the elastic strap
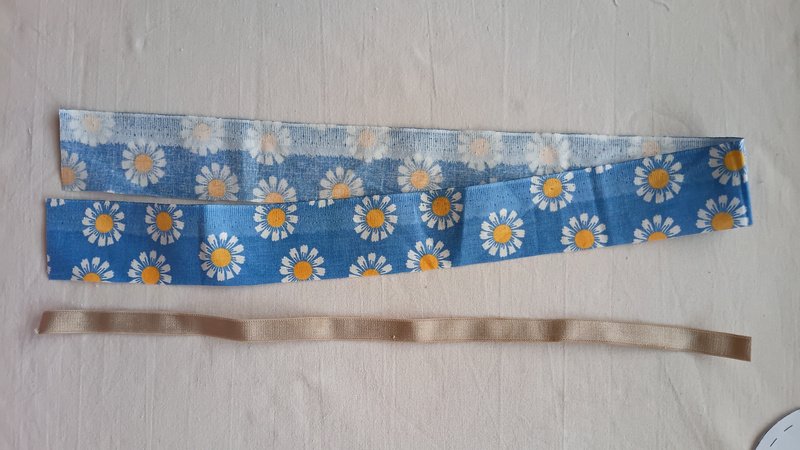
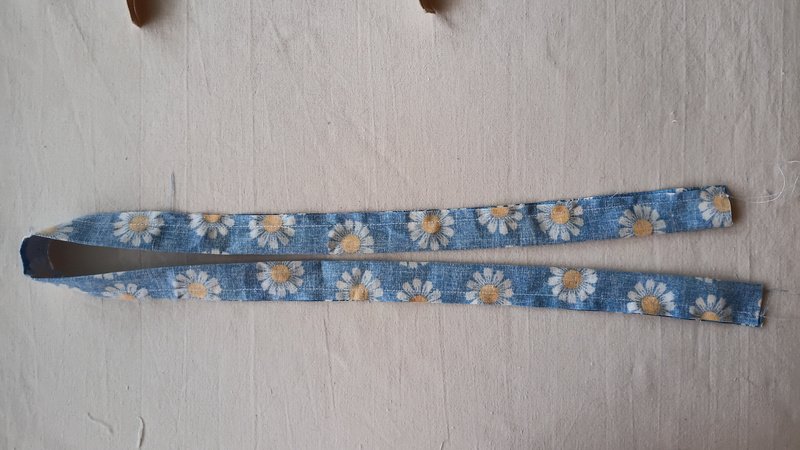
Fold the casing fabric in half lengthwise, right sides together, and press. Sew along the long raw edge at 0.6 cm or ¼ in seam allowance, then trim the seam allowance down to 0.3 cm or ⅛ in.
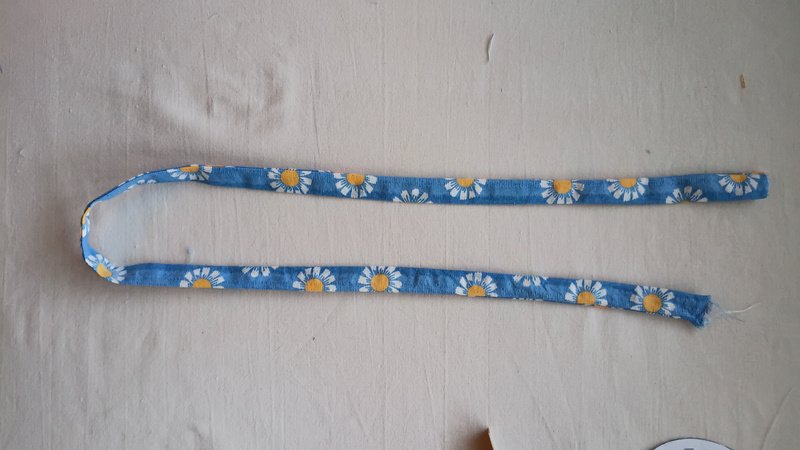
Turn the casing right side out. Using a safety pin or a bodkin, feed the elastic through the casing. Once through, pin the elastic to the casing at both ends to hold it in place.
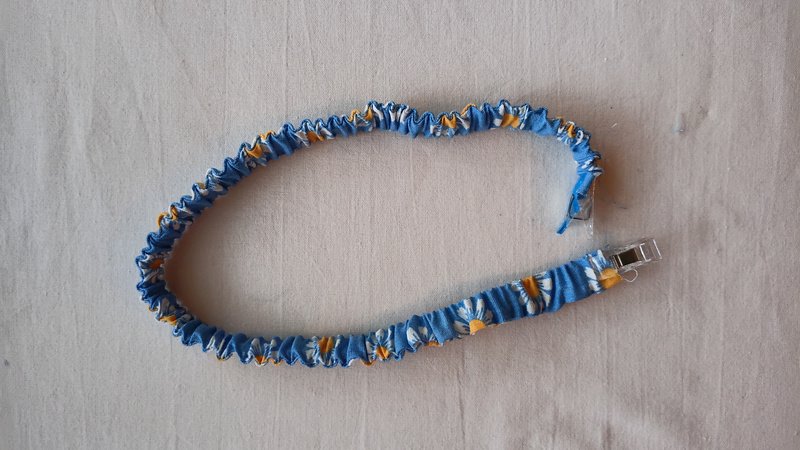
Sew across both short ends of the casing to secure the elastic. Take care to actually catch the elastic. Pull both ends of the elastic so that the fabric of the casing gathers more or less evenly. Now set your strap aside.
Step 2: Sewing the patchwork front of the mask
Sewing the sun detail
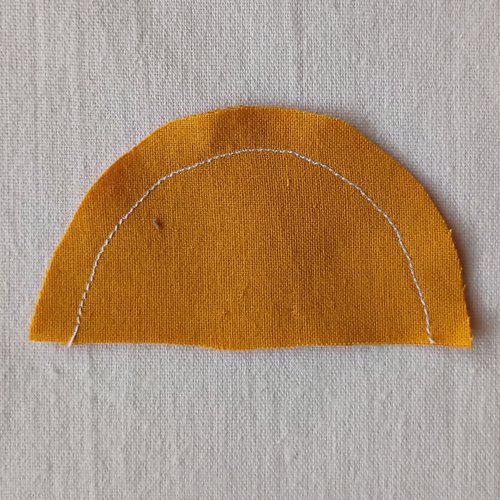
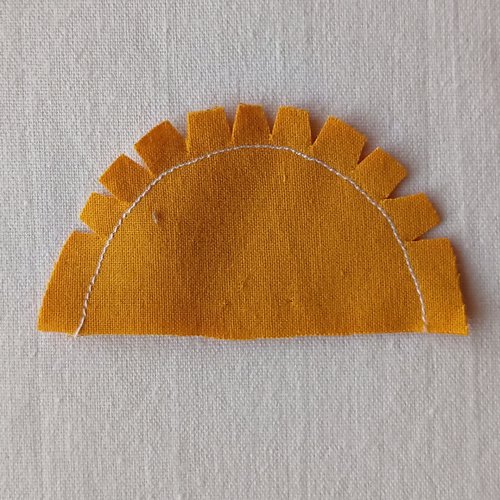
Place the two sun pieces right sides together. Using a stitch length of 1.8-2 mm, sew around the curved edge at a 0.6 cm or ¼ in seam allowance and leave the straight bottom edge open.
Clip tiny wedges out of the seam allowance around the curve, then turn the piece right side out and press.
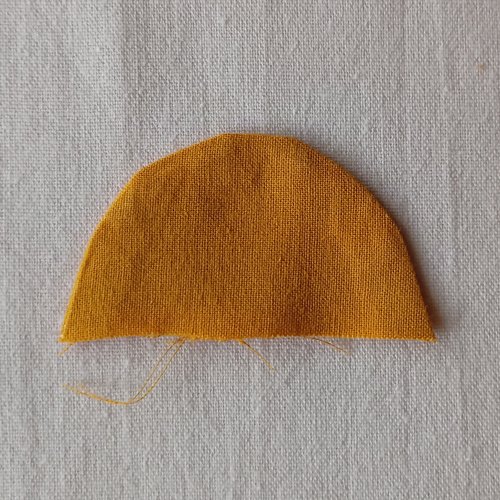
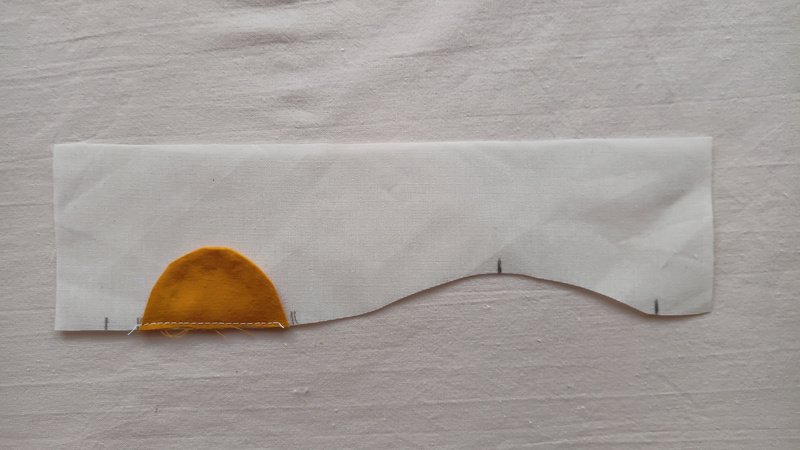
Place the sun detail on piece A between the notches provided and baste it to A close to the bottom edge.
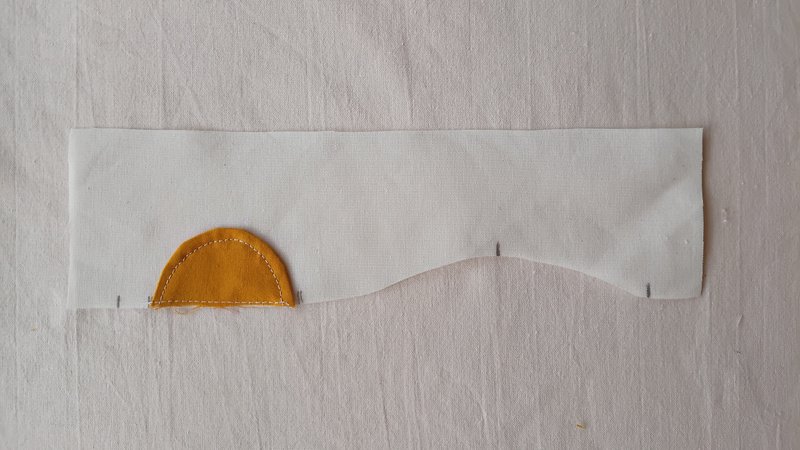
Now topstitch the sun onto piece A by sewing around the curved edge of the sun, approximately 0.3 cm or ⅛ in from the edge.
Join pieces A and B
Match the notches on pieces A and B and pin right sides together. Take your time to ease the fabric pieces as you pin since their edges are curved. Sew at a 0.6 cm or ¼ in seam allowance.
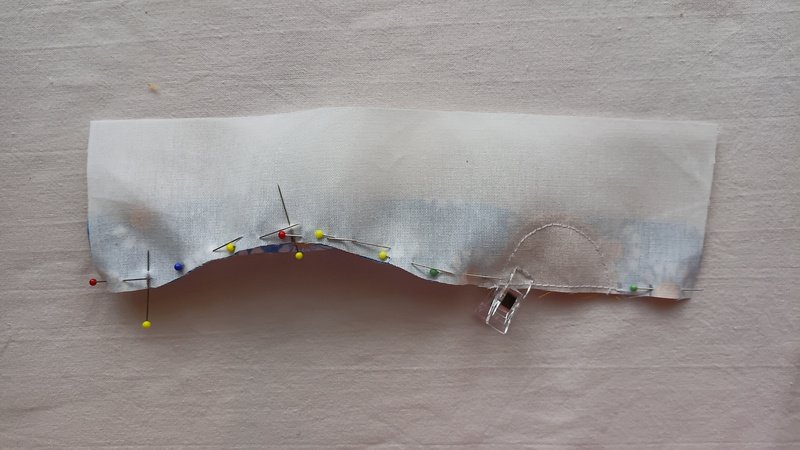
Make little snips int he seam allowance at the curves and press the seam allowance downwards.
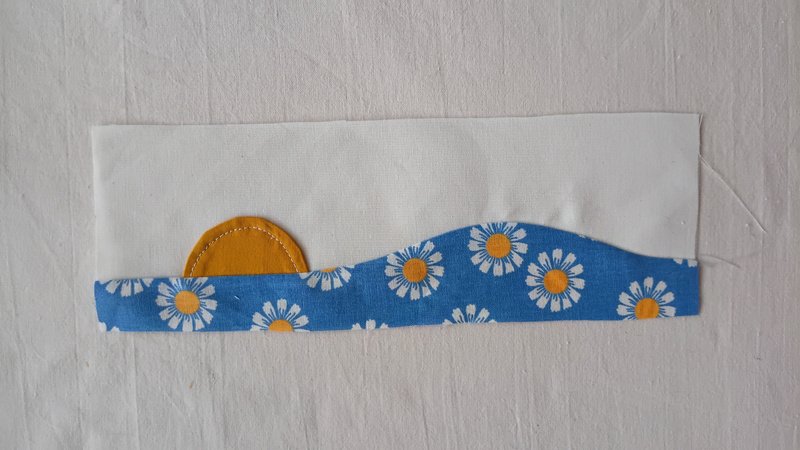
Join the A-B panel to piece C
With right sides together, match the notches of the A-B panel and piece C and pin. Sew at a 0.6 cm or ¼ in seam allowance, then press the seam allowance downwards.
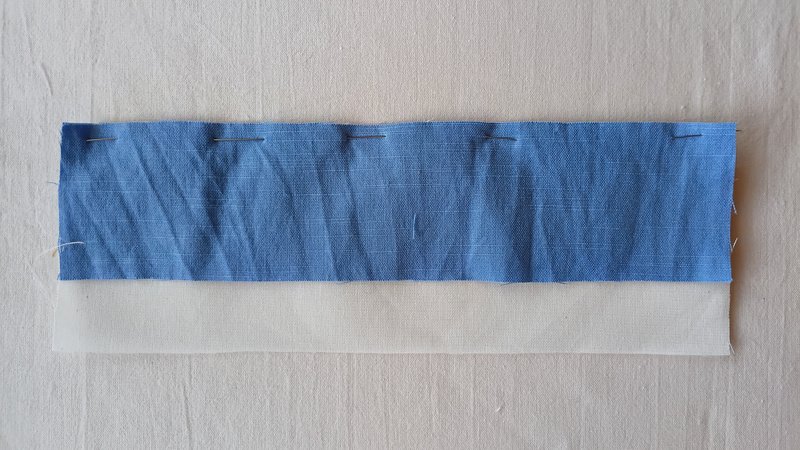
Step 3: Assembling the front mask sandwich
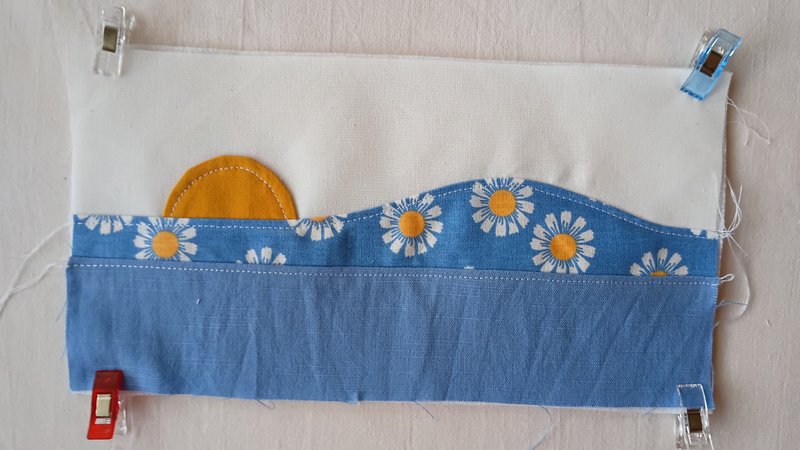
Place your batting on a surface and then lay the completed patchwork front right side up on top of the batting. Clip the corners of these layers.
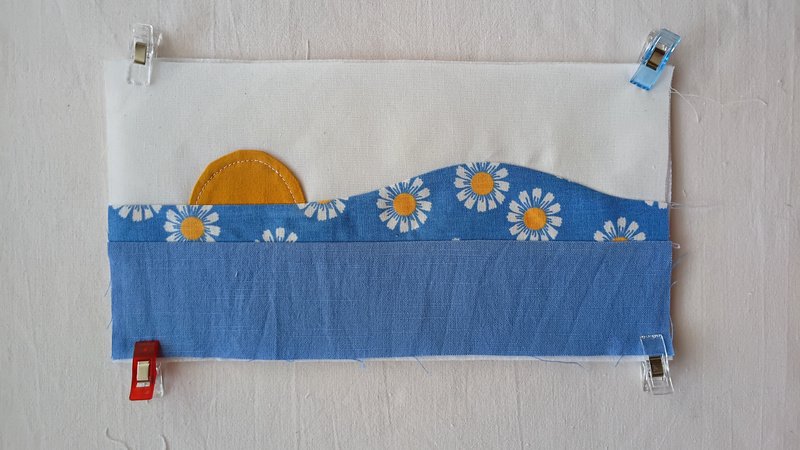
Topstitch the seam allowances about 0.3 cm or ⅛ in from each of the two seams you have.
Tracing the front mask piece
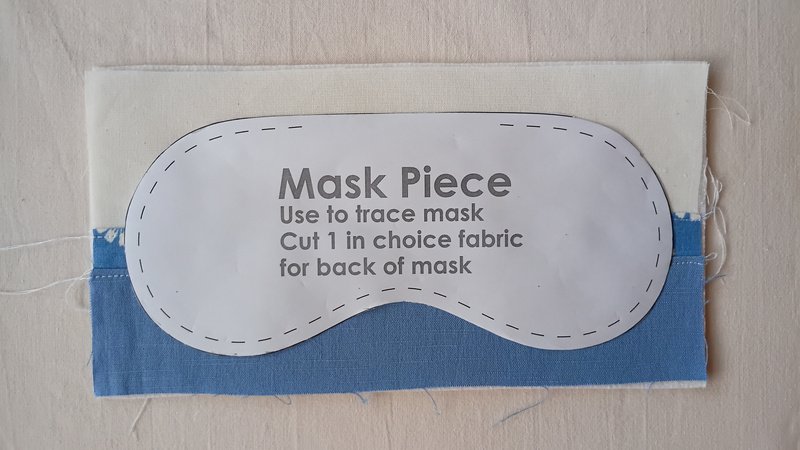
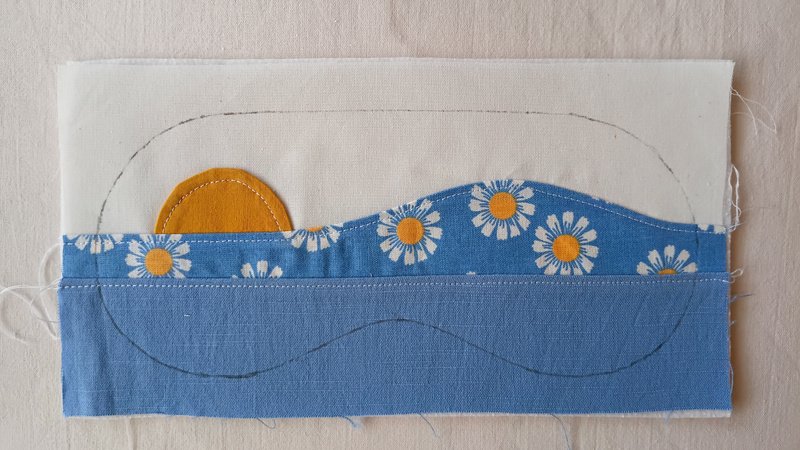
Place the eye mask pattern piece roughly in the middle of the patchwork mask layer. Trace around the mask outline with a fabric marker then cut the mask shape out.
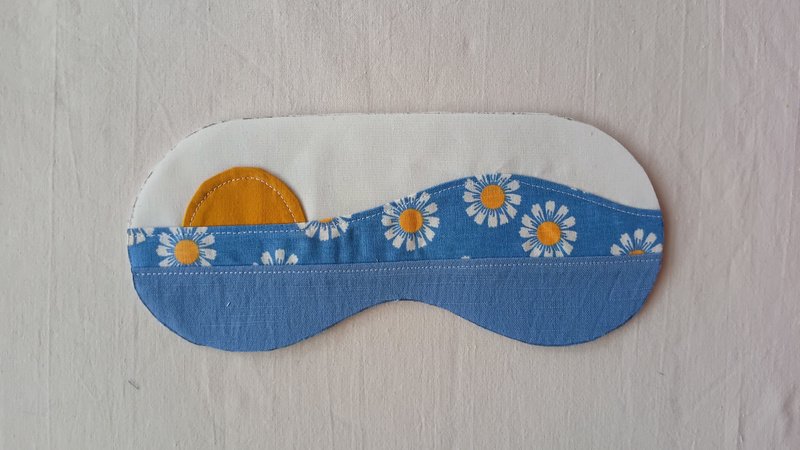
Attaching the strap
We now need to attach the strap. Line up the bottom long edge of the strap with the bottom of the middle layer of the mask and clip the strap ends to the mask.
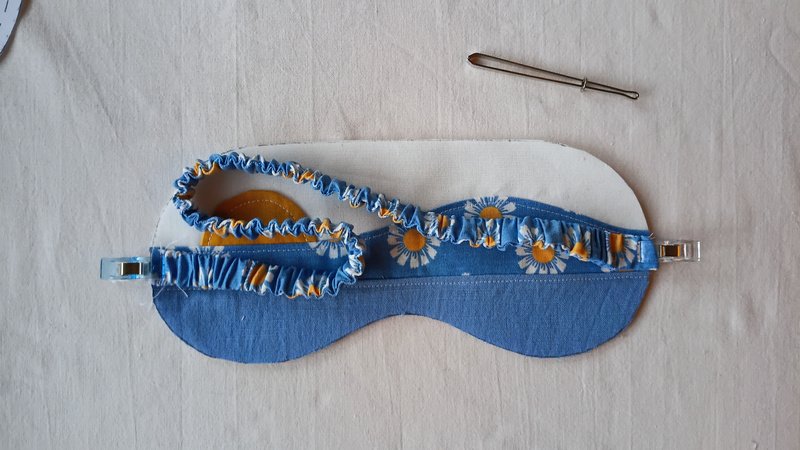
Sew the strap ends onto the mask at the very edge to hold them in place.
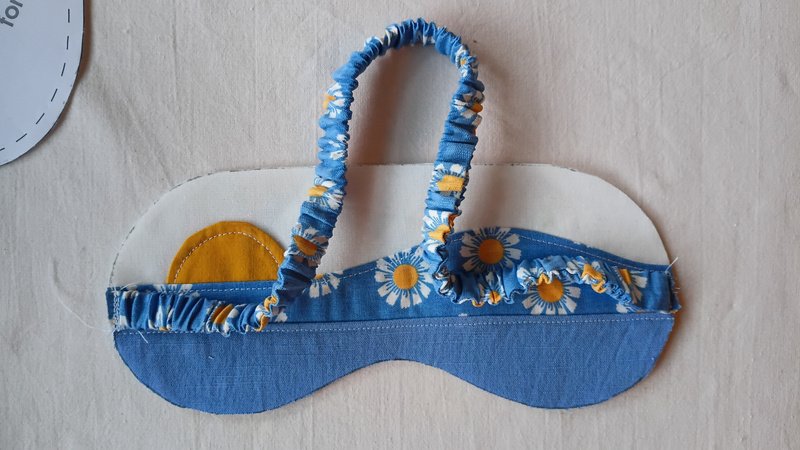
Step 4: Final assembly
Place the front mask (with the attached strap) and back mask fabric piece right sides facing and pin all around, leaving a gap about 3-4 fingers wide at the top. Make sure the strap is enclosed between the two layers and stays out of the way so you can sew around the mask.
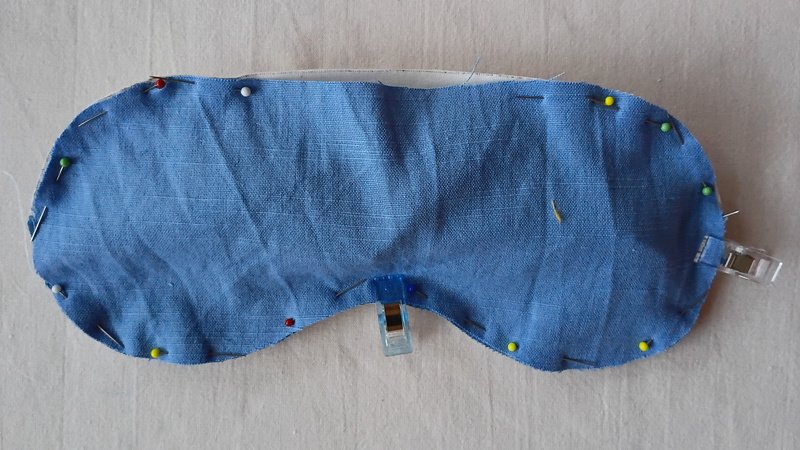
Sew round the mask using a 0.6 or ¼ in seam allowance. As you sew, leave an opening at the top of the mask to pull the strap through. Make sure to secure both ends of your stitch line with a backstitch.
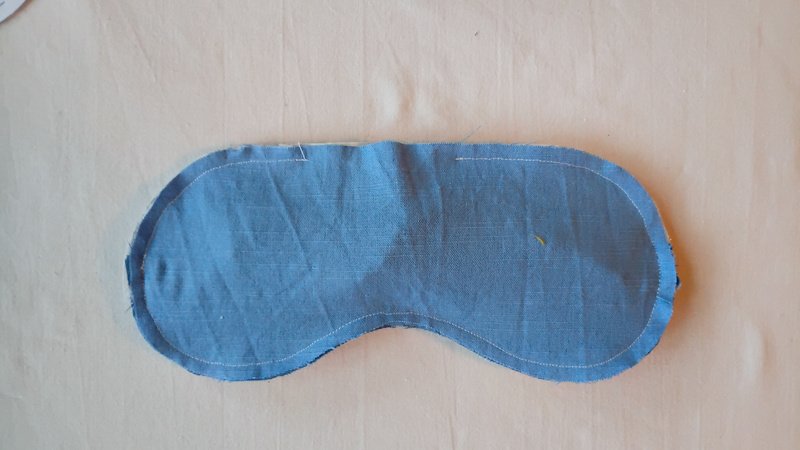
Make little snips into the seam allowance around the curve of the nose and clip notches around the other curves of the mask.
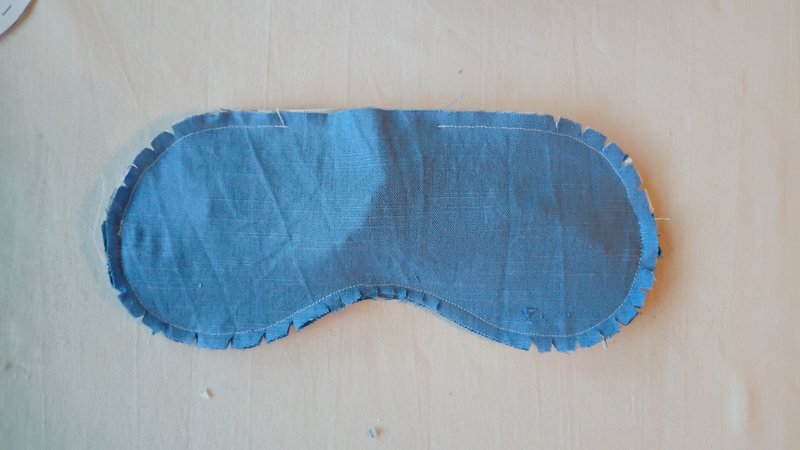
Pull the strap out through the opening, then turn the entire mask right side out through the same opening. Use a blunt tool to push out the edges and neaten them.
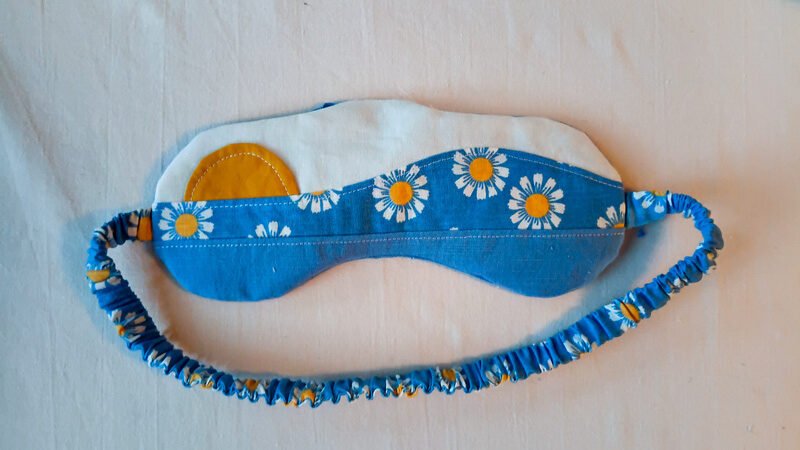
Fold the raw edges of the opening inward and press. Topstitch all the way around the edge of the mask approximately ⅛ in (0.3 cm) from the edge or use an invisible stitch to close the gap shut.
Finished Patchwork Sleep Mask
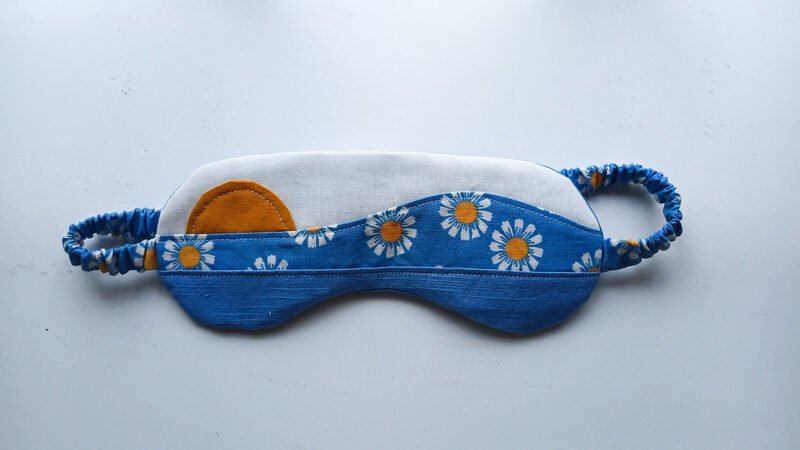
Congratulations! You just finished sewing a patchwork sleep mask. Let me know in the comments how you decided to make yours.