DIY Reusable Cotton Rounds with Bias Binding: Free Pattern in 3 Sizes
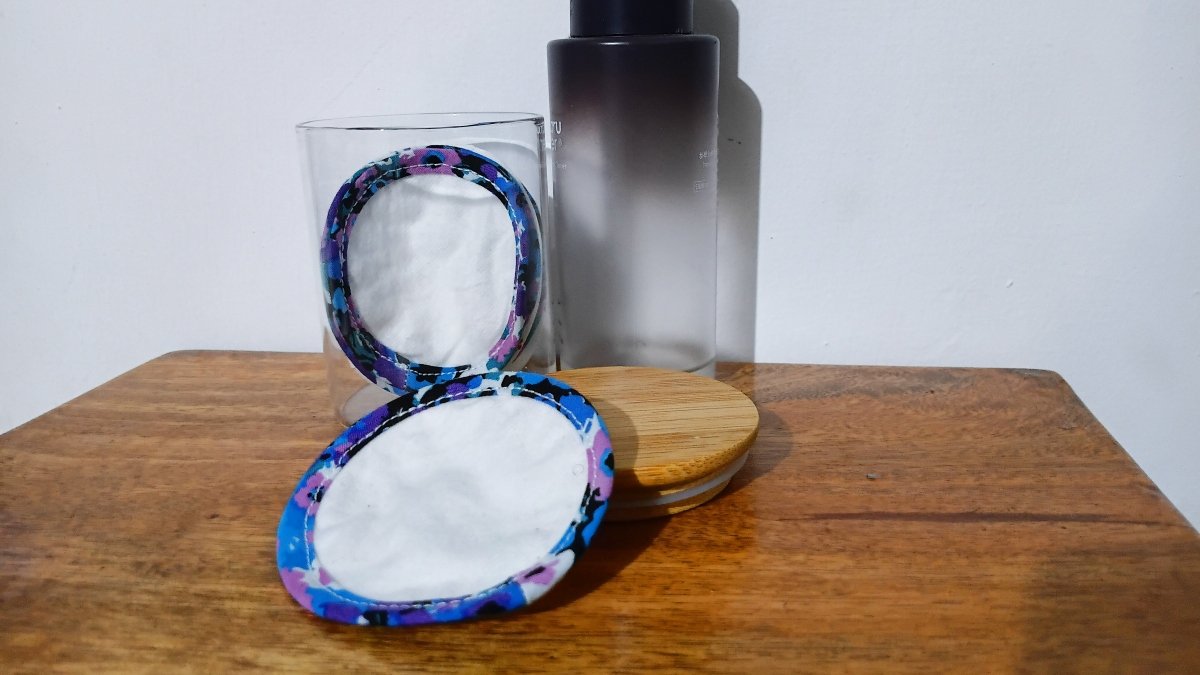
If you’re looking to replace disposable cotton pads, this sewing tutorial is for you. These DIY reusable cotton rounds are sewn from two layers of fabric and finished with bias tape. They work as makeup remover pads, for applying toner etc.
I’ve included a free PDF pattern in three sizes (small, medium and large) as well as the bias tape strip pattern pieces. I’ll also show you how to make your own bias tape by joining several fabric strips. If you’re making a batch of these DIY cotton rounds, it’s easier to have a long length of bias tape on hand.
Let’s begin.
What You’ll Need
- I’m using two layers of cotton flannel because they mimic the layers you find in store bought. You could also use towelling fabric, however, in my opinion, it wastes liquid. If using thicker fabrics like towelling fabric, don’t double up the layers, just use one layer.
- Scraps of light-weight woven fabric for the bias tape like cotton and linen. It’s very important for this to be a light fabric. Otherwise, the finished reusable pads will be be too taut at the edge
Download the Free Pattern
The reusable cotton rounds pattern is available as a free download below. Please don’t sell this pattern.
Printing instructions
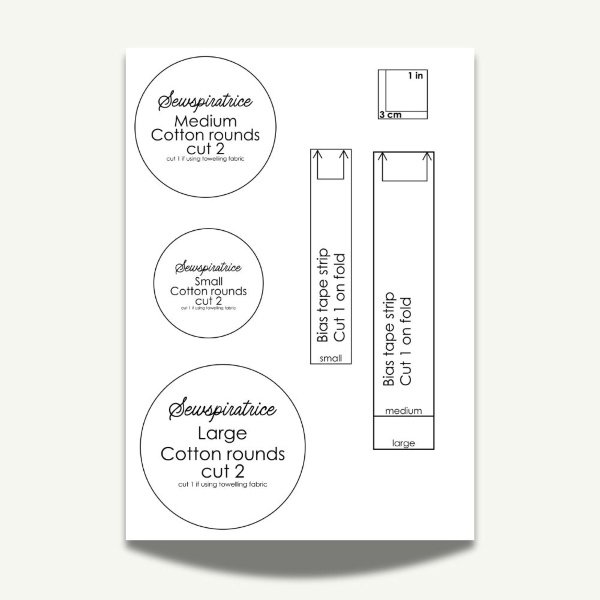
- Select your paper size (A4 or US Letter) in your printer settings before printing.
- Set the print scale to Actual Size or 100%. Do not select Fit to Page.
- Check the test square after printing.
Cutting Your Fabric
Cut out the cotton round pattern piece in the size you’d like to make. For each round you will cut:
- Flannel: cut 2 rounds
- Towelling fabric: cut 1 round
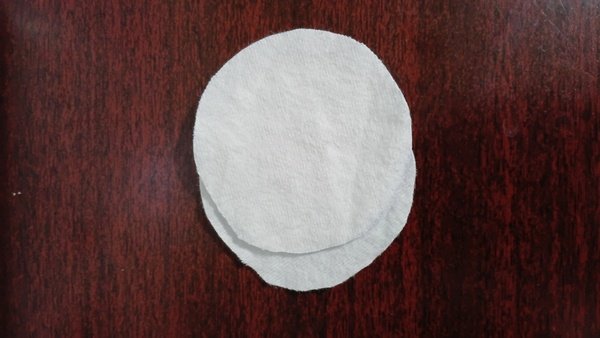
The bias tape is cut separately, so let’s make that next.
How to make bias tape for your cotton rounds
You can use the pattern pieces to cut just one length of bias tape for one cotton round but if you are making several of these, it is best to make yourself a sufficient length of bias tape instead of cutting tiny fabric strips for each round. Use the width of the pattern pieces I provided earlier for the next steps
Step 1: Cut the bias strips
Take a piece of light cotton fabric and fold it on the bias. That means folding it diagonally so the fold sits at a 45 degree angle to the selvedge or cross grain.
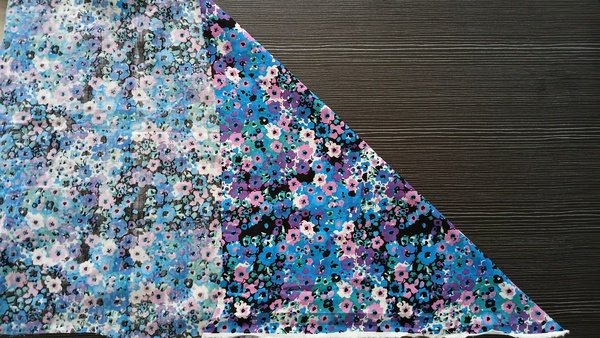
Use the width of the pattern piece to cut fabric strips along the bias on the fold (this is 3.6 cm for large & medium and 2.5 cm for small). Repeat until you have a handful of strips. You can discard the shorter ones or save them for something else.
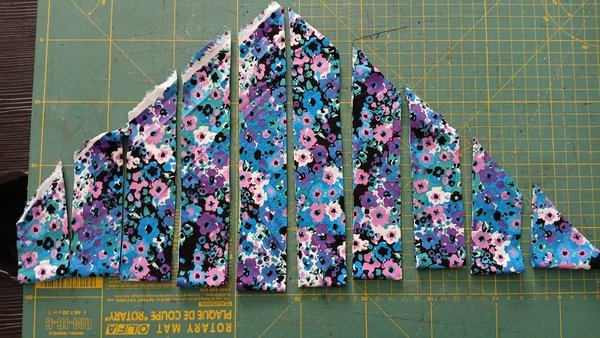
Step 2: Join the strips
Trim off the diagonal edges of the fabric strips. Place two strips right sides together at the corners so that they form a right angle, and pin or clip them. Sew diagonally (top left to bottom right, important!) across the corner where the two strips overlap.
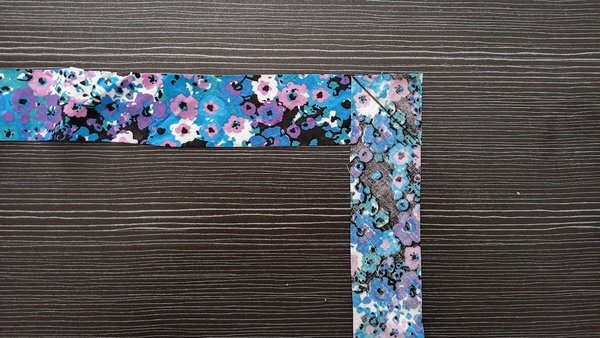
Trim the seam allowance down to about0 0.6 cm or ¼ in and press the seam open.
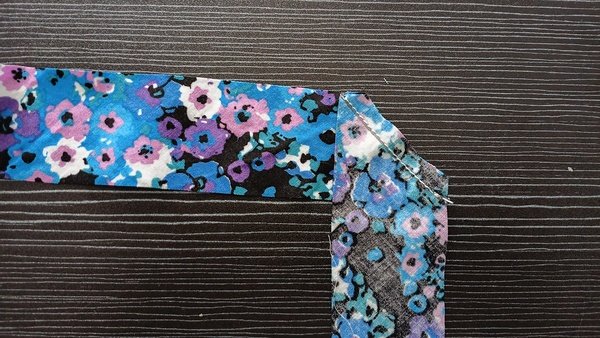
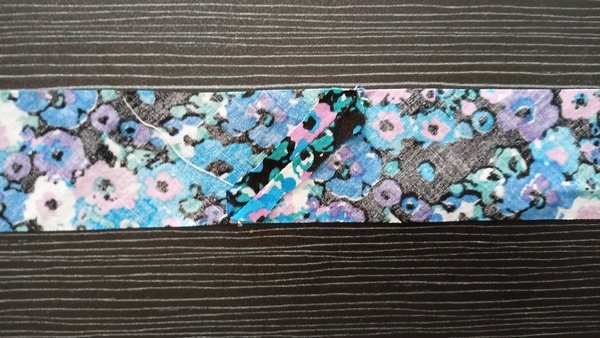
Now add the next strip in exactly the same way and keep going until you have one long strip that is enough for however many cotton rounds you want to make.
Step 3: Fold your strip into bias tape
If you have a bias tape maker: feed the end of your fabric strip through the bias tape maker (18 mm bias tape maker for medium & large and 12 mm for small rounds) and press the folded tape as it comes out the other side. Then fold the tape in half lengthwise once more for double folded bias tape.
If you don’t have a bias tape maker, do the following.
Fold the strip in half lengthwise, wrong sides together, and press. Open it up again so you have a center crease.
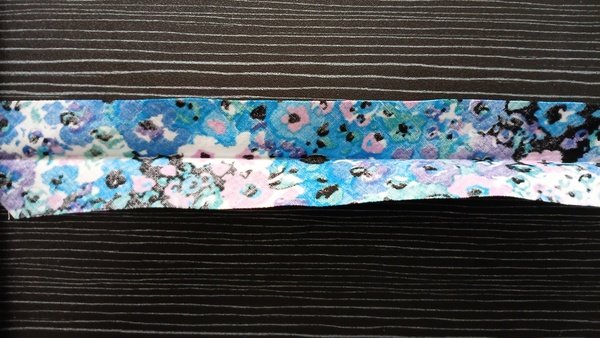
Fold each long raw edge in towards the center crease, onto the wrong side, and press.
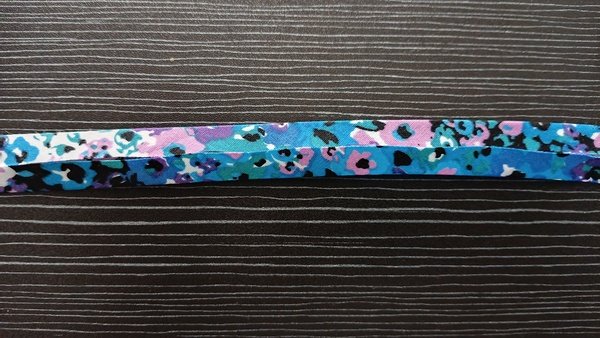
Fold the whole thing in half again along the center crease and press.
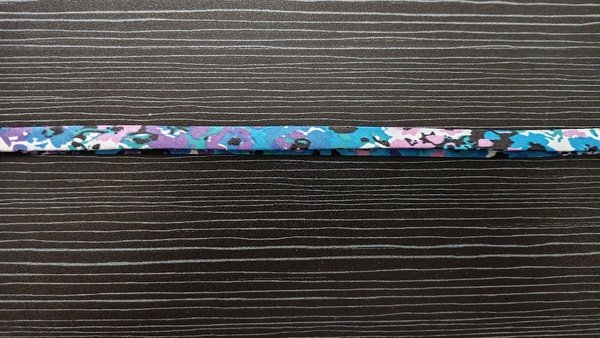
Your bias tape is ready. You may now use the pattern piece to cut the length of bias tape you need for sewing one reusable cotton round.
How to sew the reusable cotton rounds
If you are using flannel, place your two fabric pieces wrong sides together. If you are using a towelling fabric, you’re only need one layer.
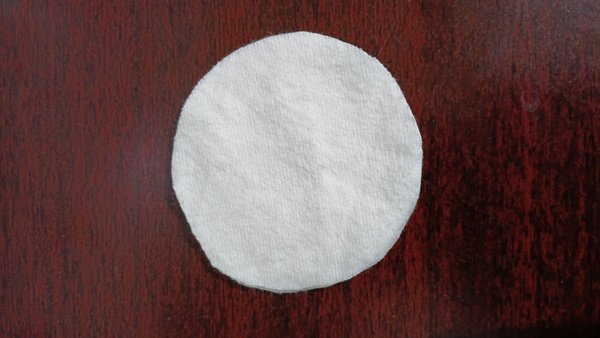
Step 1: Sew the bias tape to the rounds
Unfold the bias tape. Line up the raw edge of the tape with the edge of the rounds, leaving about 2.5 cm (1 in) of tape free at the start. Pin or clip the tape in place from there.
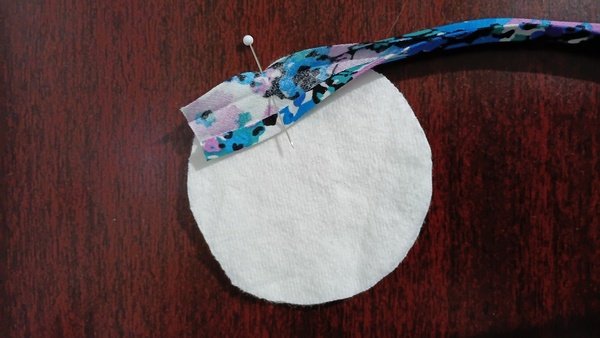
Start sewing at the pin, 3 mm or ⅛ in from the edge for the small rounds or 6 mm or ¼ in for the medium and large. Stay within the first section of the tape and don’t sew past the crease.
As you go, ease the bias tape onto the fabric (just push it slightly as I’m doing with my point turner below) and don’t stretch it. If you stretch the tape, the finished cotton round will end up too taut.
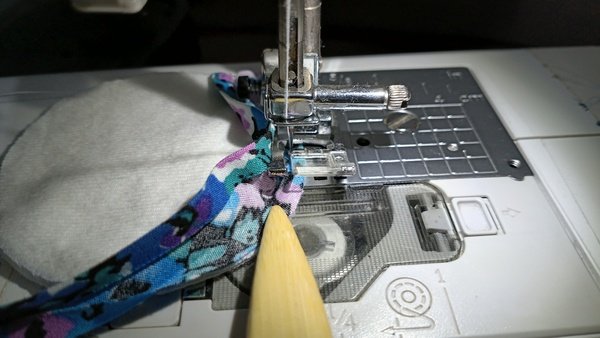
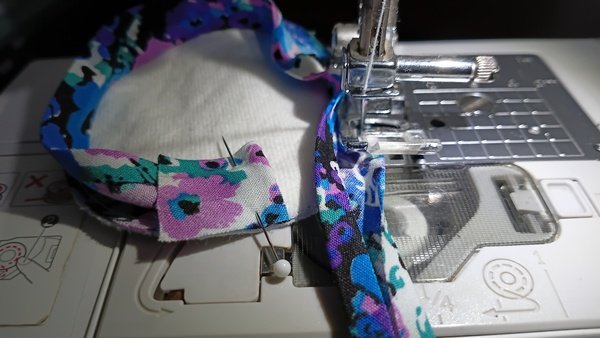
As you approach your starting point, slow down and push the free tail of bias tape out of the way (I like to actually pin mine so that it’s completely out of the way). Stop sewing exactly where your first stitch began, without sewing over the starting point.
If you’re not sure where to stop, lay the bias tape you are sewing over the remaining bit of fabric, on top of the free tail you pushed aside. Mark the spot where the tape meets your starting point with an erasable marking tool, as I have done below, and sew up to that mark.
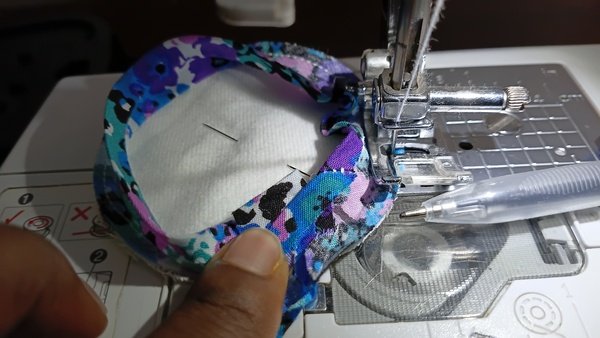
Lift your presser foot and take the assembled round out of the machine. Trim the bias tape, if necessary, so that this tail is the same length as your starting tail.
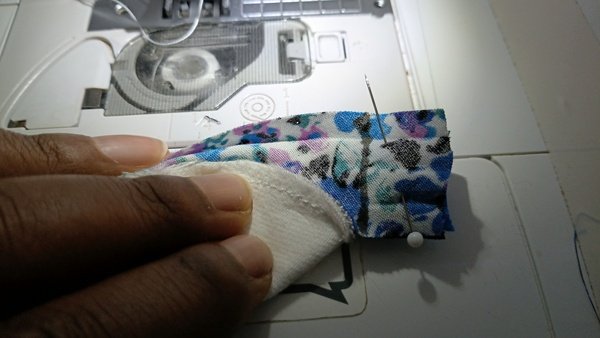
Pin or clip the tails together, right sides together. As in the photo above, to guide you, mark a vertical line on the bias tape, from the edge of the round fabric shape to the top of the tails. Sew along the line to close the loop.
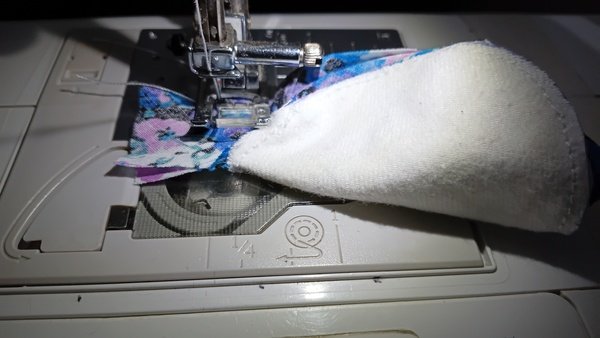
Trim the seam allowance to about 0.6 cm or 1/4 in and press it open
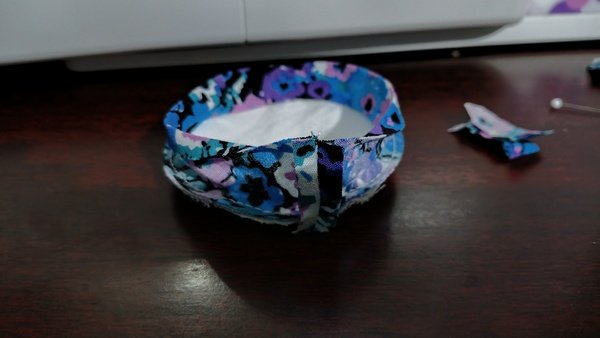
Step 4: Fold the bias tape over and edgestitch to finish
Flip the bias tape over to the other side of the fabric layers so that the seam of the bias tape is now facing inside.
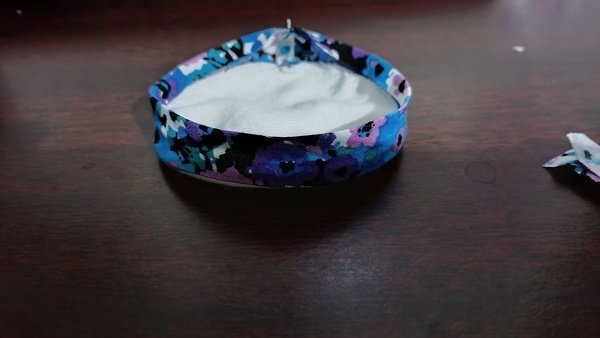
Now we need to fold the bias tape onto this newly exposed side of the fabric. The main center crease is what will sit right on the edge of the round, and the second fold is what you clip onto the fabric as shown below. Press the bias tape onto the fabric.
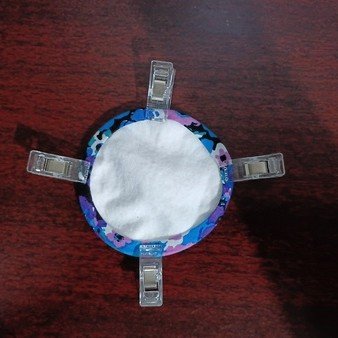
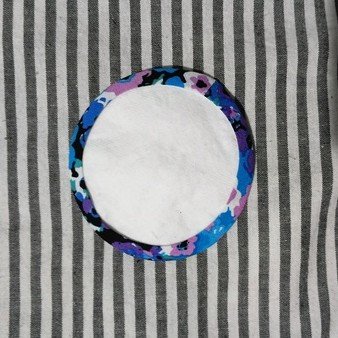
Edge stitch right next to the folded edge of the bias tape all the way around the cotton round. Make sure you catch the bias tape on the back as you sew.
Finished Reusable Cotton Round
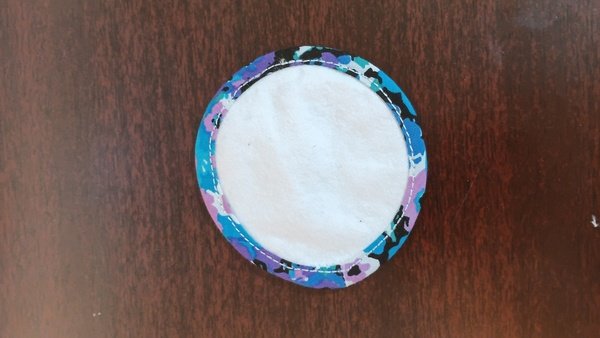
Congratulations! You just finished sewing your first reusable cotton round. I hope this will be one of many. Let me know in the comments which size you made and what fabrics you used. And make sure to wash and dry them before use.
And if you want a handy bag to store these reusable cotton rounds, check out my sewing tutorials and free patterns where I show you how to sew a lined and unlined drawstring bag, as well as a square boxy pouch.