How to sew an envelope cushion cover
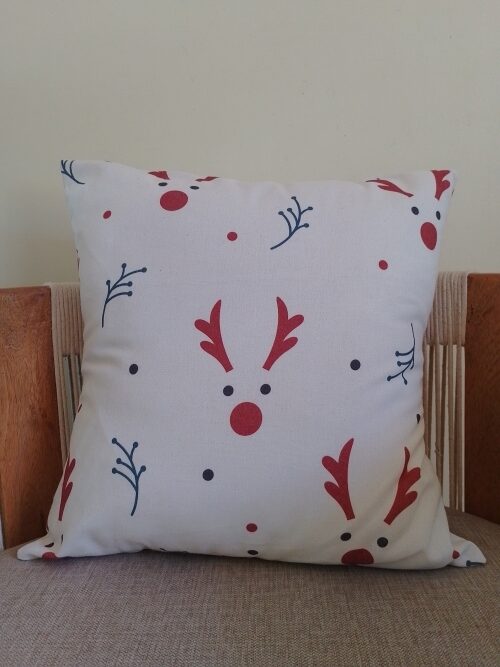
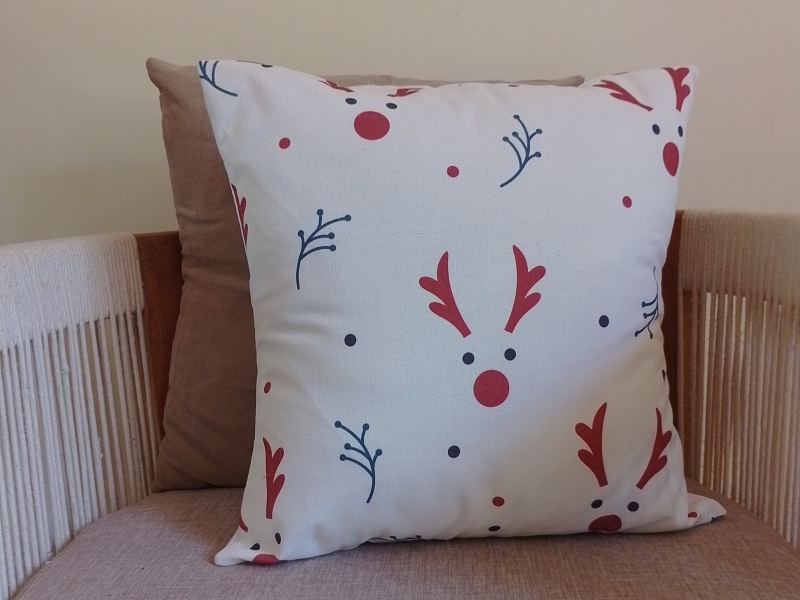
Today, I’ll be showing you how to make an envelope cushion cover. I love this sewing project because it easy and quick and best of all, doesn’t require a zipper or buttons.
I’ I’ll use a 17″ x 17″ cushion inner as an example, but the instructions help you easily adapt these measurements for any square or rectangle cushion.
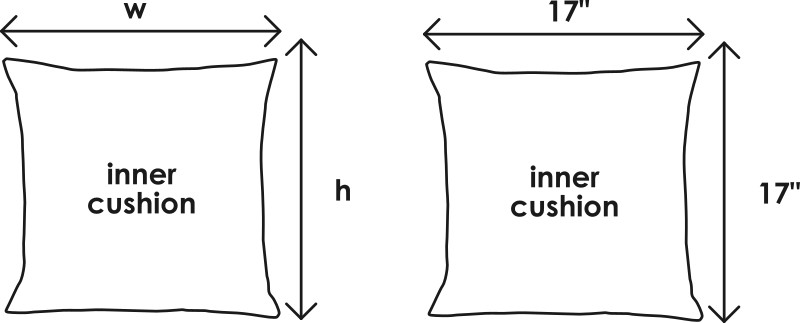
1. Measuring your cushion (inner)
Measure the width (w) and height (h) of your cushion (from corner to corner basically). For this tutorial, we’ll use a 17″ x 17″ cushion as our example.
2. Finding the cushion cover dimensions
If you don’t care about the how, simply use my handy calculator that will give you the exact dimensions of the fabric pieces you need to cut and skip to the hemming step.
Cushion Cover Calculator
Enter your cushion inner’s dimensions to get your cutting list.
Front Cushion Cover
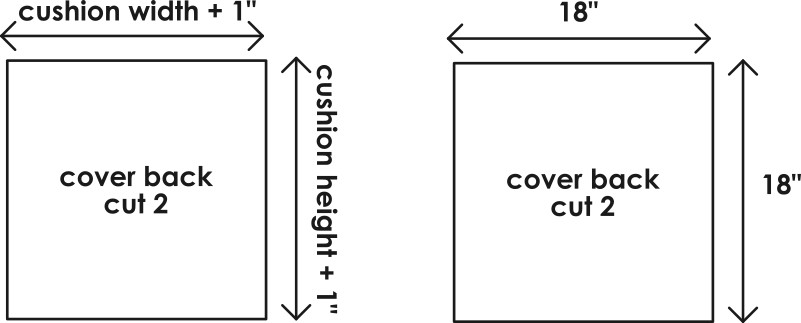
Add 1″ or 2.5 cm of ease to the width and height of the cushion to get the dimensions of the front of the cushion cover.
In my example, my cushion measurements were 17″ x 17″, so for my cushion cover front will be 18″ x 18″. Cut 1 piece of fabric using these new measurements.
Back Cushion Cover
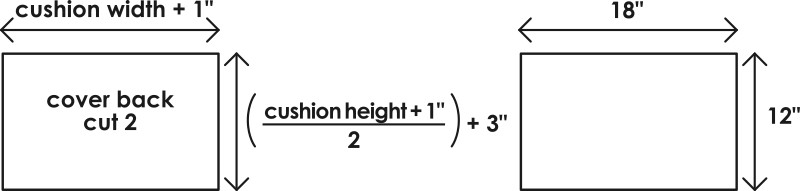
Now for the back we’ll need two pieces of fabric and here is how to get those dimensions.
The cover width of the back piece remains the same as the front piece:
back cover width = cushion width + 1 ”
The cover height changes to the following. Divide the cover height (cushion height+1 “) by 2 and add 3 inches:
back cover height = ((cushion height+” )/2) + 3 ”
Cut two pieces of fabric for the back using these measurements.
3. Hemming the back pieces
We need to hem the edges of the back pieces so we can create a neat opening
On the width (the longer edge in my example) of the back piece, fold the raw edge over onto the wrong wise by 3/8 ” or 1 cm and press.

Fold that same edge over again, this time by 1 inch or 2.5 cm and press it flat. Your raw edge for the opening is now enclosed.
Edge-stitch along the inner fold to secure the hem.

Repeat this for the second back piece.
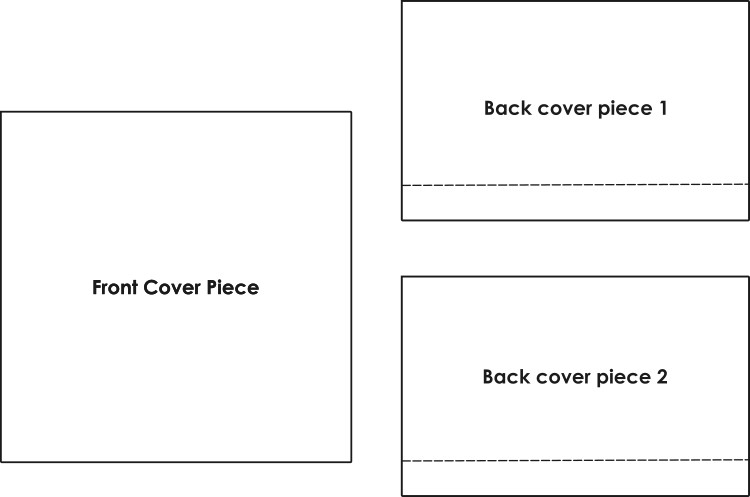
You should now have these three pieces: 1 front cover, 2 back covers
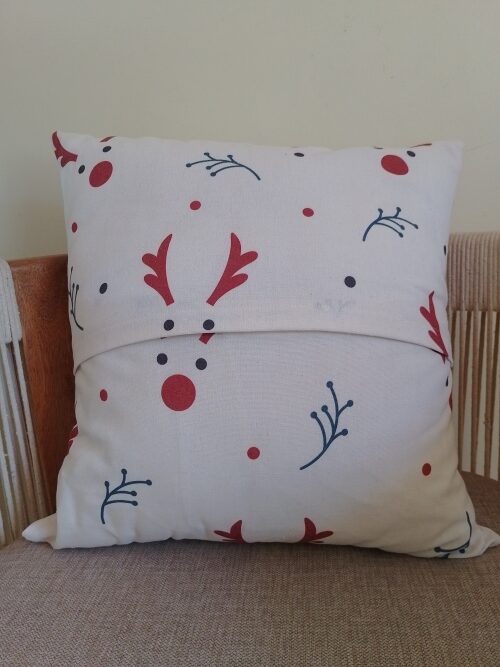
4. Assembling the cushion cover
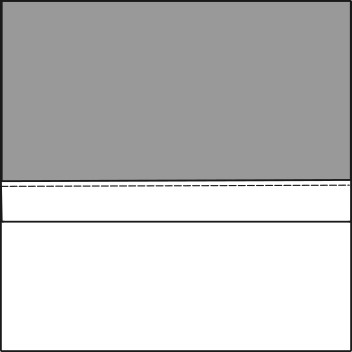
Place the front piece right side up. Take one of the back pieces and place it right side down on the front piece. Line the top raw edges of both pieces together and pin in place.
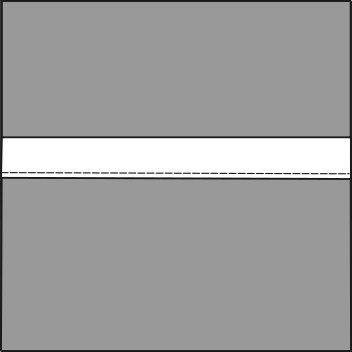
Grab the remaining back piece and place it right side down on the front piece, lining up the bottom raw edges of both pieces together. It will partially cover the back piece at the top.
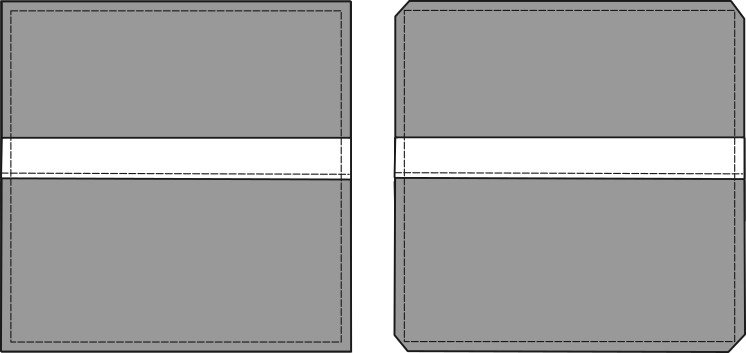
Sew around the entire square shape using a 3/8 ” or 1 cm. Trim the corners of the cushion carefully so as to not cut into the line of stitching.
Use the opening at the back to turn your cushion cover right side out and use a pointy blunt tool to push out the corners. Press the cover flat.
You have now completed your cushion cover. Congratulations!