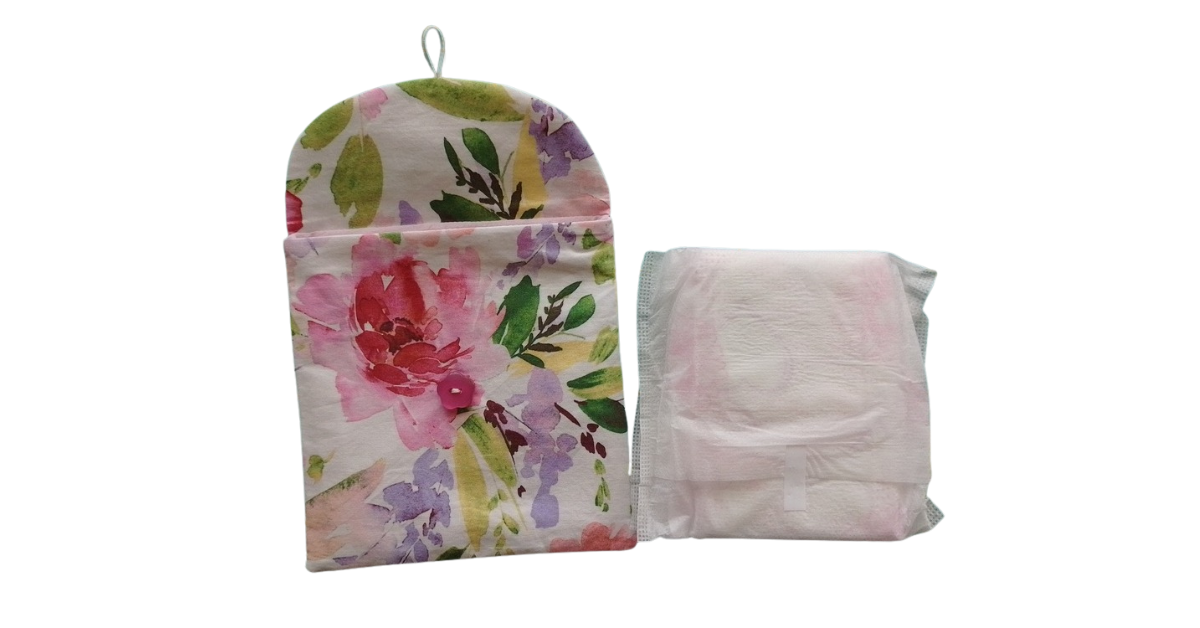
Free Sanitary Pad Pouch Pattern and Step-by-Step Tutorial
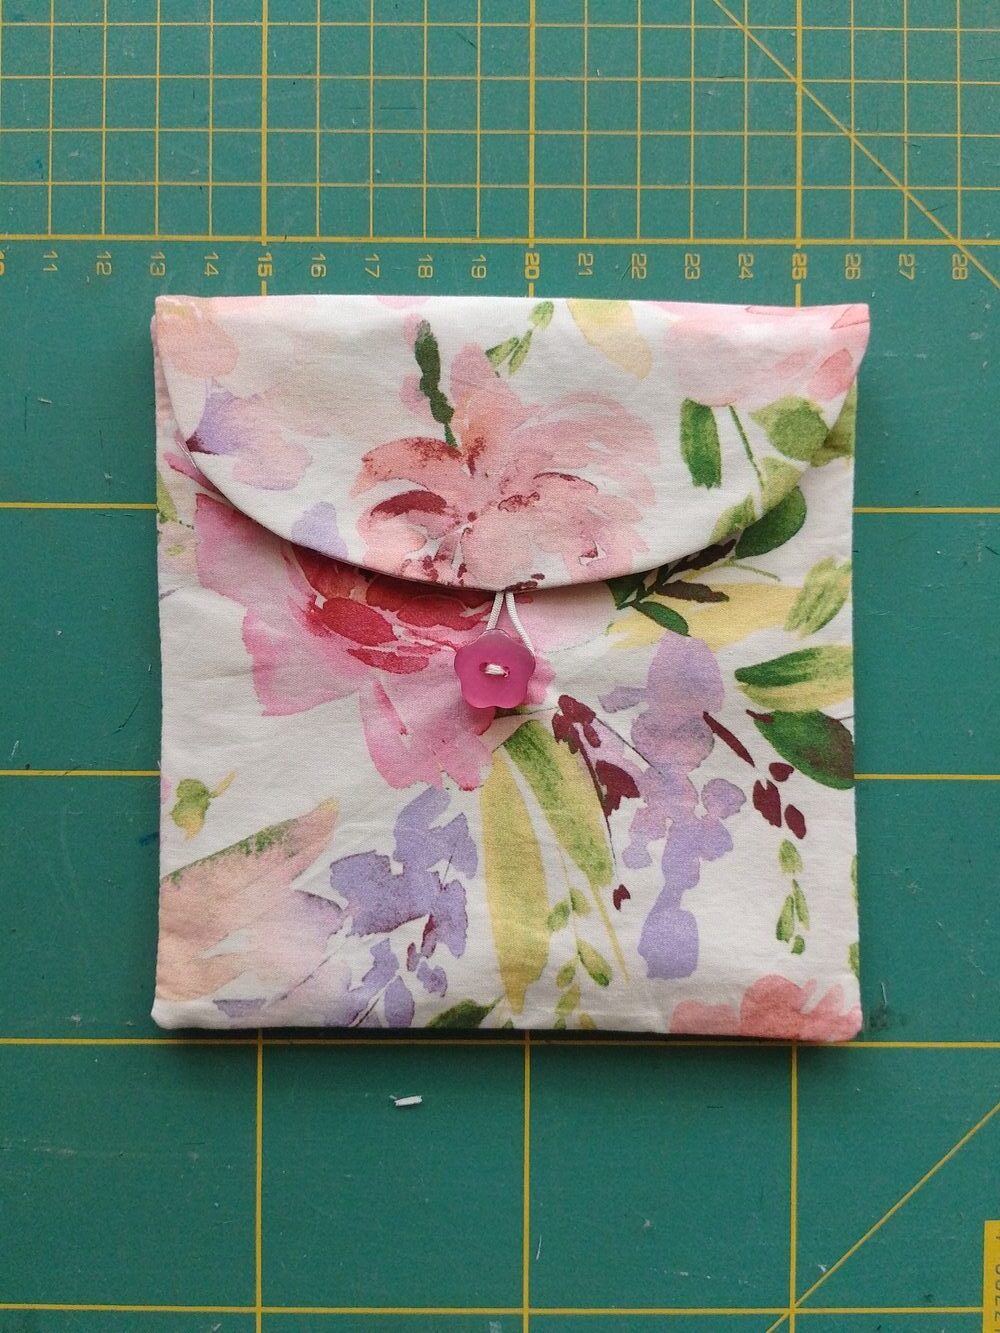
This sanitary pad pouch sewing pattern is something I made as a simple and discreet way to carry pads. The finished pouch measures 13 x 13 cm (roughly 5 x 5 in) and fits around 3 pads. Can I also just say that I’m so relieved we’re collectively getting rid of pad stigma? (Sometimes you just don’t want to use tampons!)
This sewing tutorial comes with clear step-by-step instructions, photos, and a free PDF sewing pattern. It’s quick, easy, and beginner-friendly as it requires no snaps, Velcro or specialised tools. All you need is fabric scraps, a button and a bit of cord elastic (you could even use elastic from a disposable mask). It took me a few tries to get it right, but I’m happy with the final version and thought it might be useful to share.
Download the free sanitary pad pouch sewing pattern
You can download the free pattern below. Print it at 100 percent or no scale and check that the test square measures correctly.
You’re welcome to sell items you make with it, but please don’t reproduce or share the pattern directly. Just link to this blog post.
Materials and supplies
- Main fabric
- Lining fabric
- Fusible interfacing (or sew-in interfacing or extra fabric)
- One button
- 6 cm of thin cord elastic (or elastic from a disposable mask, ribbon, etc.)
- Basic sewing tools (scissors, thread, pins or clips, sewing machine)
How to sew the sanitary pad pouch
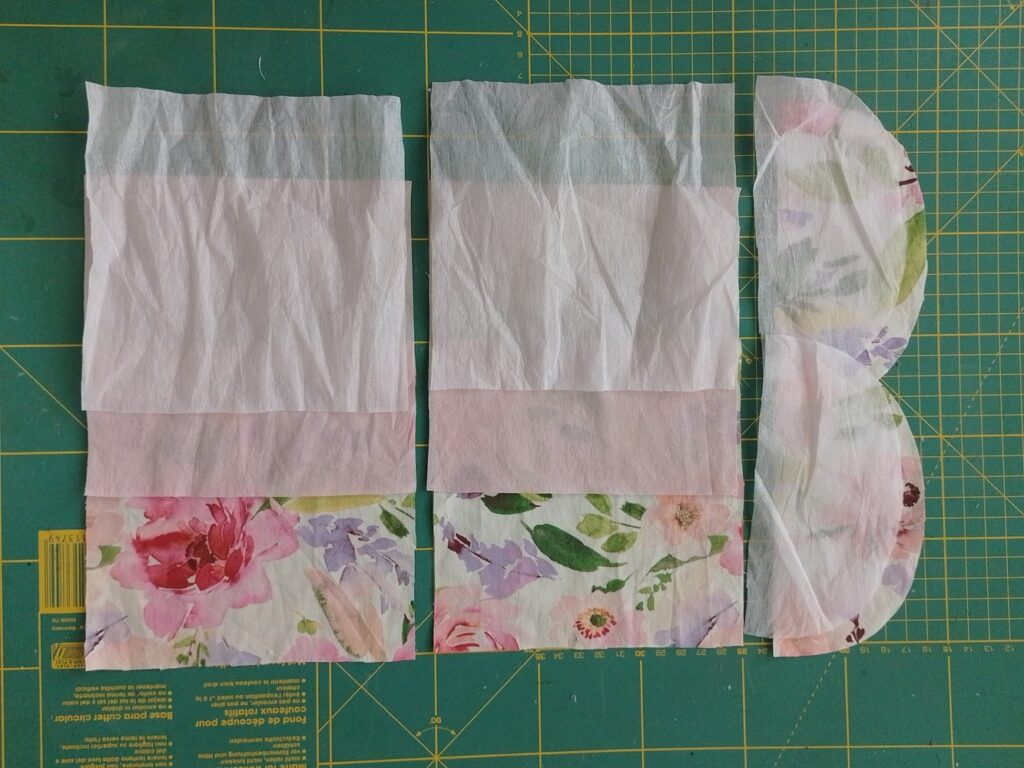
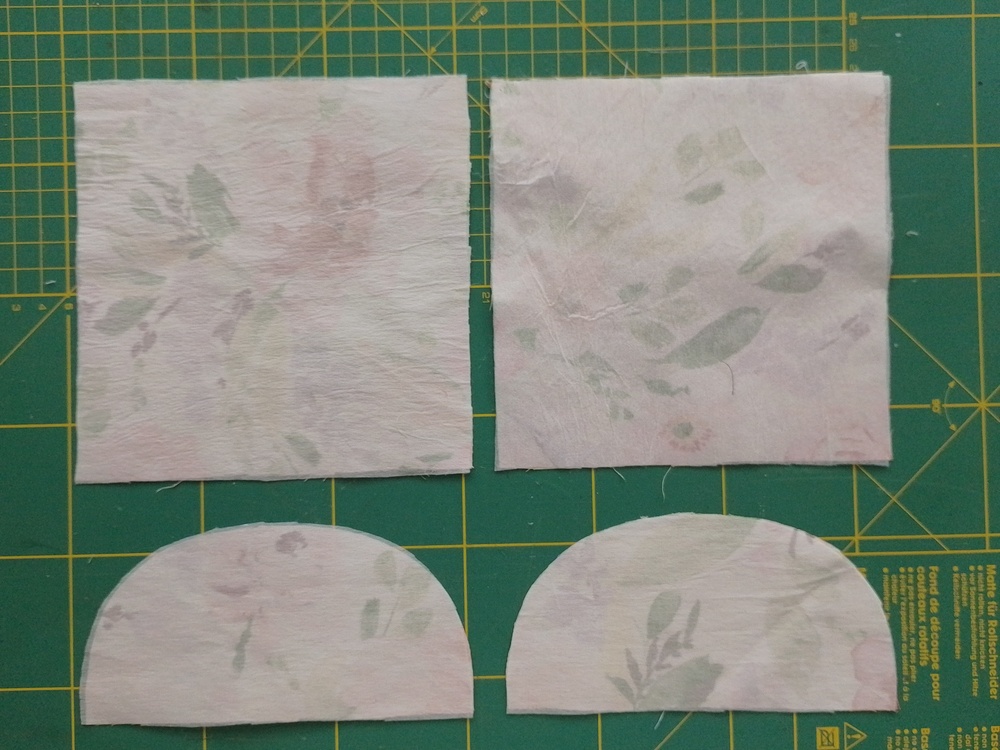
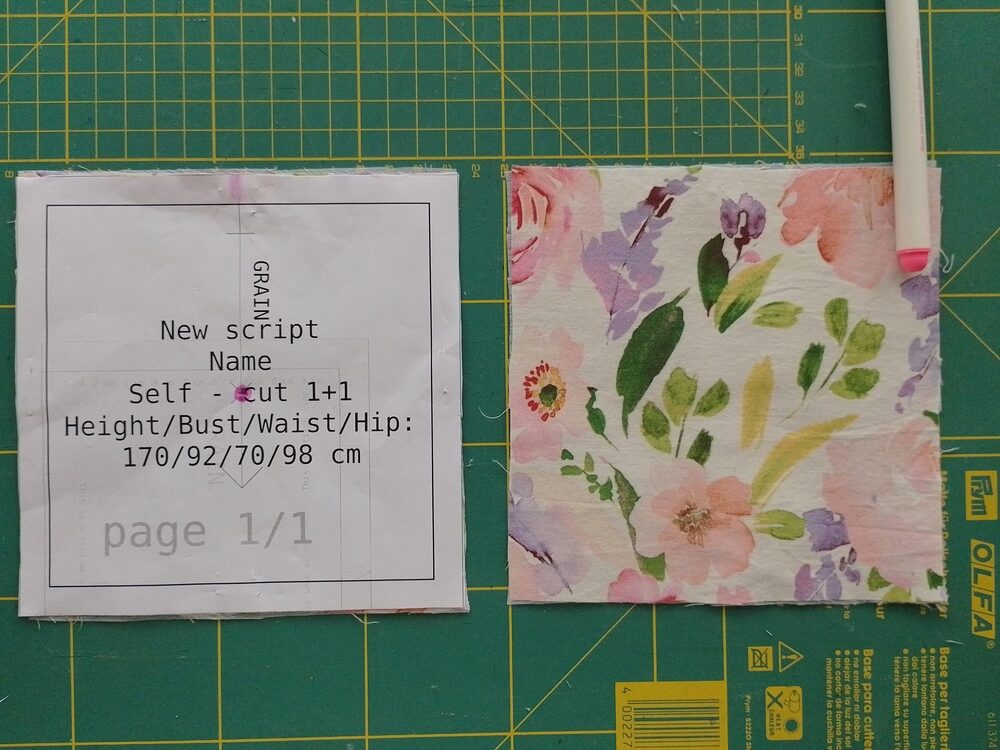
Step 1: Cut Your Fabric
Using the sewing pattern, cut the following pieces:
- 2 rectangles from main fabric
- 2 rectangles from lining fabric
- 2 curved flap pieces from main fabric
- 2 pieces of interfacing (or extra fabric) the same size as the rectangles
- 2 pieces of interfacing (or extra fabric) the same size as the flap
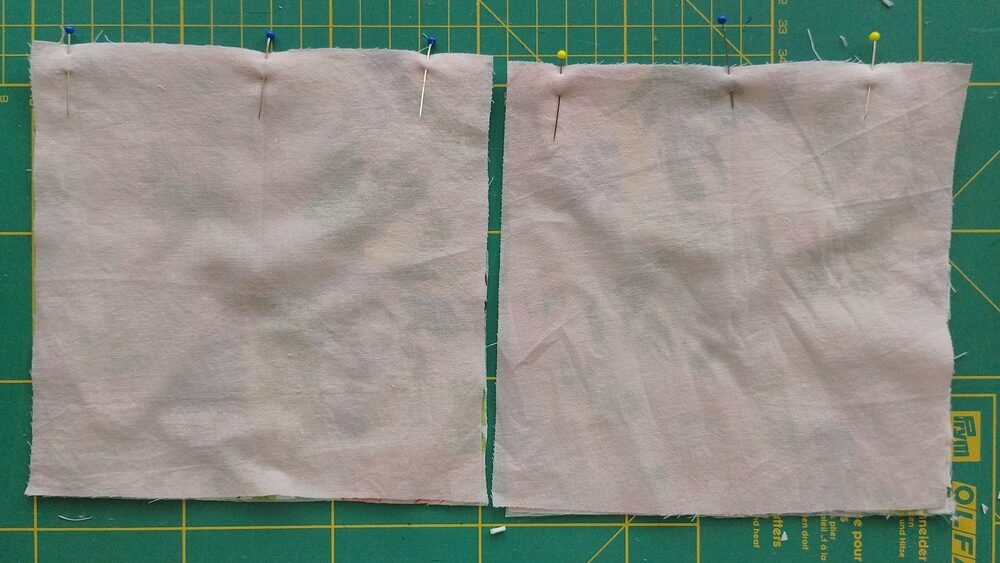
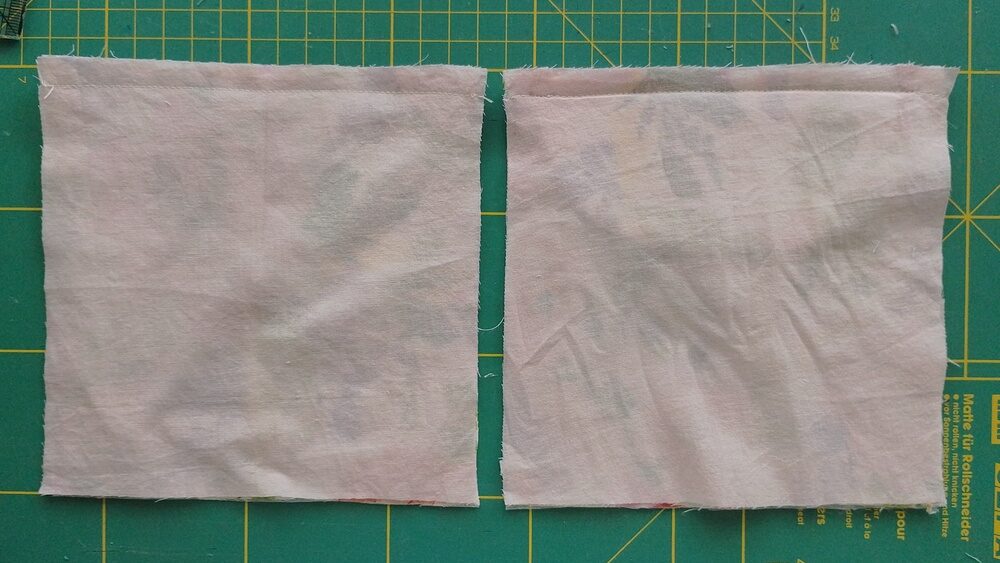
Step 2: Apply Interfacing or Layer Fabric
If you’re using fusible interfacing, press it to the wrong side of both main fabric rectangles and both flap pieces.
If you’re using extra fabric, take the extra rectangles and flap pieces you cut earlier and baste them to the wrong side of the main fabric pieces. From here on, treat each layered piece as one.
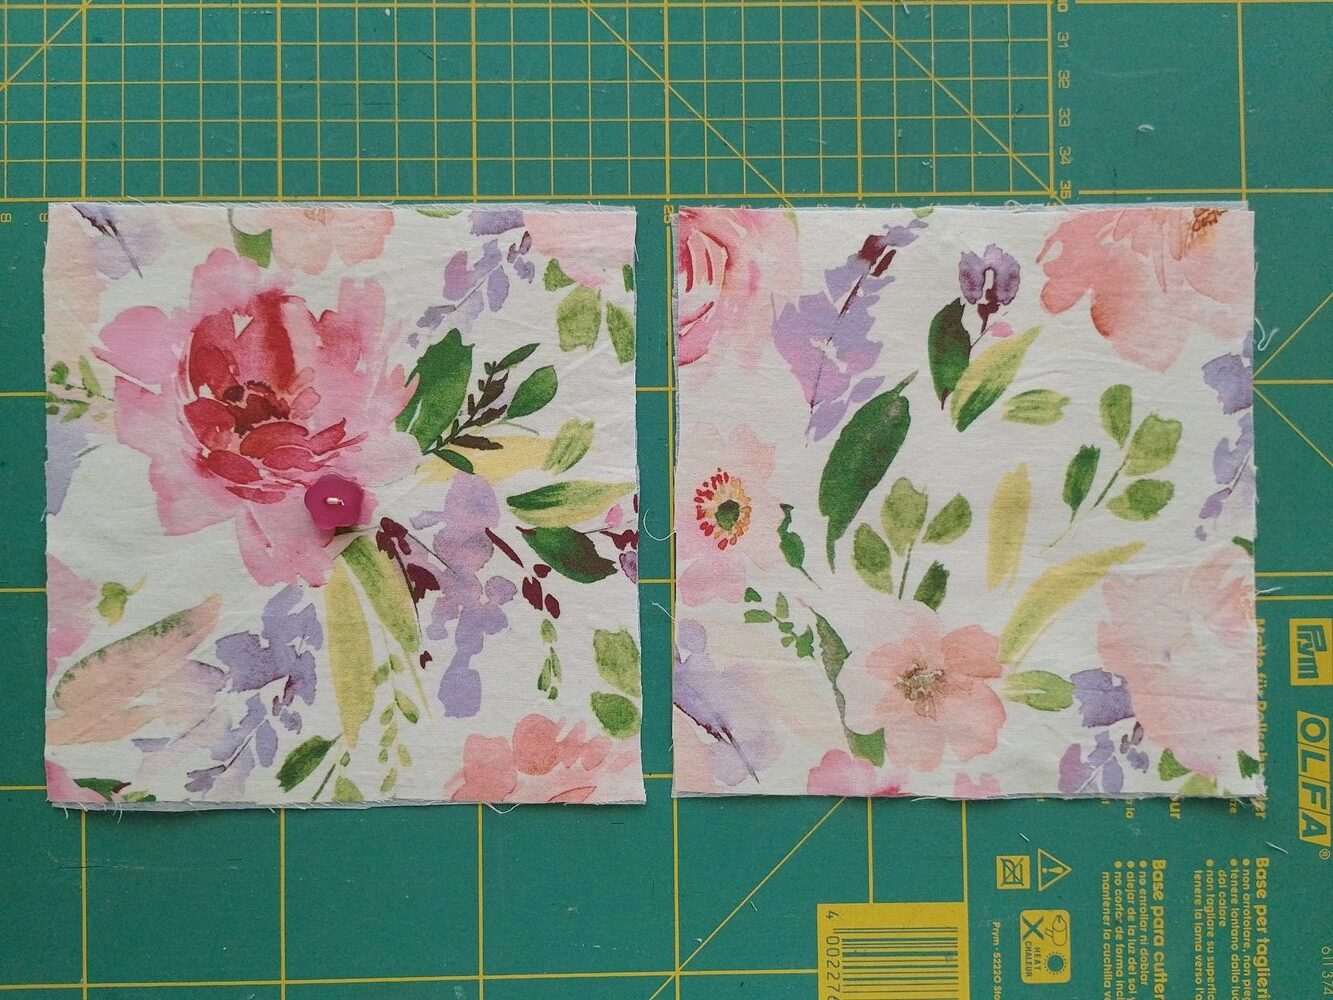
Step 3: Attaching the button
Make sure you transfer all notches from the pattern to your fabric pieces. For the button placement, transfer the small X marking in the center of only one main square piece.
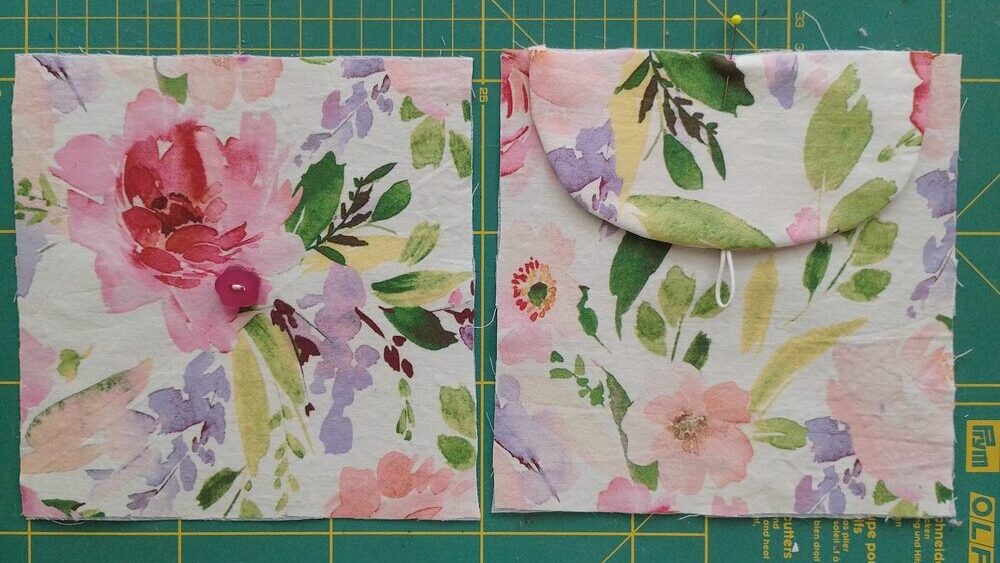
Place the button on the marking in the center of the main square of fabric (remember, we’re sewing a button on only ONE of the main squares), Hand sew or machine stitch the button and tie the pieces of thread to ensure the button is completely secure. Trim off the loose ends of thread.
Step 4: Sewing the flap and elastic loop
Take your two flap pieces and one loop of elastic (about 6 cm). This is what I have below:
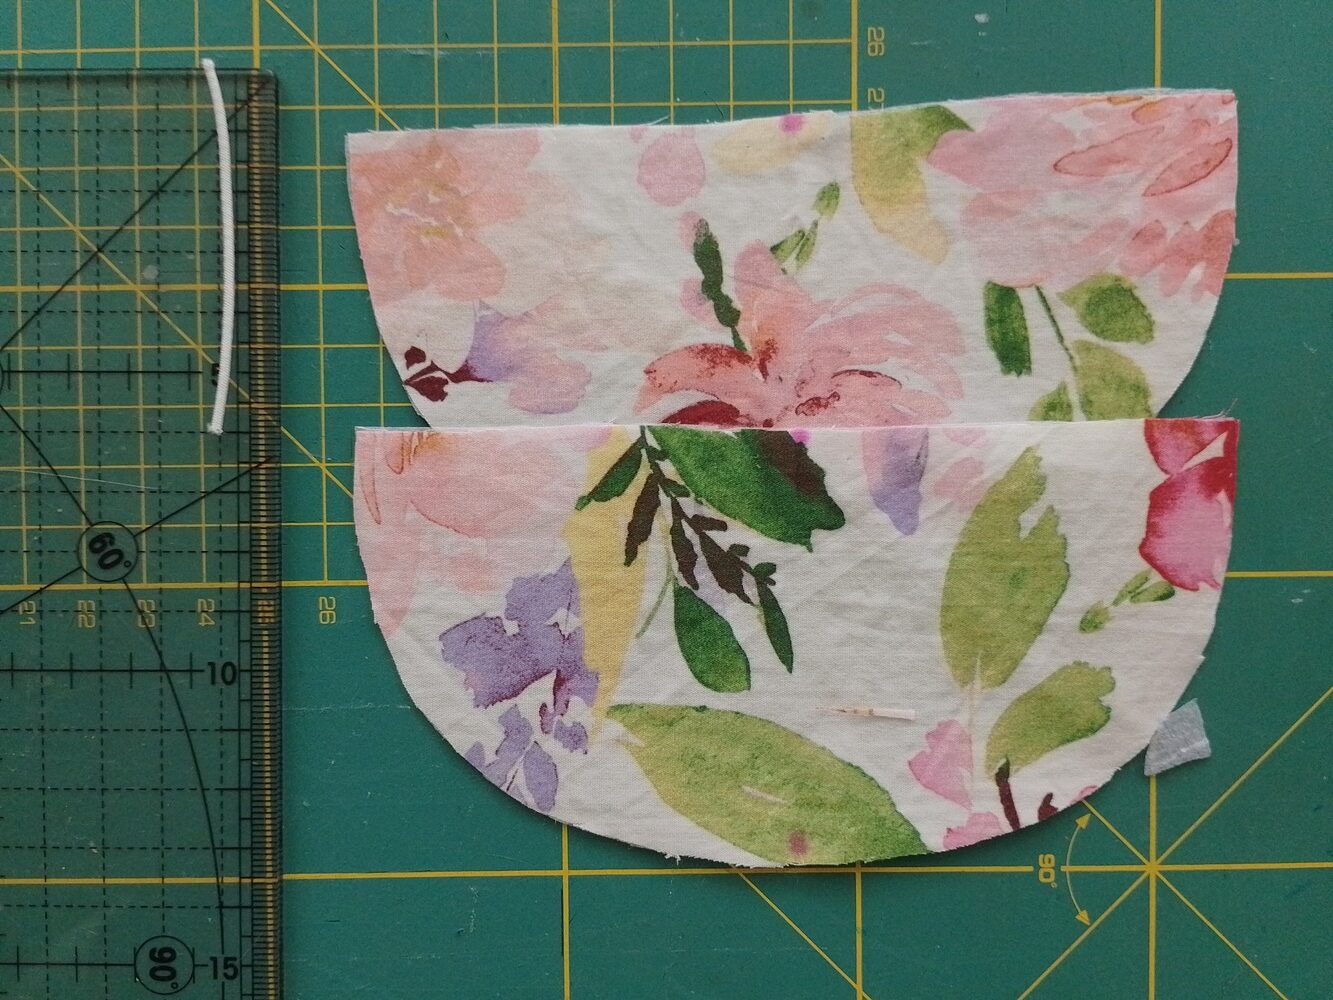
Fold the elastic in half and place it at the bottom center notch of the curved edge of one flap piece. Secure it with a pin as shown below.
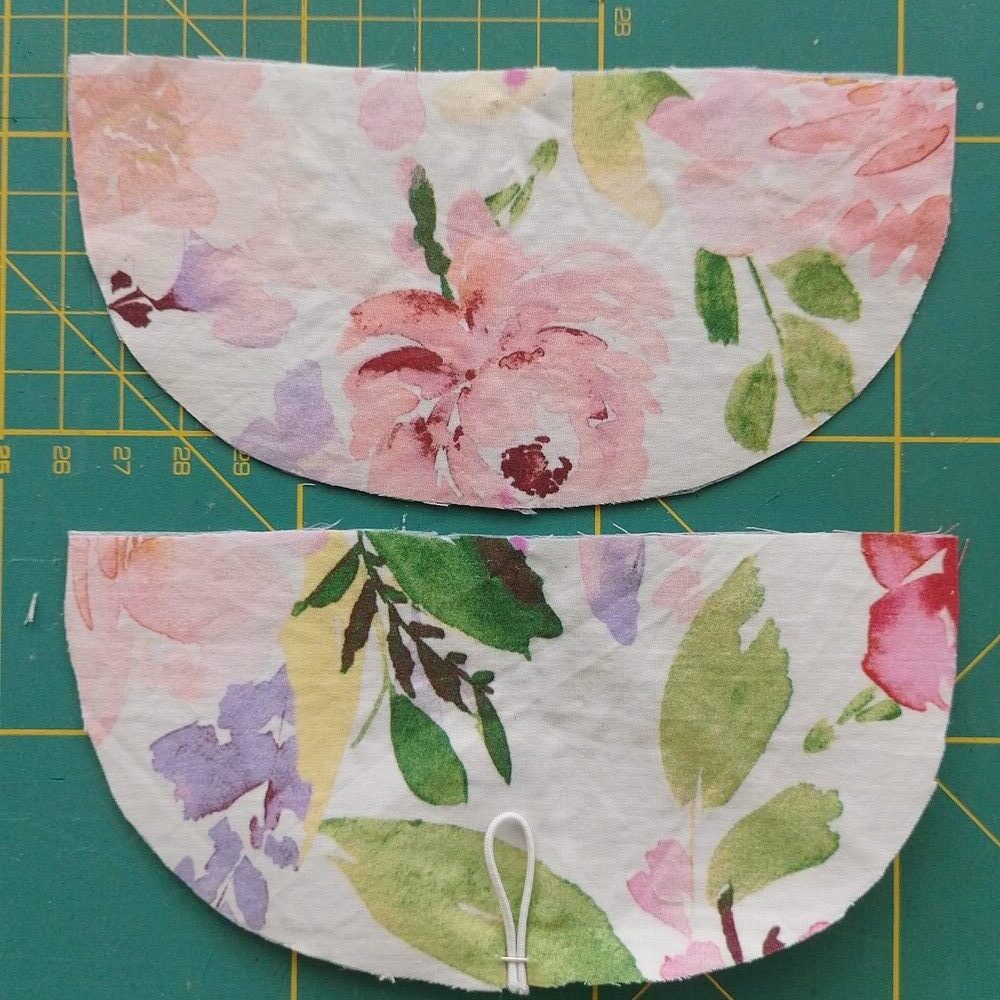
Place the second flap piece on top with right sides together, aligning the notches.
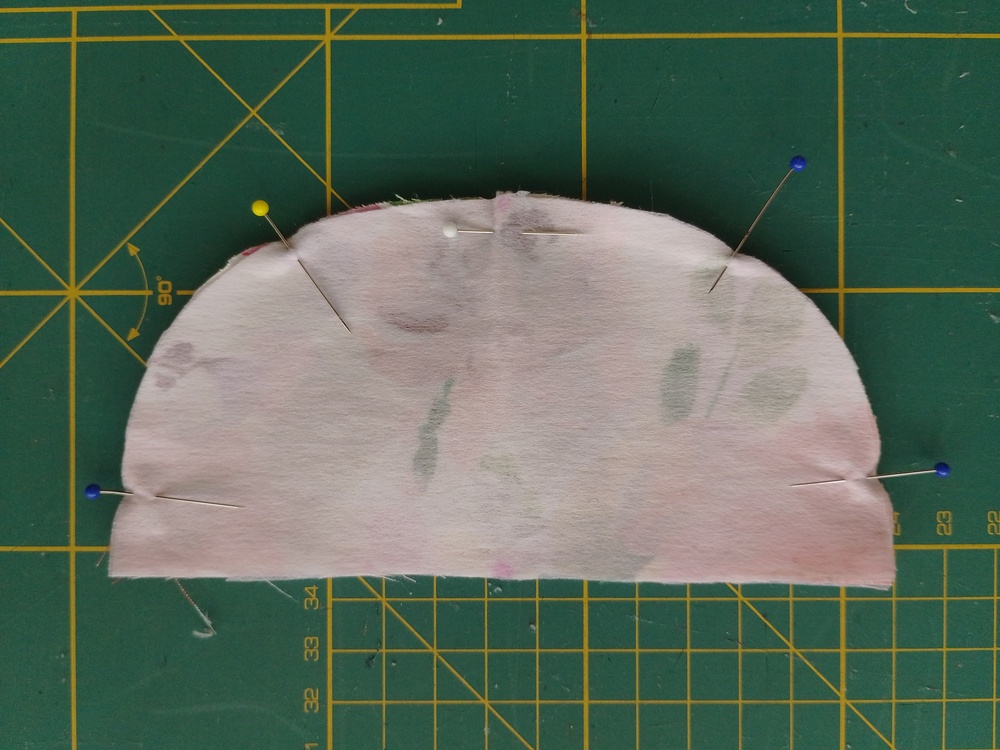
Pin around the curved edge and sew using a 1 cm or 3/8 in seam allowance. Backstitch over the elastic to just to make sure it’s secure..
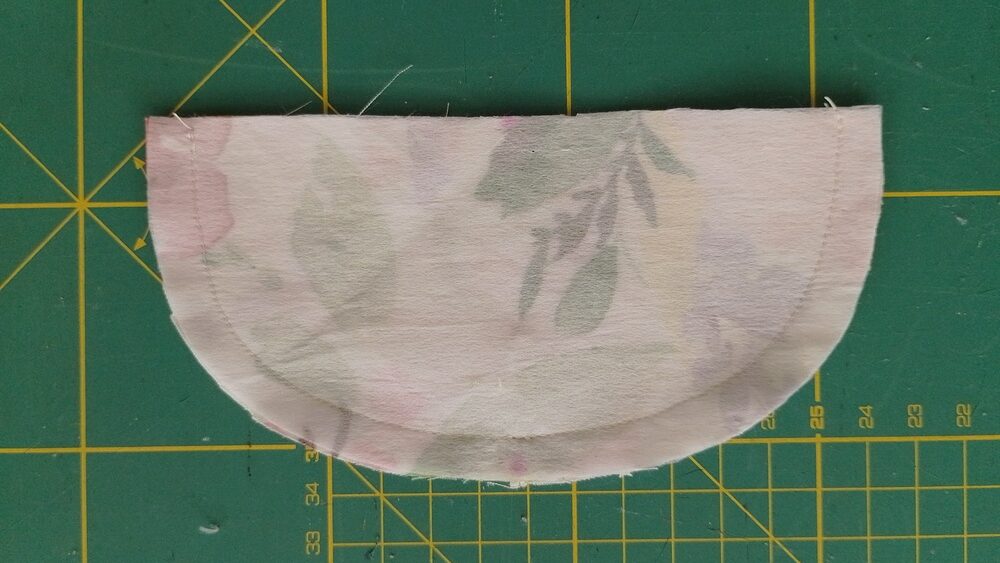
Trim the seam allowance down to about 0.6 cm or 1/4 in. Notch the curved seam carefully (like really carefully 😅, I actually cut into my seam here and had to move it inward).
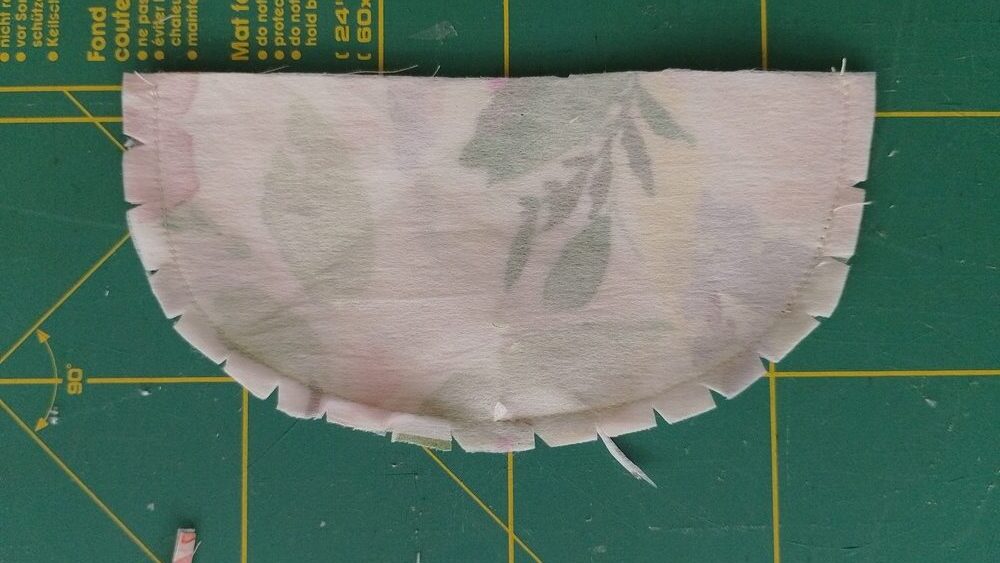
Now turn the flap right side out and push the seam out with a blunt pointy tool like a chopstick. Press the flap.
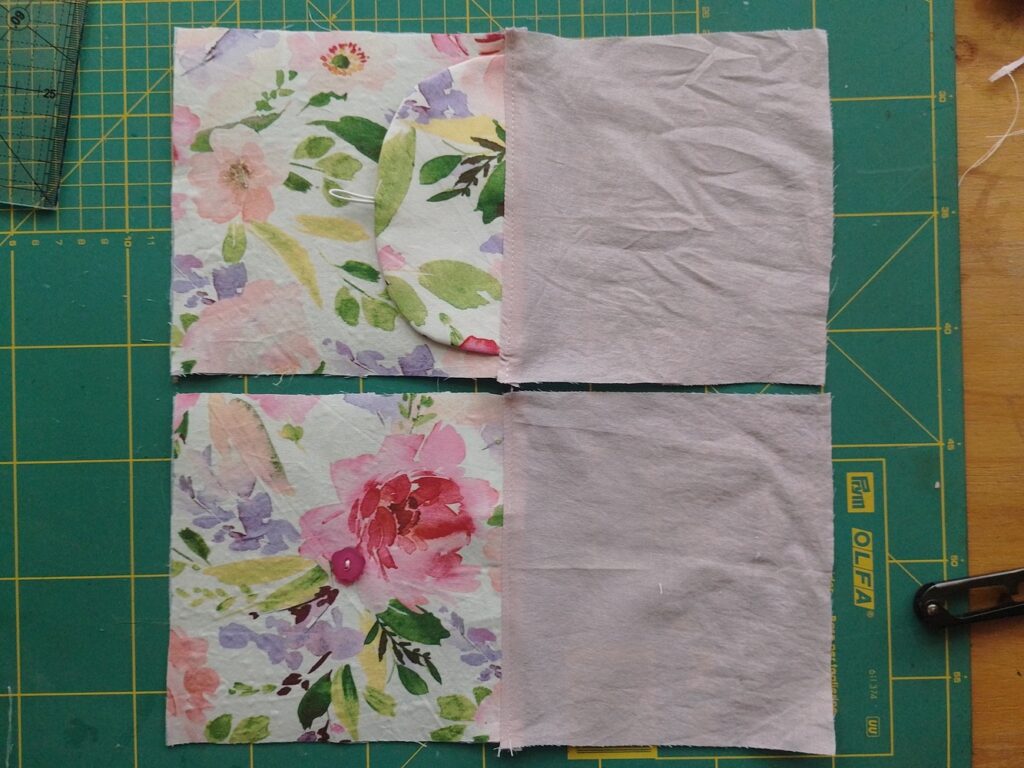
Step 5: Sewing the lining
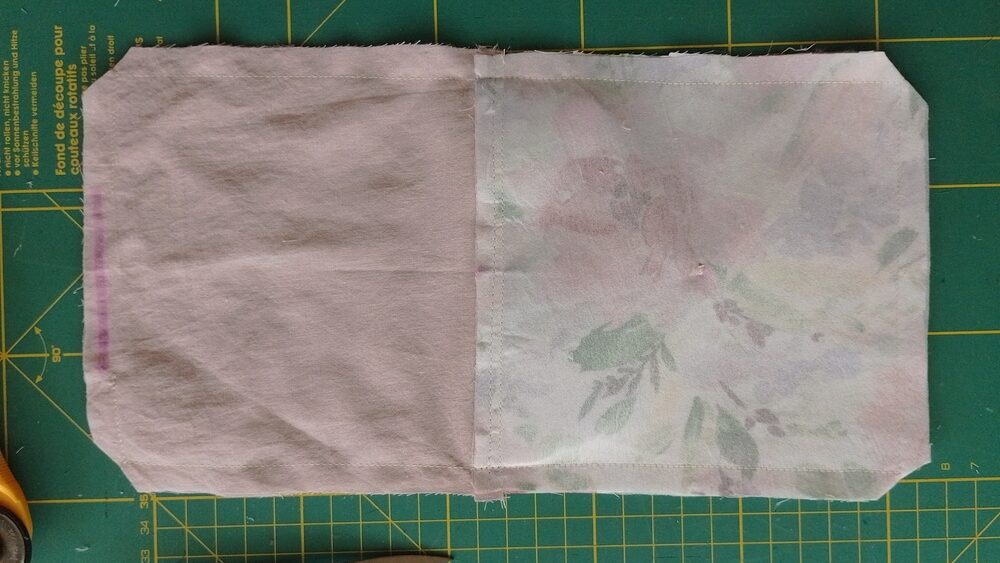
Take the main fabric square that doesn’t have the button and place it right side up. Align the flap along the top edge of the square at the center notch and pin them together.
Place one lining piece on top of this square, right sides together, so the flap is sandwiched between the two layers. Pin along the top edge. Repeat this step with the buttoned square and the other lining piece.
Sew each assembled piece and sew using a 1 cm or 3/8 in seam allowance.
Open up both panels and press the seam allowance toward the lining. Understitch the seam allowance to the lining (this is just a line of stitching about 0.3 cm or 1/8 in away from the seam on the lining side only). Press both panels flat.
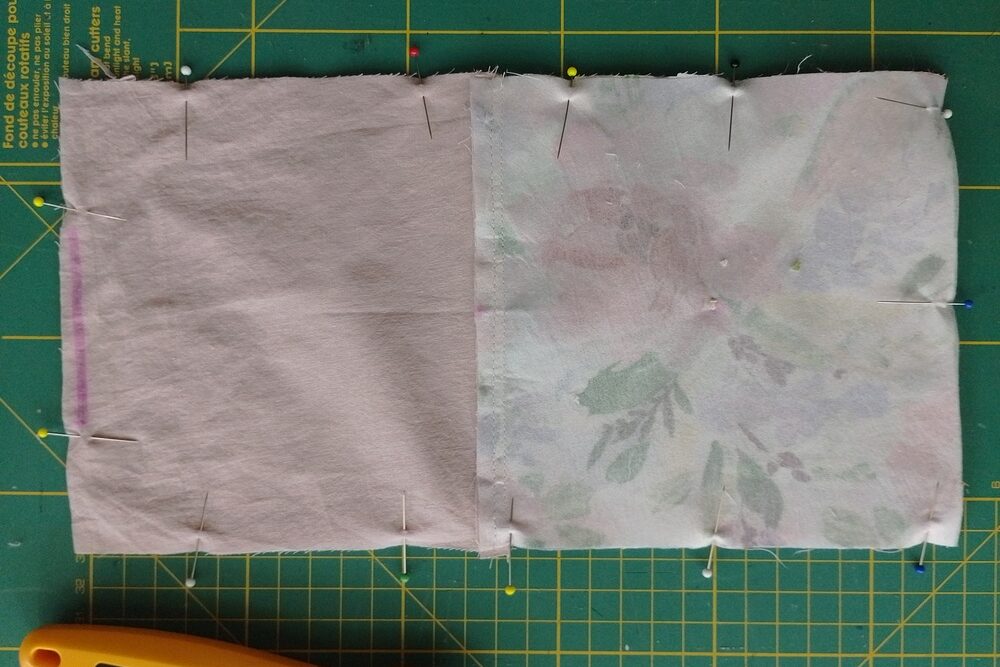
Step 6: Sewing the pouch together
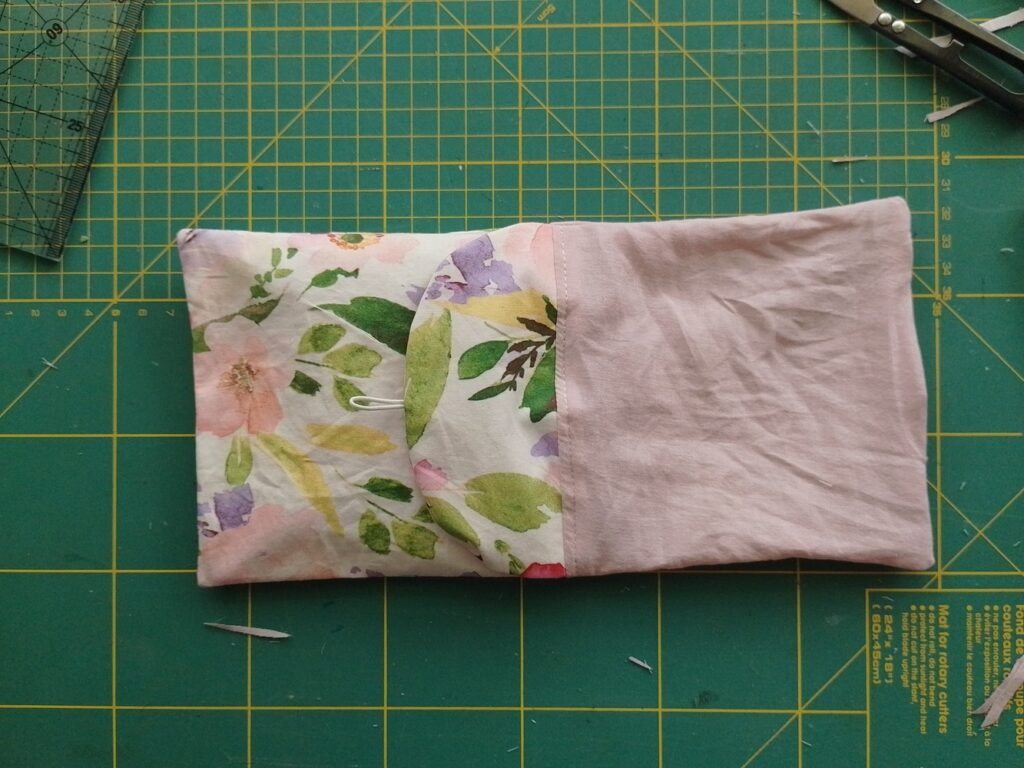
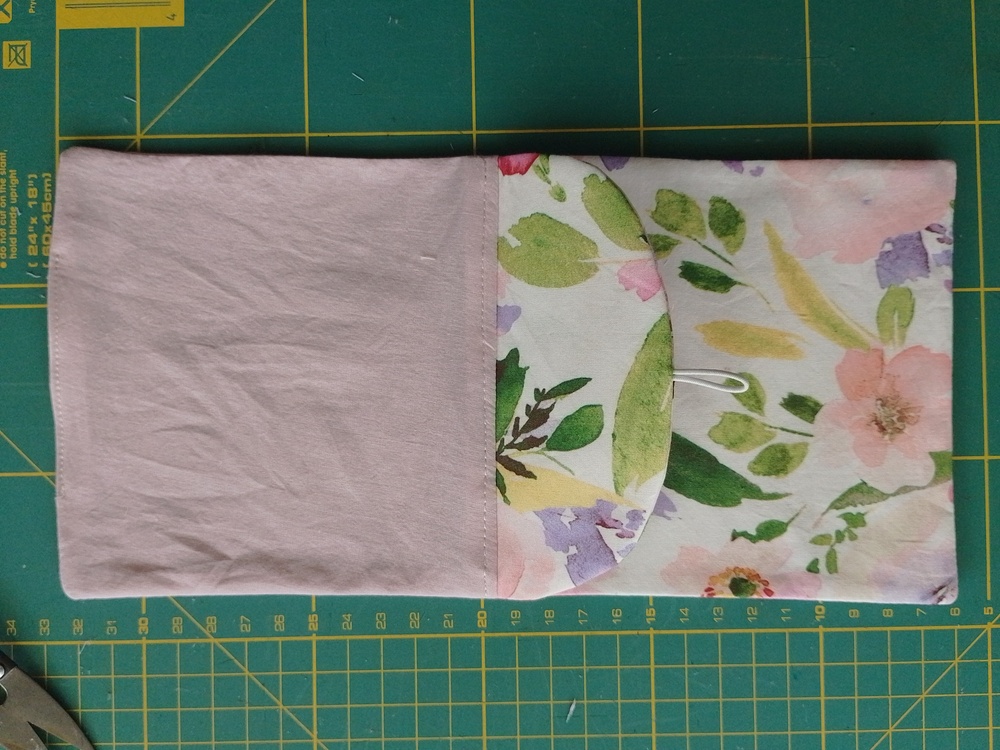
Open both panels flat and place them right sides together Match the main fabric piece of one panel to the other and do the same for the lining piece.
Match the edges and pin or clip all the way around. Leave a gap of about four finger-widths at the bottom of the lining side to allow you to turn the pouch right side out later.
Sew all the way around the edges of these pieces with a 1 cm or 3/8 in seam allowance. Whenever you get to the flap, make sure your line of stitching does not sew it down. Remember to leave a gap about four fingers wide on the lining side.
Clip the corners of your bag diagonally. and trim down your seam allowance to about 0.6 cm or 1/4 in.
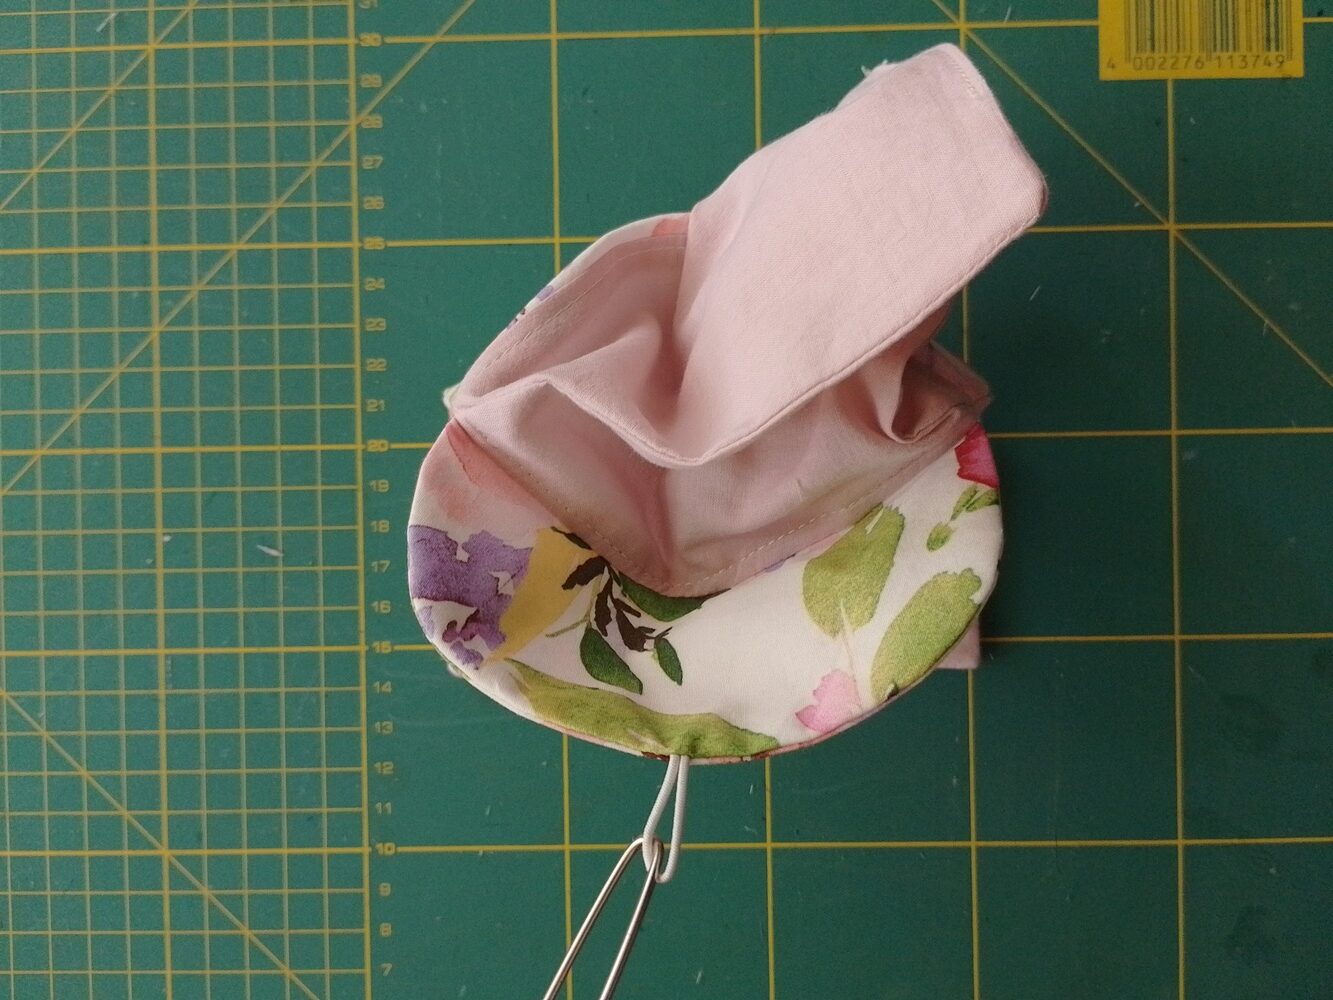
Reach your fingers inside the bag through the gap in the lining. Gently pull the flap out until you have turned the entire pouch right side out through the gap.
Insert a blunt pointy tool like a chopstick to push out the corners of the pouch completely. When you are happy with this, press the seam allowance at the gap inward and sew it shut with an invisible stitch or just by edgestitching (I chose the latter since it’s easier and will be hidden inside the pouch anyway).
Grab the lining of the bag and tuck it into the main pouch.
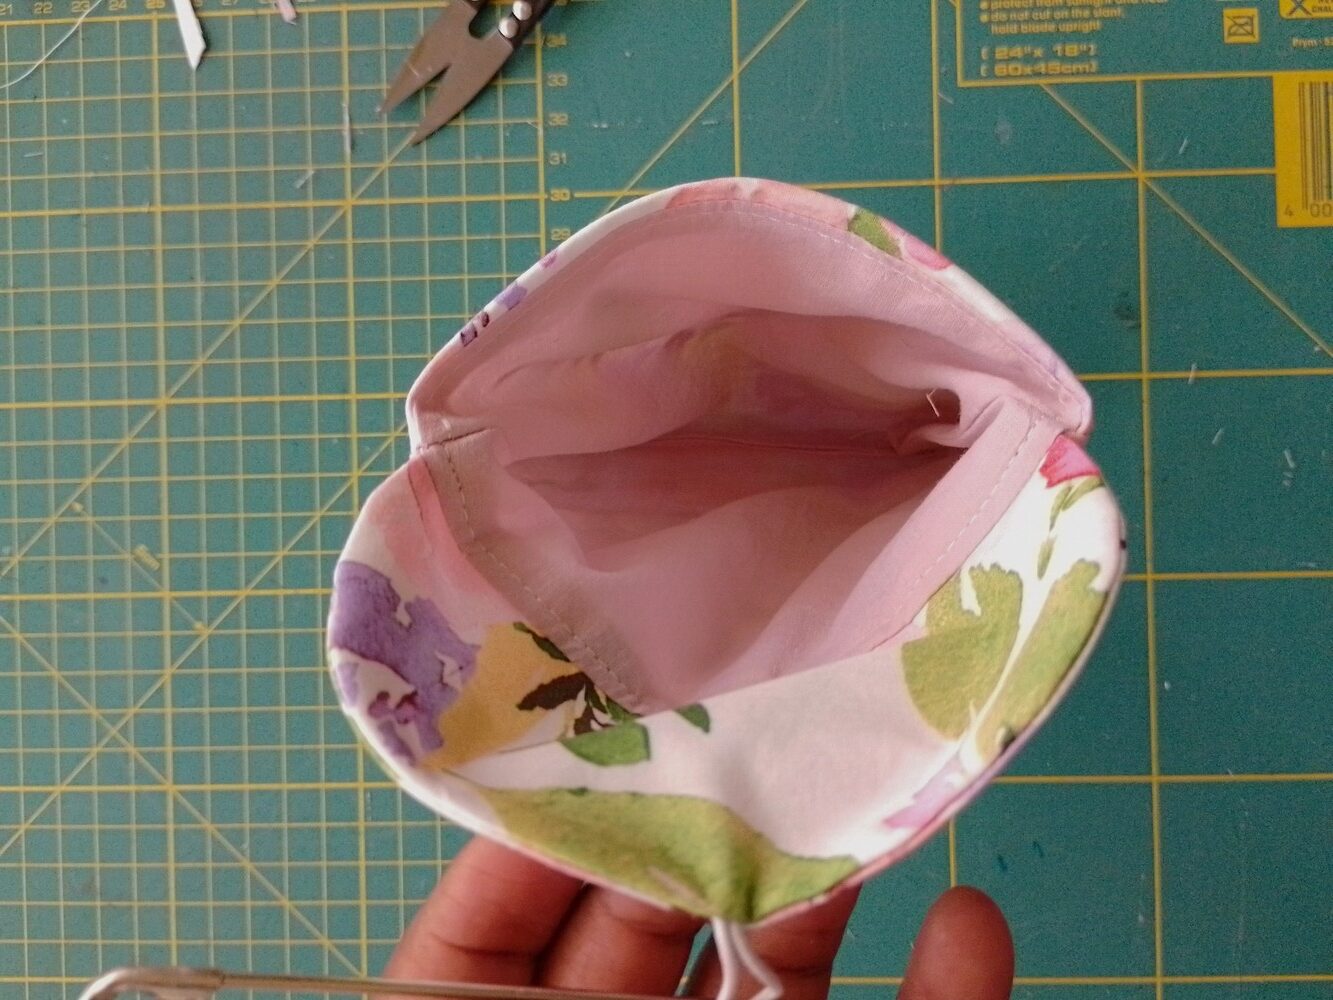
Adjust the corners and edges so everything sits flat. Press the pouch.
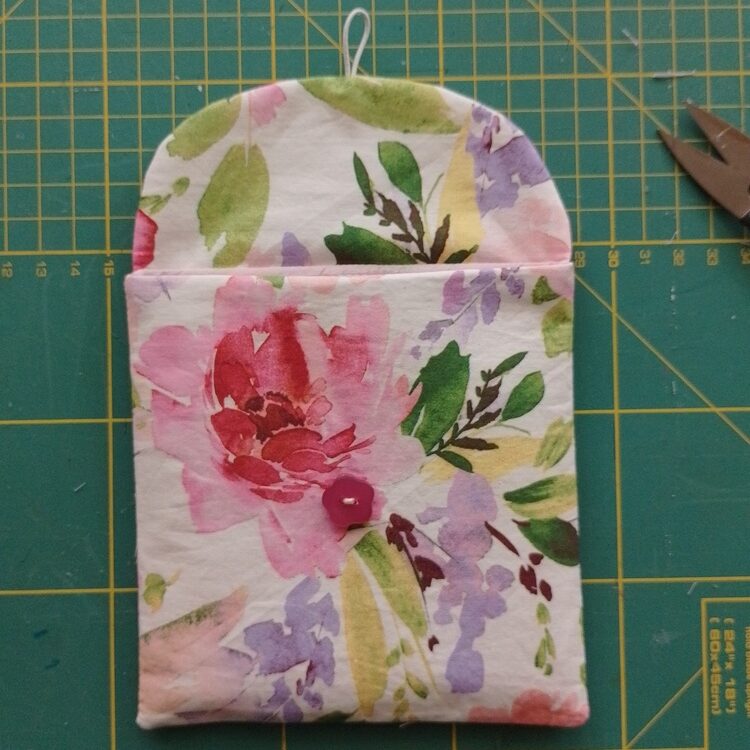
Congratulations on sewing the sanitary pad pouch pattern! Loop the elastic over the button to close it..
If you’d like to sew another small pouch, check out my free boxy square pouch sewing pattern and tutorial. I also have other bag sewing patterns and tutorials you can check out.