Sewing Panties with an Enclosed Gusset Using the Burrito Method
This blog post is a sewing tutorial on how to sew panties using the burrito method for a nice enclosed gusset finish, and it is a follow-up to my previous post, How to Draft a Panties Pattern.
You do not have to have drafted your own pattern, you can also grab a free underwear sewing pattern linked in this round up post of 15 Free Panties Patterns.
My goal here is to show you, step by step, how to construct the panties and enclose the gusset seams.. I also include a free PDF download for applying finish them using either decorative or picot elastic.
A note on sewing with knits
If you’re using a purchased pattern, just go with whatever fabric the designer recommends. But if you’re working with a self-drafted pattern, like the one from my previous post, I’d suggest using a four-way stretch fabric. This just means it stretches both crosswise and lengthwise, and honestly, that’s all you really need. Fabrics with elastane are quite forgiving, so you don’t have to overthink it. If it stretches in both directions and feels comfortable, you’ll be fine.
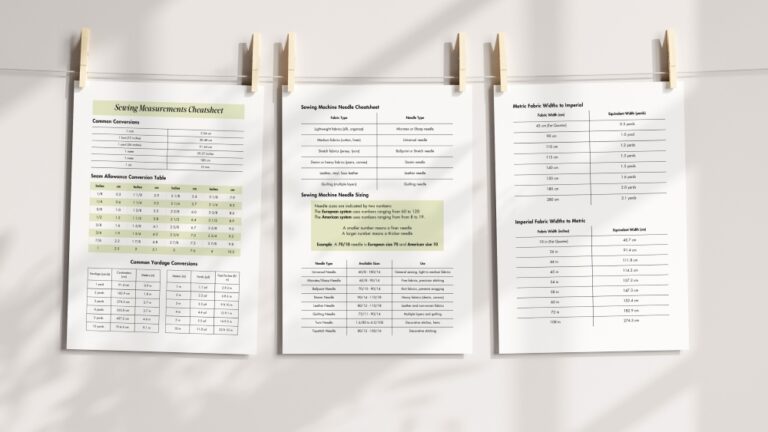
As for needles, you’ll want to use something suitable for knits. Ballpoint, stretch or universal needles are good options. Personally, I use a universal needle because it works for both knits and wovens, and I don’t have to switch it out as often. Just make sure to keep the needle size on the smaller side (75/11 or 80/12).
Some people like to use a walking foot to help feed the fabric evenly. You totally can if that’s your preference, but for this project, the seams are short and manageable, so you won’t need one.
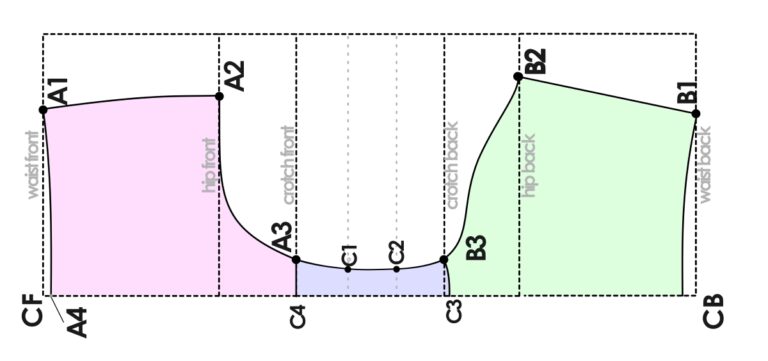
Pattern Pieces
So before we begin, let me show you the basic pieces I am working with.
You will need the following pieces:
1 Front piece
1 Back piece
2 Gusset pieces – 1 outer piece, 1 lining piece

Assembling the pieces
Place the front piece right side up followed by the outer gusset piece right side down, lining up the curved edges. Pin in place.

Flip the pinned pieces over. Now the outer gusset is the bottom layer, right side up, front piece right side down.

Place the gusset lining with the right side up on top of these.
Sew the edges together with whatever seam allowance your pattern calls for (3/8 in or 6 mm for self drafted).
Do not backstitch as this will likely bunch up your fabric; it’s such a short seam after all. Instead, leave enough thread length at the beginning and end of the seam and tie both ends with a knot.
Optional: Trim down the seam allowance to about 3 mm or 1/8 in.

Burrito method: Enclosing the seams
We are now going to sew the gusset pieces together using the burrito method. This will enclose the gusset seams so they are out of sight. Just follow the steps below.
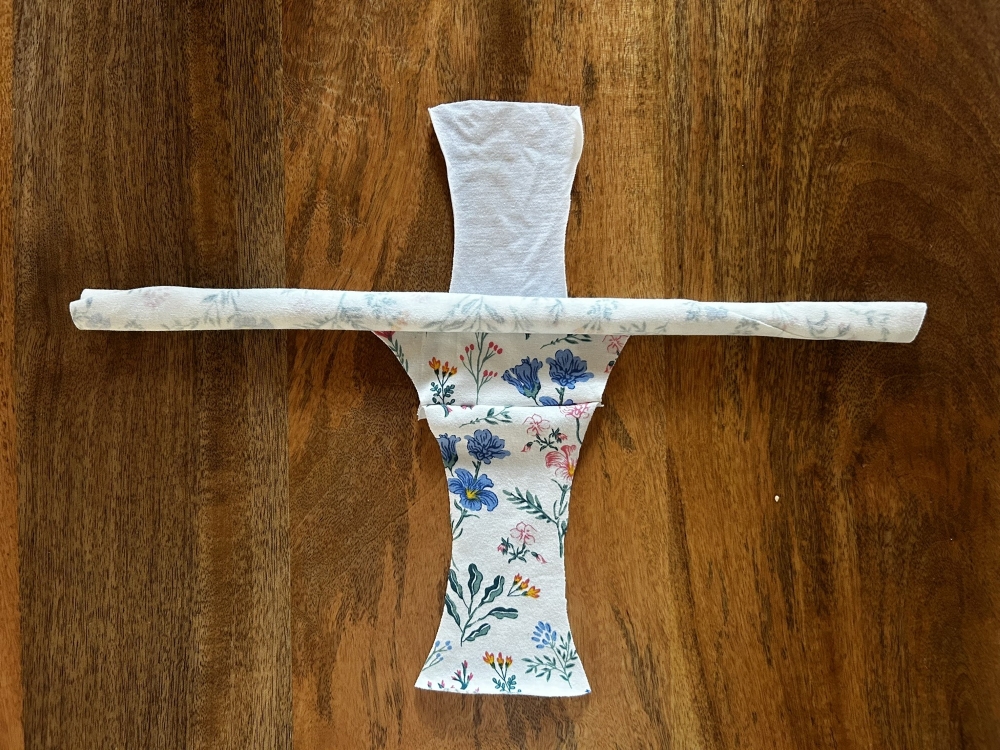
Open up the gusset pieces and roll up the front piece between them such that the gusset lining is wrong face up and the outer gusset is right face up.

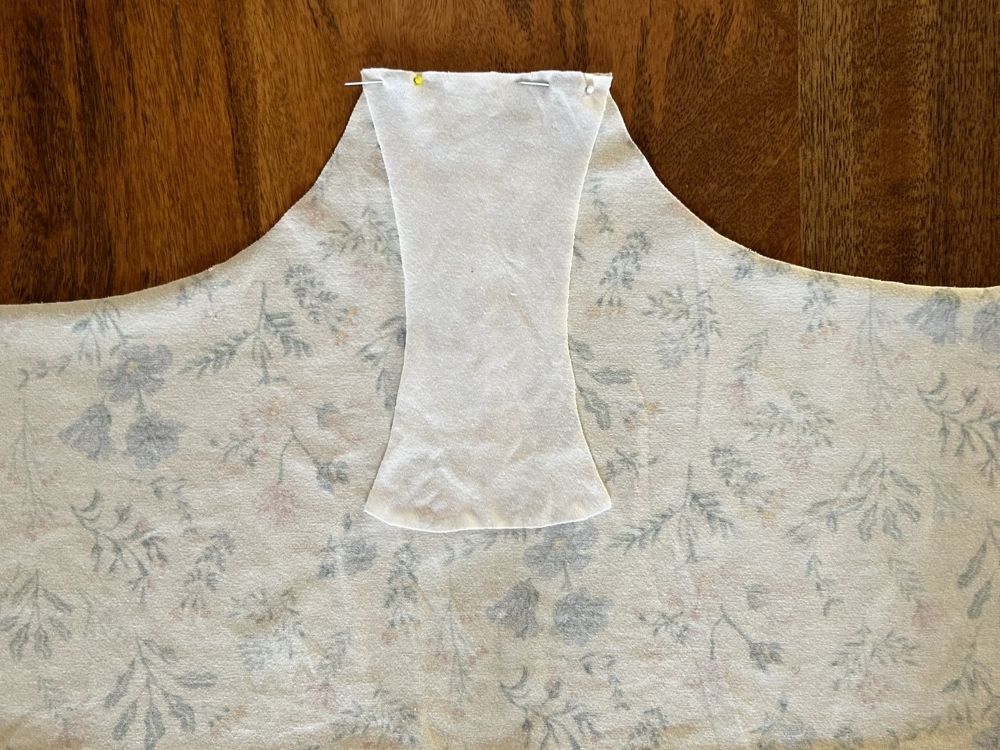
Place the back piece on the outer gusset, right sides together. Pin these two at the centre to hold in place.
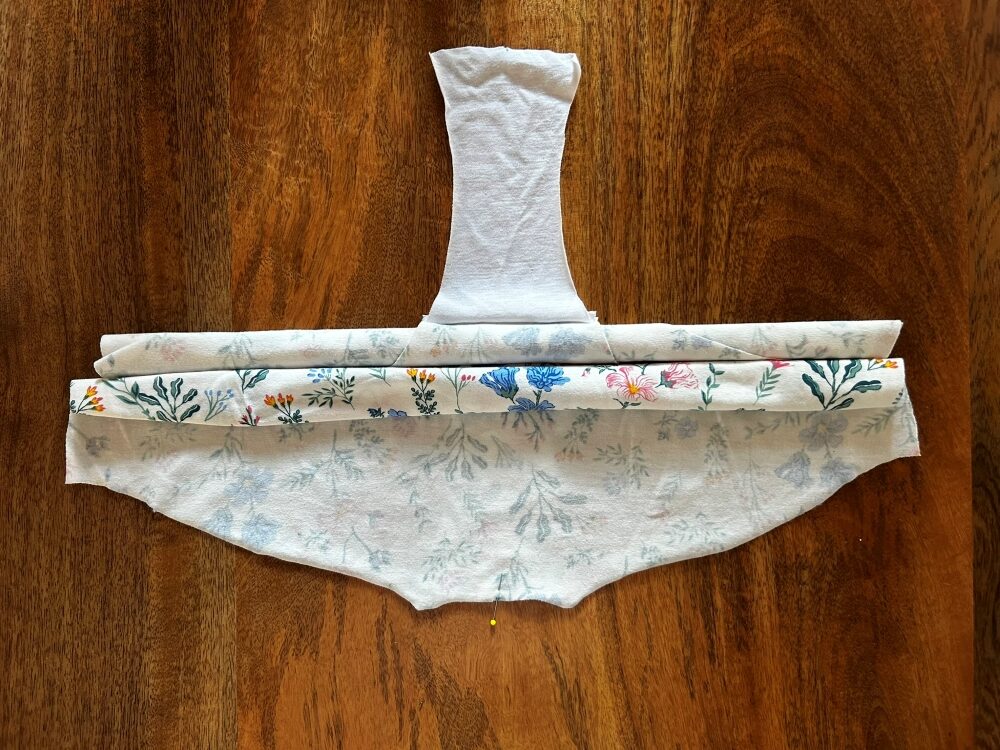
Roll back the top of the back piece such that it lies in the center of the gusset pieces, next to the rolled up front piece.

Pull the gusset lining piece over the rolled fabric and line it up with the pinned edge of the back piece and outer gusset pieces.
Pin the three layers in place and if they are curved, as in the self drafted pattern, carefully ease the curved edges together and pin them in place.
Sew the edges together with whatever seam allowance your pattern calls for.
Optional: trim down the seam allowance to about 3 mm or 1/8 in.
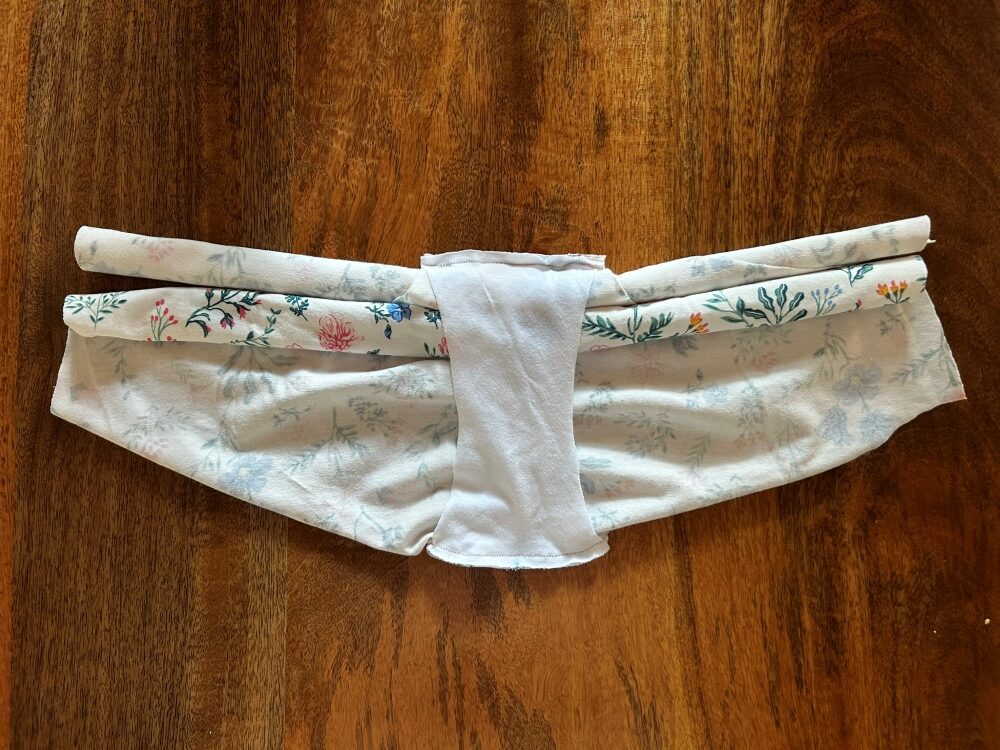
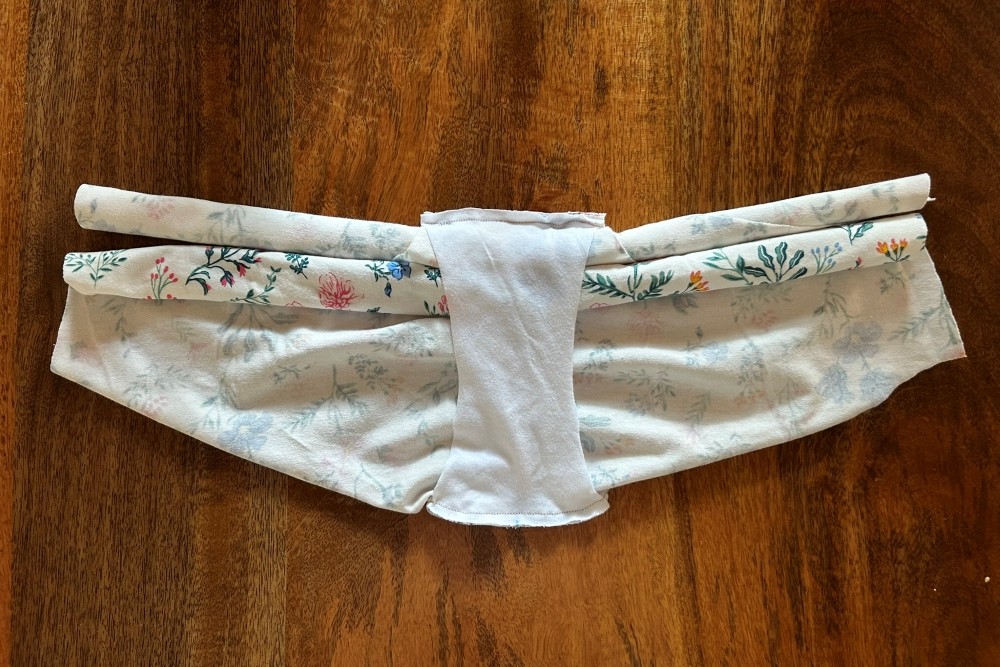
Pull the rolled up fabric (front and back piece) out through one of the openings.
Both gusset pieces now enclose the seams you just stitched, and are right side out.

Place the side seams of the front and the back piece right sides together and sew together using whatever seam allowance your pattern calls for.
Optional: Trim down the seam allowance to about 3 mm or 1/8 in.

Now that your panties are assembled, it’s time to finish the raw edges with elastic.
I have a detailed guide that covers how to sew both picot/decorative and fold-over elastic. Just click the download button below and your PDF download should begin.
Happy sewing my friends and remember to check out my pattern round up showcasing 15 amazing free panties patterns you need to try out.