How to Sew a Square Boxy Pouch (+ Free PDF Pattern)
In today’s tutorial, I’ll be showing you how to sew a square boxy pouch that you can put all your little knick-knacks in. This DIY pouch measures 12 x 12 x 4 cm and comes with a free PDF pattern you can print out. There are some fiddly steps to this sewing tutorial so in some sections, I have short video clips to demonstrate the process. All in all, this is a beginner friendly sewing tutorial so no need to worry.
Supplies & cutting


To sew this square boxy pouch, you will need the following supplies:
- Zipper (22 cm /9 in long or longer and 2.5 cm/1 inch wide)
- Fabric Scraps (main & lining) 1
- Fusible interfacing 2
You are free to sell any items you make using this pattern but please do not sell or redistribute the pattern itself. Below is the free PDF square boxy pouch download. Just click on it.
Sewspiratrice Square Boxy Zipper Pouch (422 downloads )
Using the pattern pieces cut and prepare the following:
- 2 main pieces using the main pattern piece
- 2 lining pieces using the main pattern piece
- 2 pieces of fusible interfacing using the interfacing pattern piece
- 1 piece of main fabric using the zipper tab pattern piece
- 1 piece of main fabric using the fabric loop pattern piece
1 You will need fabric scraps for the main bag and lining that are of the same fiber content and weight. I recommend using something like a quilting cotton. I made the mistake of using chambray for my lining and cotton poplin for my main fabric when making one of these and it was a bad idea as chambray has a much looser weave. It stretched out a bit as I handled it and so I ended up having extra length in the lining.
2 I personally am using lightweight fusible interfacing but feel free to use a heavier weight. Do note that it will be more difficult to handle heavier weights when turning out the pouch.
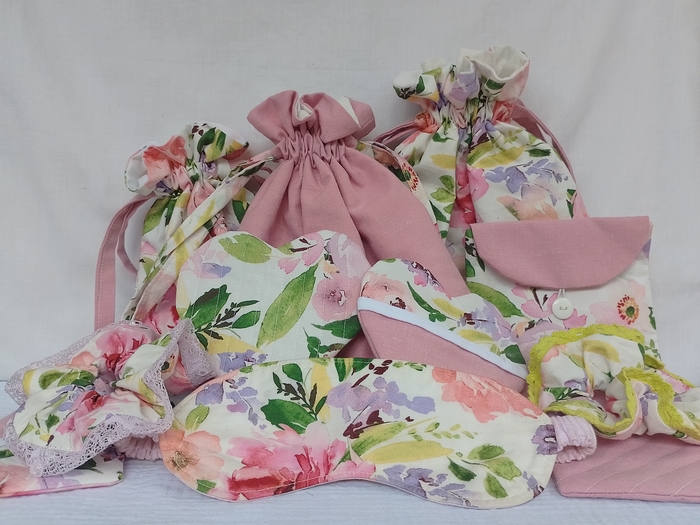
Check out my free PDF pattern and sewing tutorial for a cute sanitary pads pouch. No zippers or snaps!
Read tutorial →Sewing Instructions
Preparing the zipper and zipper tabs
If you’re using a zipper longer than 22 cm like me, you need to cut it to size.

Using a marking tool, transfer the length of the main pattern to the zipper tape.
Make sure the zipper pull is in between the marks before cutting off the excess length. When cutting, shave off the marking line to ensure that you don’t add any extra length.


Take the zipper tab piece and fold each edge onto the wrong side of the fabric by 1 cm. Fold the fabric in half crosswise.
Use the folded tab to enclose the open edge of the zipper and clip this in place. It is designed to be slightly wider than the zipper width so trim any excess off if you see the need to. Topstitch horizontally across the zipper tab on the edge close to the zipper pull.

Put the assembled zipper aside and grab the fabric loop piece.

Fold the piece of fabric in half lengthwise to create a center crease and press. Open the fabric piece up and fold both long edges towards the center crease. Fold and press.

Using the center crease as a guide, press the two folds onto each other and edge stitch them together. Fold the edgestitched strip in half and baste its raw edges together to hold them in place. You have now sewed a little loop that you will attach to the pouch later; set it aside for now.
Attaching the zipper to the fabric

Use the manufacturer’s instructions, apply fusible interfacing to the wrong side of your main fabric pieces.

Place one of the lining pieces, right side up. Place the zipper on top of the lining, right side up, Match the edges of the zipper with that of the lining and hand baste with
contrasting thread.

Place the main fabric on top of the basted lining and zipper, right side down. Pin or clip in place and ensure the zipper is open and the the pull is roughly halfway between the edges of the zipper.
Switch to a zipper foot. Sew using 0.6 cm or ¼ in seam allowance until you get close to the zipper pull. Lift the presser foot and pull the zipper away from you to get it out of the way. Lower the zipper foot and continue sewing all the way to the other edge.


Remove the line of basting. Open the layers up and fold them onto each other, wrong sides facing (as in the left hand side image above). You now have the free edge of the zipper exposed.
Place the remaining piece of lining, right side up, underneath the assembled layer of fabric that has the zipper. Line up the edges of the zipper and lining. Hand baste with contrasting thread.

Place the main fabric right side down on top of the basted lining and zipper. Pin or clip in place. Ensure the zipper is open and the the pull is roughly halfway between the edges of the zipper.
Switch to a zipper foot. Sew using 0.6 cm or ¼ in seam allowance until you get close to the zipper pull. Lift the presser foot and pull the zipper away from you to get it out of the way. Lower the zipper foot and continue sewing all the way to the other edge.

Remove the basting stitch. Open the layers up and on either side of zipper, fold the main piece onto the lining, wrong sides together. Press the fabric pieces away from the zipper and neaten them.
Top stitch about ⅛ inch or 0.3 cm away from the fabric edge across the length of the zipper on each side. Take the loop of fabric you’d prepared earlier and sew it to the raw, exposed end of the zipper as in the image below.

Fold the main pieces of fabric on either side of the zipper onto each other, right sides facing and pin their long edges together. Do the same for the lining pieces but leave a four finger wide gap in the middle. In the photo below, I’ve marked my gap using two pins so I remember it when sewing.

Sew the long edge of the main fabric using a 1 cm or 3/8 in seam allowance. Sew the long edge of the lining as well, remembering to leave a gap in the middle. Press open the seam allowance on both the lining and main side of the pouch for easy handling in the next steps.

Sewing the corners of the pouch
This part is a little bit difficult to show using photographs so I’ve taken short videos of what you need to do.
Check out the short clip below. Arrange and clip or pin the short edges each side of your pouch together. Son on each side, this is the short edge of the lining and main fabric sandwiching that of the zipper piece.
Sew both sides with a 1 cm or 3/8 seam allowance. This is what you ought to have now.

I can show this next step better than I can write it out, so check out the short clip below. But for what it’s worth, here are written instructions: At one of the cut out corners on the side of the main fabric, pinch the fabric apart and pull gently so that the exposed seam matches up perfectly with the bottom center crease. Flatten and line up the fabric to create a straight raw edge. Repeat this for the corresponding lining fabric corner directly behind it.
Arrange the two flattened edges together and pin or clip them together Sew using a 1 cm or 3/8 in seam allowance.
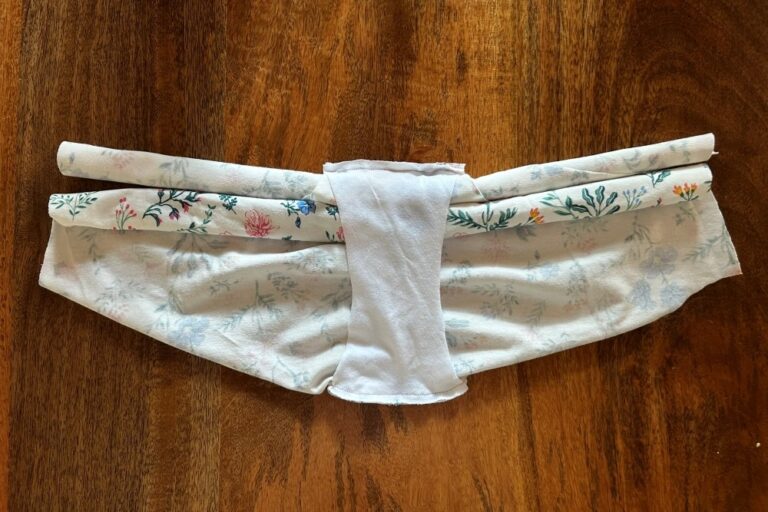
Repeat this step for the remaining exposed corner cutout. You will now have some sort of burrito as in the photo below.

Reach out into the gap in the burrito and pull the rest of the pouch out to expose the other two corner cutouts. Repeat the whole process again, pinching the fabric at the each corner and pulling it apart, layering clipping and sewing together.
You will again be left with a burrito shaped pouch. Reach out into the gap you left in the lining and pull the pouch out, the right side of the lining should now be exposed. Watch the short clip below to see this demonstrated.
The right side of your lining is now exposed. Through the gap in the lining use a blunt pointy object to push out the corners and neaten the pouch. When you’re done, close the gap shut using an invisible stitch.

Now turn the lining inside the pouch to reveal the main fabric of the pouch. Neaten and press if necessary. Congratulations! You have finished sewing your square boxy pouch.

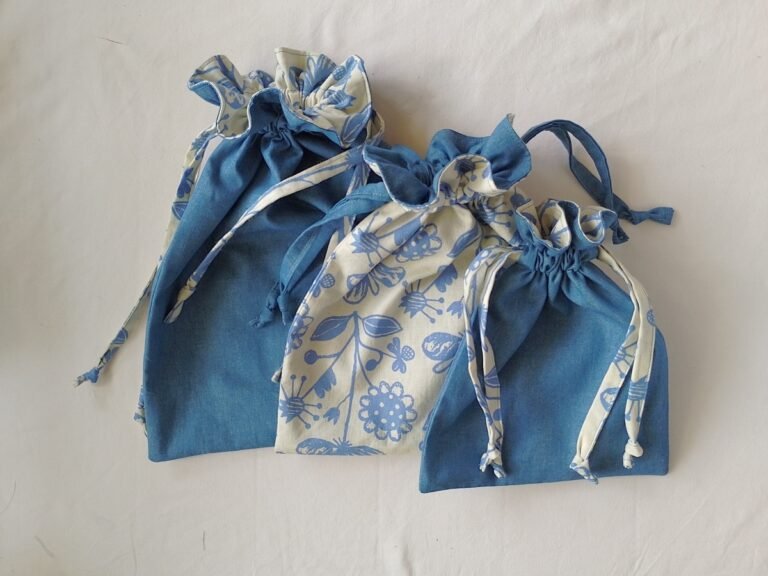
Wanna sew something quick and easy? Here’s my free PDF pattern and sewing tutorial to help you sew a drawstring bag.
Read tutorial →