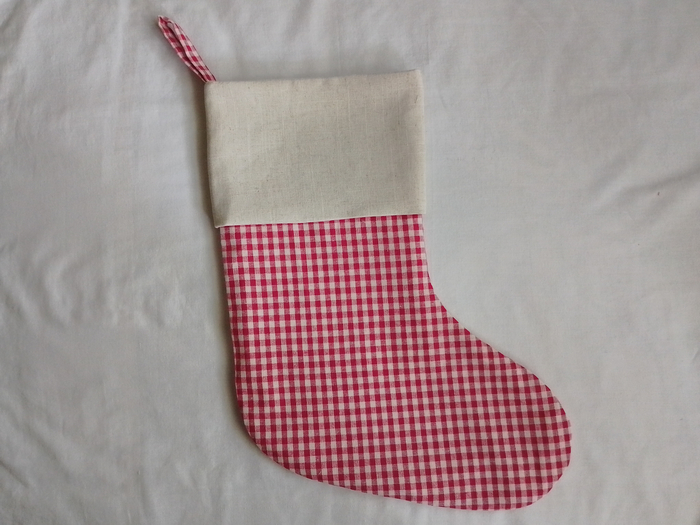
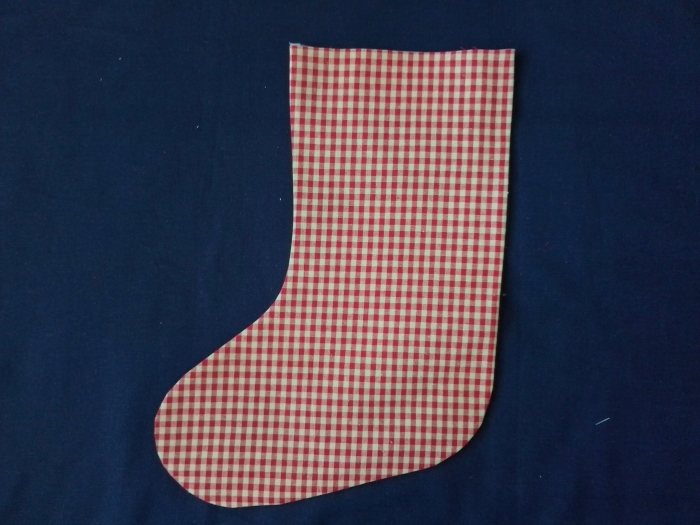
Easy DIY Christmas Stocking: Sewing Tutorial and Free PDF Pattern
It may be September but the holiday season is just around the corner, especially if you sew. I have an easy beginner-friendly sewing tutorial and free pattern to help you start sewing your very own Christmas stockings. This particular pattern has the option to add a cuff if you would like to sew a set of stockings that have a cohesive theme but with individual variation. So get creative with mixing and matching different fabrics. Download the pattern in the Cutting section below and get started!
Supplies
- Main Fabric
- Lining Fabric
- Lightweight fusible interfacing (optional)
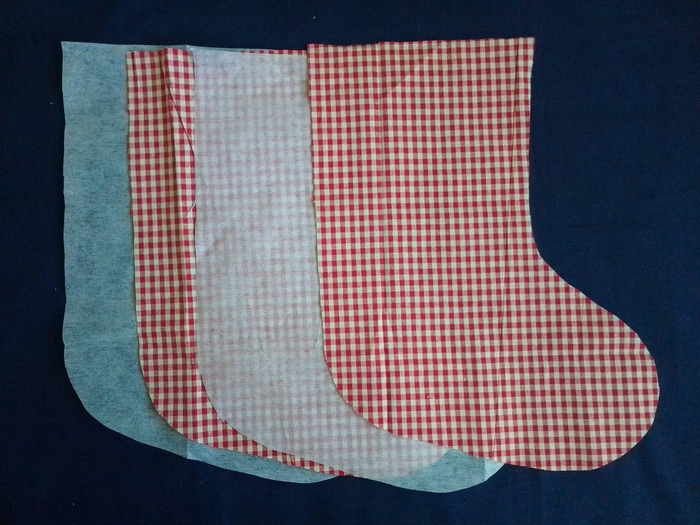
Cutting
You can download your pattern using the button below. On your printer, select your paper type size on the page set up and set the scale to ‘None’, ‘Actual Size’ or ‘100%’. Do a test print of the first page to check for scale before printing the the rest.
- For the Stocking Body:
- Main Fabric: Cut 2 from the stocking pattern piece
- Lining Fabric: Cut 2 from the stocking pattern piece
- For the Hanging Loop:
Cut 1 from the small rectangle pattern piece - For the Cuff (Optional):
Cut 2 on the fold from the cuff pattern piece
Sewing Tutorial
Sewing the main stocking
If you are using the fusible interfacing, apply it on the wrong side of the main pieces of fabric.
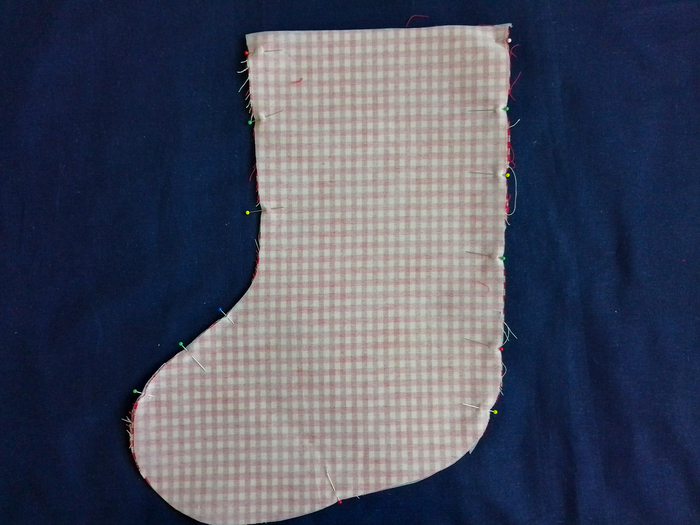
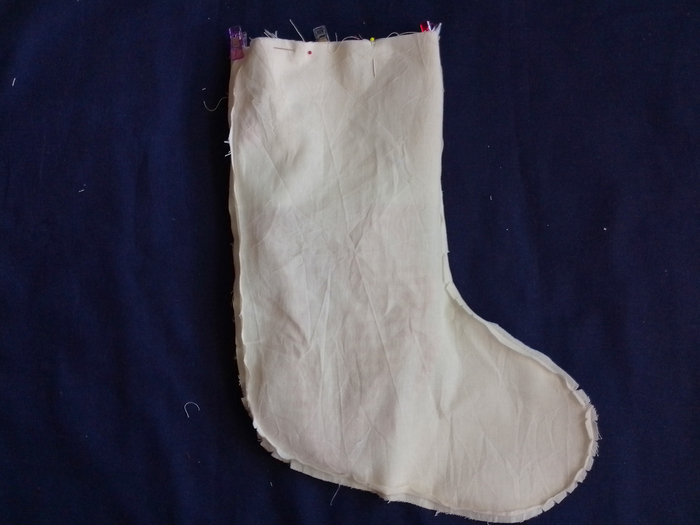
Place the two main fabric stocking pieces right sides together.
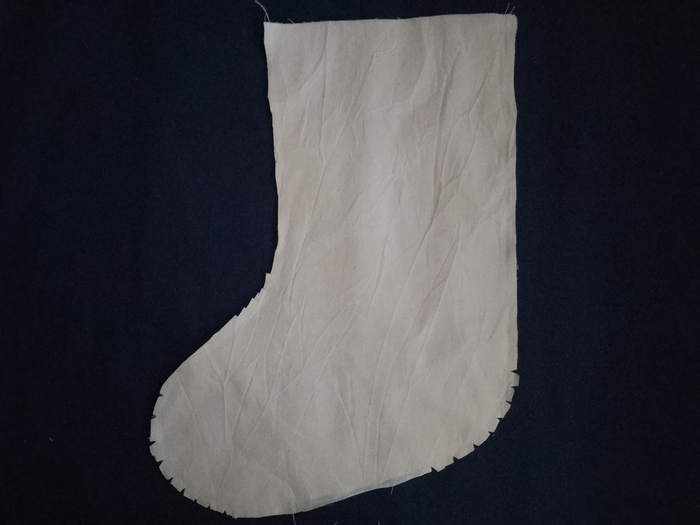
Sew all the way around the stocking shape using a 1 cm or 3/8 ” seam allowance (leave the top open).
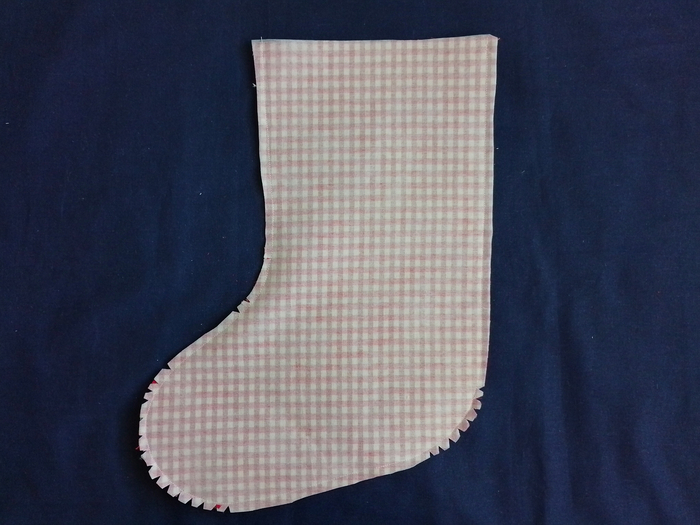
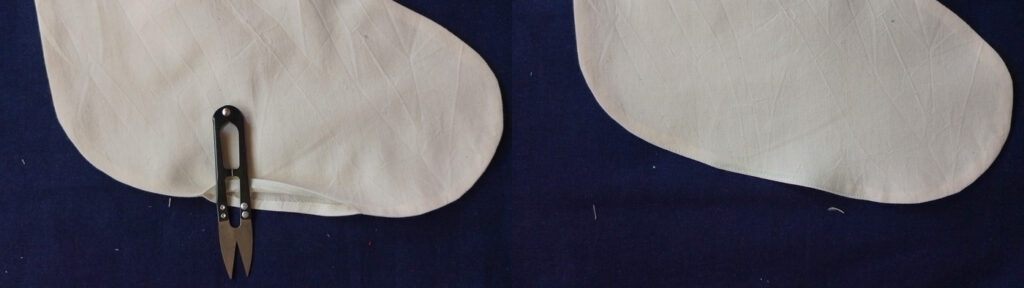
Clip notches into the outer curves and snip into the inner curves of the seam allowance.
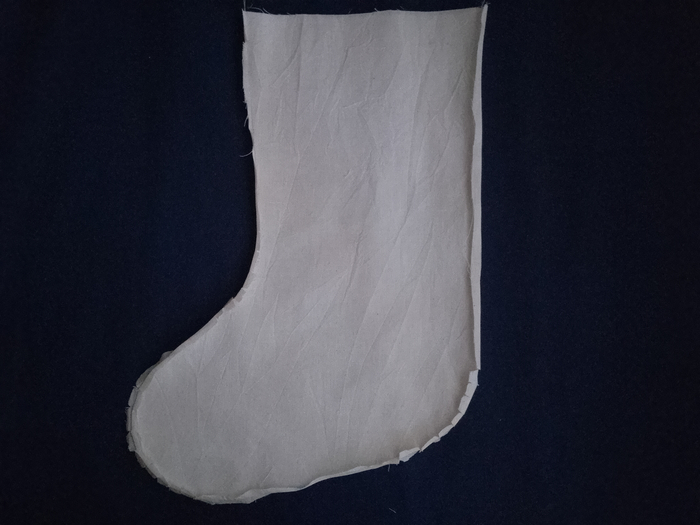
Turn the main stocking right side out and use a blunt pointed tool (like a chopstick) to push out the seams at the heel and toe. Press it flat and place it aside.
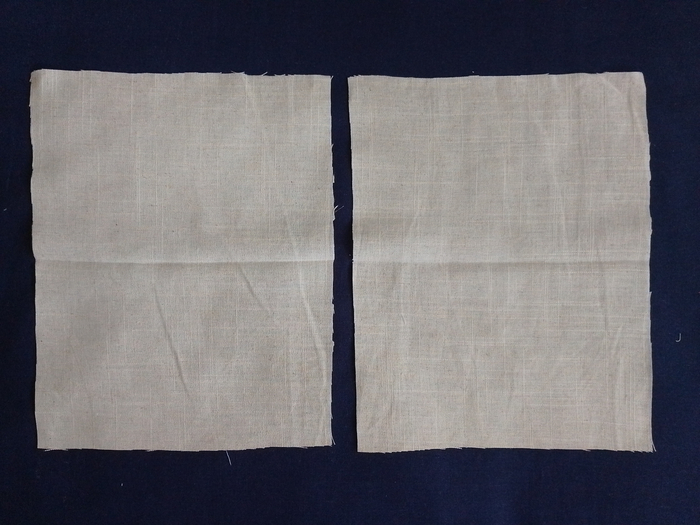
Sewing the lining of the stocking
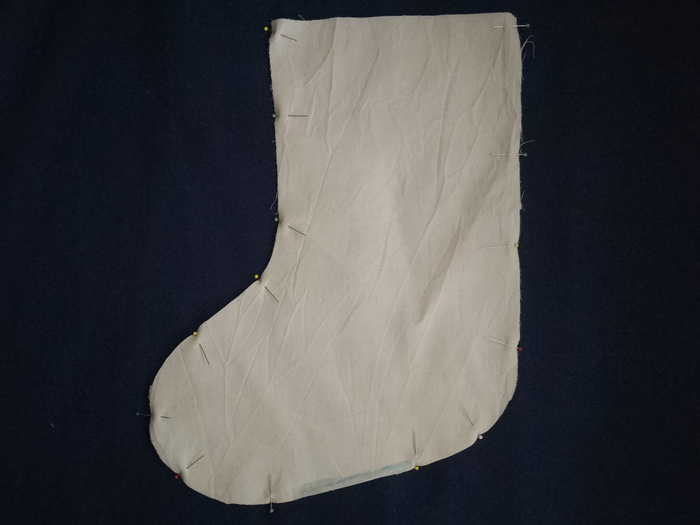
Place the two lining pieces right sides together and pin.
Sew all around the stocking shape using a 1 cm or 3/8 ” but leave a gap of about four fingers wide at the bottom of the foot for turning later.
Clip and snip the curves as you did with the main stocking.
Press the seam allowances open as best you can and put the lining aside.
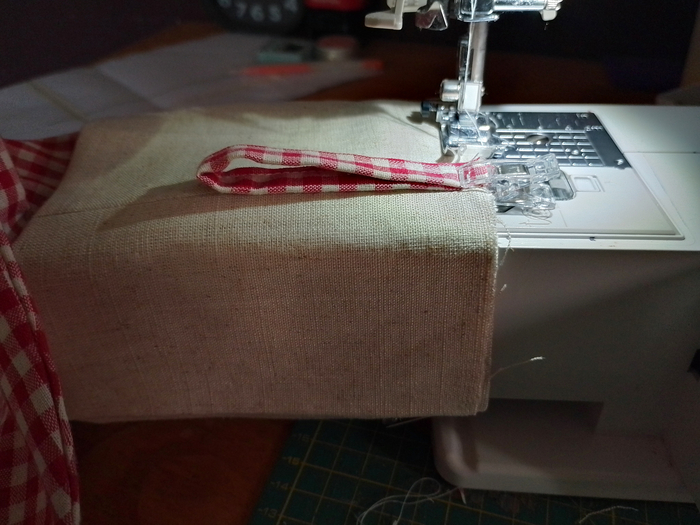
Sewing the loop for hanging the stocking
Take the small rectangle piece for the loop and fold it in half lengthwise. Press to create a centre crease.
Open the rectangle up and fold the long raw edges inwards to meet at the centre crease. Press.
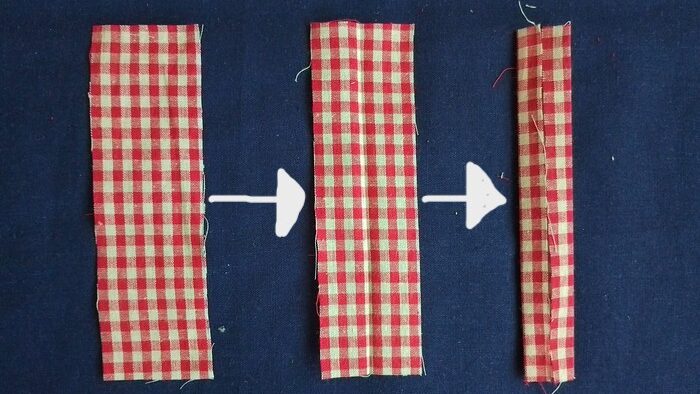
Fold the folded edges onto each other along the original center crease. So you’ve now enclosed the raw edges. Press and edgestitch the strap on the open long edge.
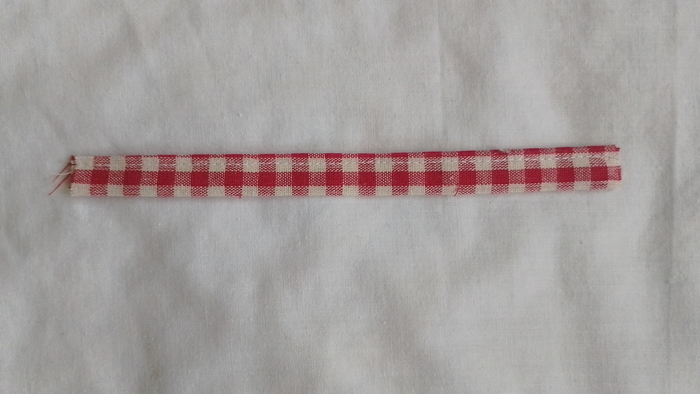
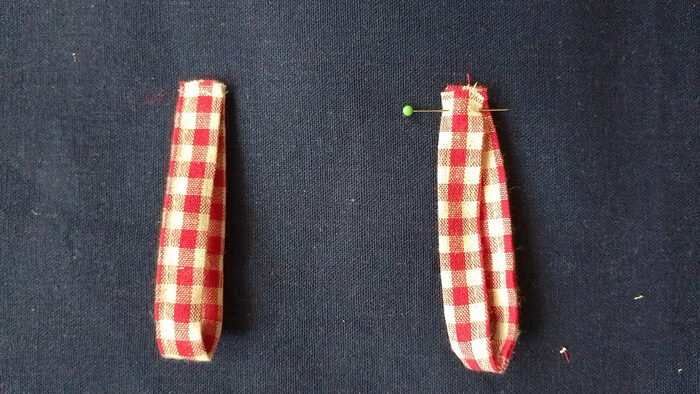
Fold the strap in half to form a hanging loop. Sew at a 0.6 or 1/4 ” seam allowance.
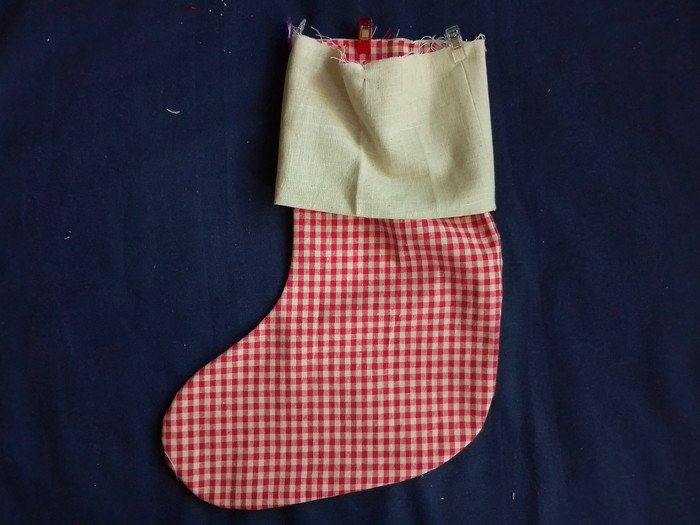
Sewing the cuff (optional)
This step is completely optional. Skip to the next section if you don’t want a cuff.

Take the two cuff pieces you cut on the fold and place them side by side. Then open them up such that the longer side of each rectangle is on the vertical as in the photo above.
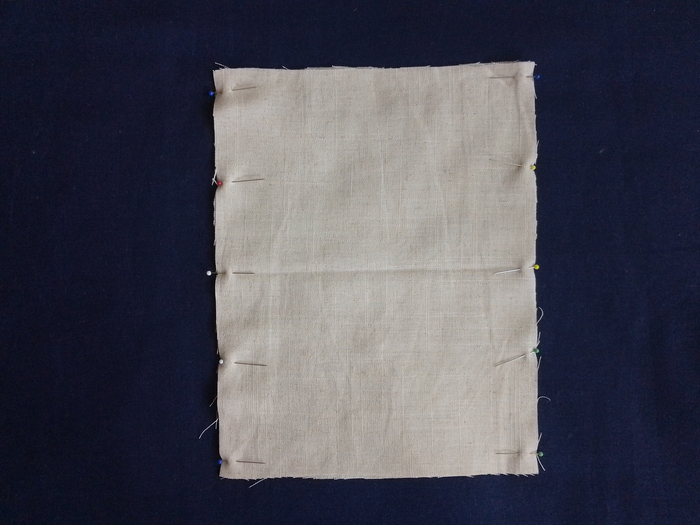
Pin the two rectangles of fabric, wrong sides together. Use the crease at the fold to help you match the edges to each other. Remember, we’re pinning the longer sides of each rectangle.
Sew down both long edges (using a 1 cm or 3/8 ” seam allowance) to create a sort of tube.
Press the seam allowances open.
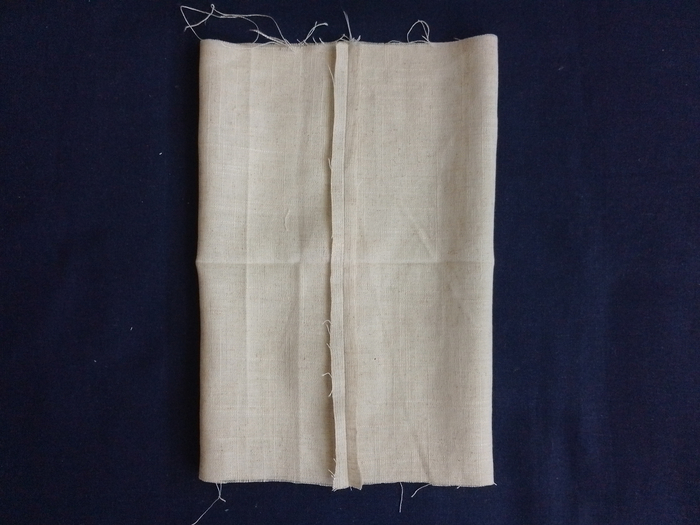
With the tube still wrong side out, fold it in half by bringing the top raw edge down to meet the bottom raw edge.
The cuff will now be a double-layered loop. The wrong side and seams are all concealed and the right side is facing you as in the photo below.
Assembling the Christmas stocking
Attaching the hanging loop (No cuff option only):
On the right side of the finished main stocking, place the raw edges of the loop right next to side seam opposite the toe of the stocking. When making sets, this will ensure that they all hang the same way.
So just make sure the loop is positioned next to the seam line and not directly on top of it to reduce bulk. Clip or pin it in place.
Skip to the step where we attach the main stocking to the lining.
Attaching the hanging loop and cuff
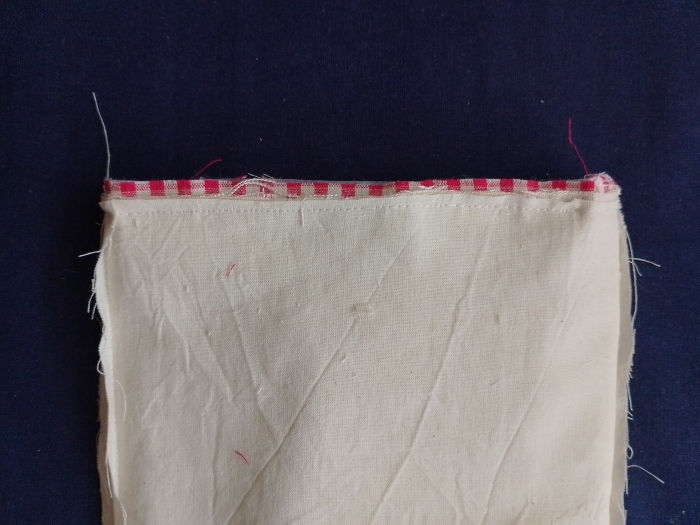
With right sides together, slide the cuff on top of the main stocking. Align their raw edges and pin or clip together.
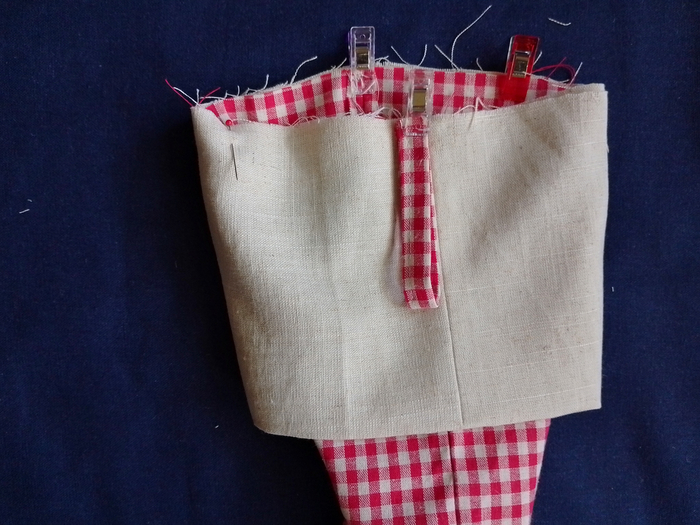
Now take your hanging loop and place next to side seam opposite the toe of the stocking. Line up its raw edges with those of the cuff and main stocking.
Make sure the loop is positioned next to the seam line and not directly on top of it to reduce bulk. Clip or pin it in place.
Using your longest stitch, baste three layers (main stocking, cuff and hanging loop) together using a 0.6 cm (1/4 inch) seam allowance.
Joining the main stocking and lining
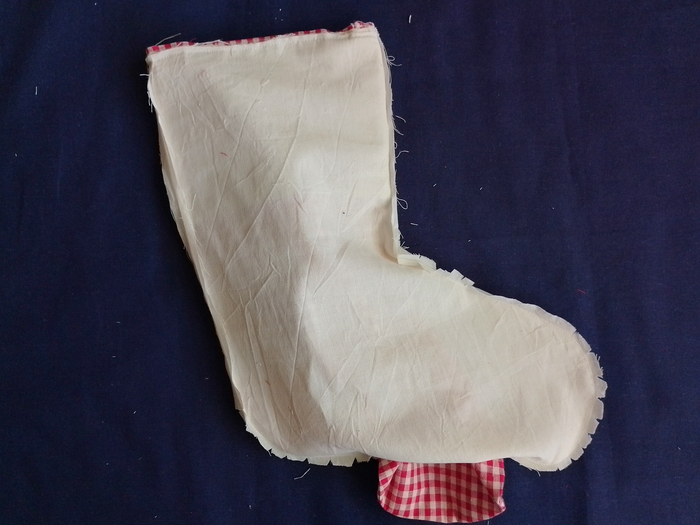
At this point your main stocking is right side out and your lining, wrong side out (just checking we’re on the same page 😅). I’m using the stocking with the cuff in the photos but the process is exactly the same if you chose to omit the cuff.
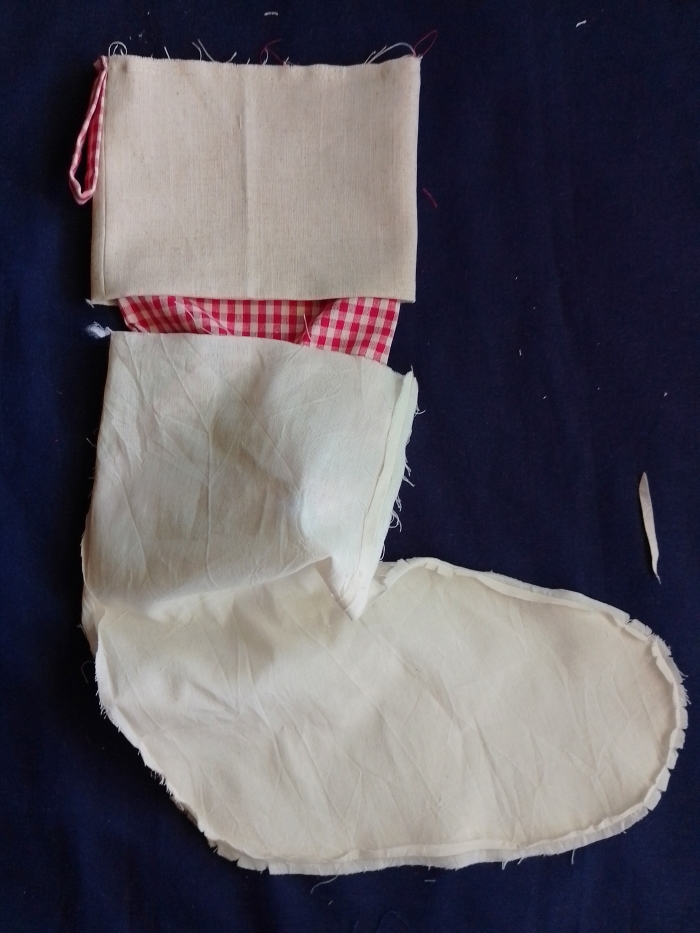
Now insert the main stocking into the lining. Line up the top edges of these two layers around their circumference (Make sure to match their side seams together). It’s also best if you open the seam allowances of both layers as you pin or clip to reduce bulk.
Sew around the entire top opening with a 1 cm (3/8 inch) seam allowance.
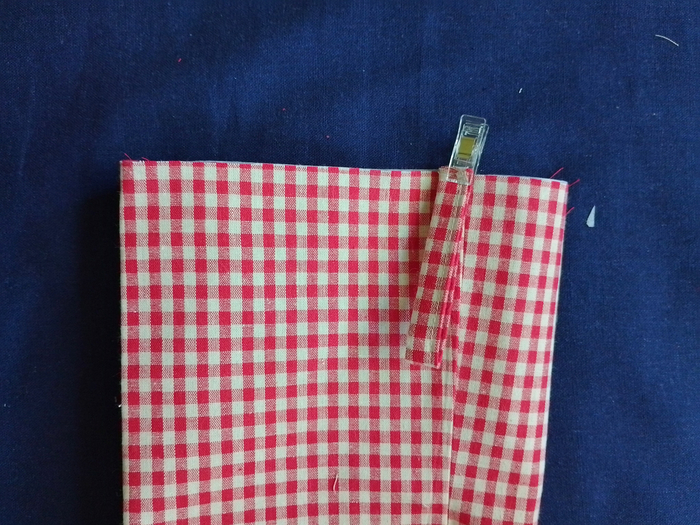
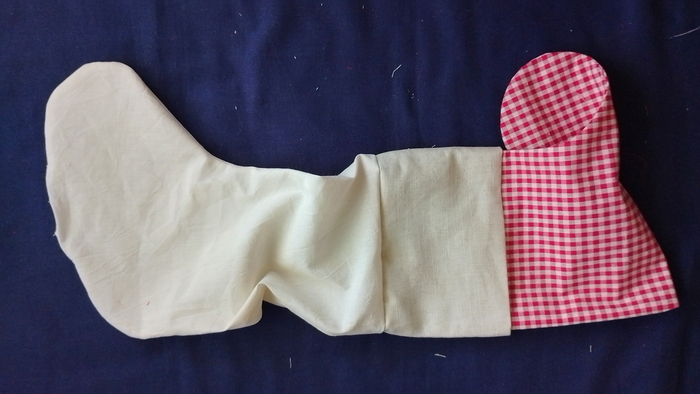
Trim down the seam allowance of the lining (and cuff if you have one) to reduce bulk. Have a look at the photo below so you get get a better picture of what I mean when I say this.
Turning out the Stocking & finishing up
Reach into the gap you left in the bottom of the lining and carefully pull the main stocking through it. The entire stocking, complete with its cuff and loop, will turn right side out.
Now we’ll need to close the gap at the bottom of the lining.
Press the seam allowances of the gap inwards and press. Close the gap using an invisible stitch or just topstitch it as I have (it won’t be visible anyway).
Now tuck the lining into the main stocking. Fiddle with it until it sits nicely into the main stocking. You can use a blunt pointy tool like a chopstick to do this.

Now give the stocking a final good press. You could choose to sew around the top of the stocking to hold all the layers in place (I just leave it without this).
And congratulations, your Christmas stocking is done!