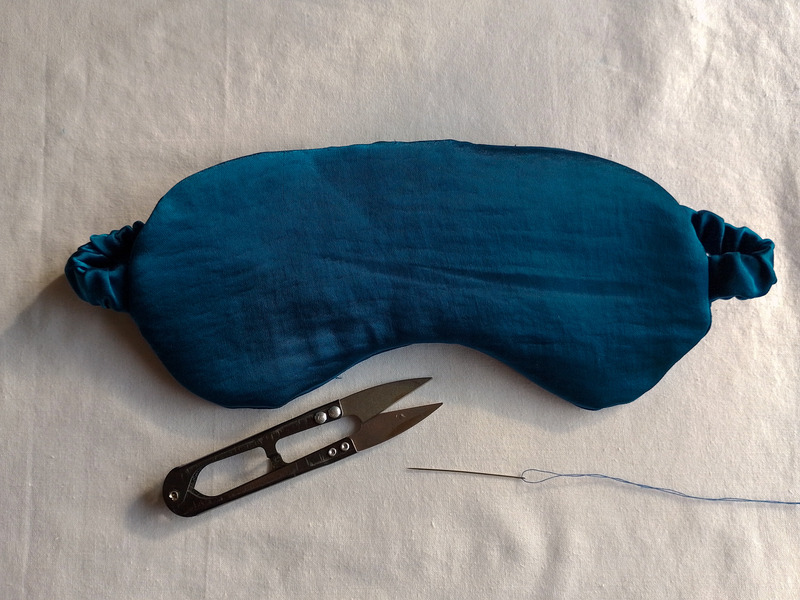
DIY Satin Sleep Mask Tutorial with Free Pattern
This DIY sleep mask tutorial will guide you through creating a mask using silky fabrics. While I have another sleep mask pattern tutorial up, that version features an adjustable strap. This pattern, however, uses a fabric-covered elastic strap.
I include a free pattern template although you will need to measure the back of your head to make sure your final mask fits you well. With that out of the way, let’s begin!
Table of Contents
Supplies Needed
- Fabric Scraps
- Batting/Wadding (You could also use felt or an extra fabric layer)
- Firm elastic (approx. 30-40 cm, 1–2 cm wide)
Cutting
Using the mask pattern piece that you can download below, cut:
- 2 pieces in satin fabric or silk (mask front & back)
- 1 piece in batting/wadding
- 1 strip for the elastic casing (see calculator below)
- 1 piece of firm elastic (see calculator below)
Calculate Sleep Mask Strap
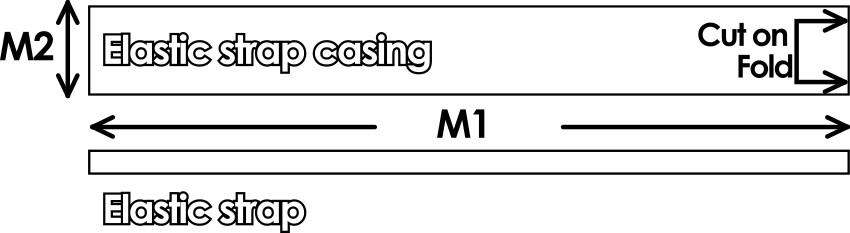
For the mask strap, you will need to find two dimensions, M1 and M2.
- To find your Elastic Length (M1), measure the back of your head from the top of the front of your ear to the same position on your other ear.
Ear-to-Ear Measurement + 2 cm (¾ inch) = M1 (Elastic & Casing Length)
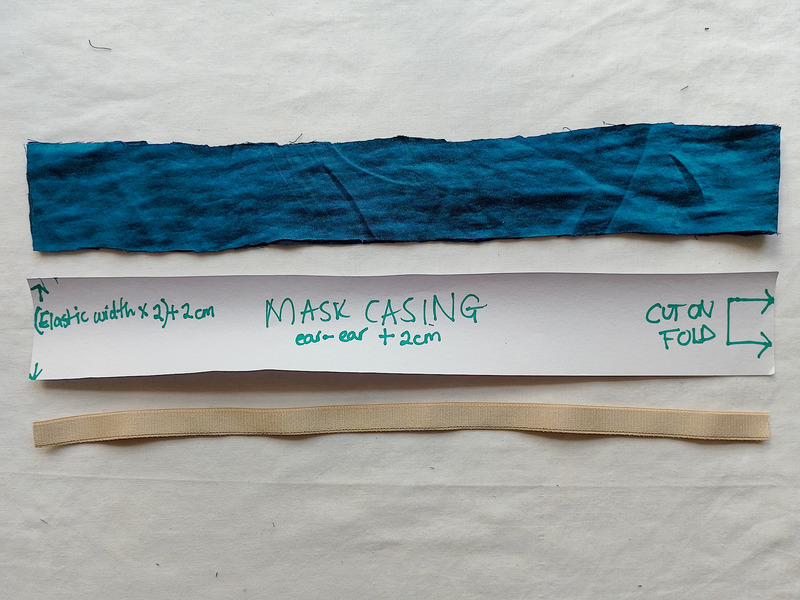
- To find your Fabric Casing Width (M2), use the width of your elastic:
(Elastic Width x 2) + 2 cm (¾ inch) = M2 (Fabric Casing Width)
You will cut your casing fabric strip to M1 (Length on the fold) x M2 (Width).
Sewing Tutorial
Step 1: Cut and assemble strap
Reminder than the strap casing is M1 in length and M2 in width and elastic is M1 in length as given to you in the calculator above.
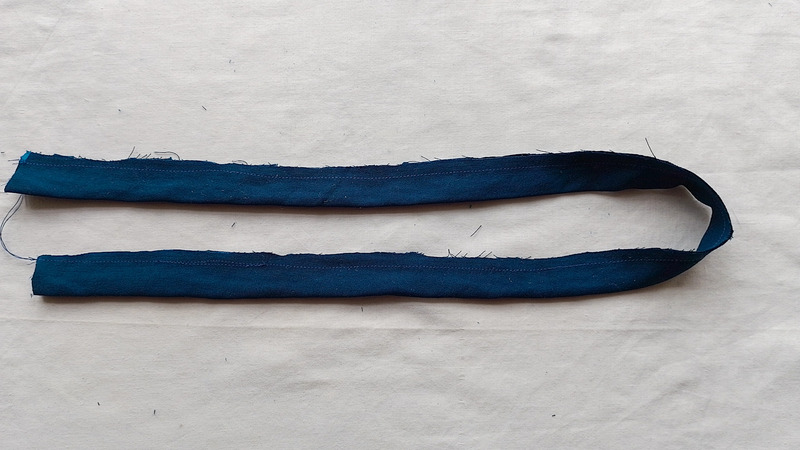
Fold the casing fabric lengthwise, right sides together. Sew the long edge with a 0.6 cm (¼ in) seam allowance. Trim the seam allowance down to 0.3 cm (⅛ in) and press.
Turn the casing right side out and press flat. Using a safety pin, thread the elastic through the casing. Secure one end of the elastic to the casing with a pin or clip.
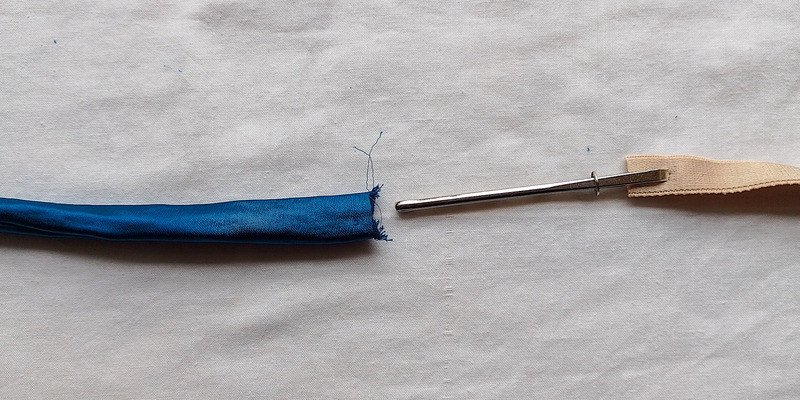
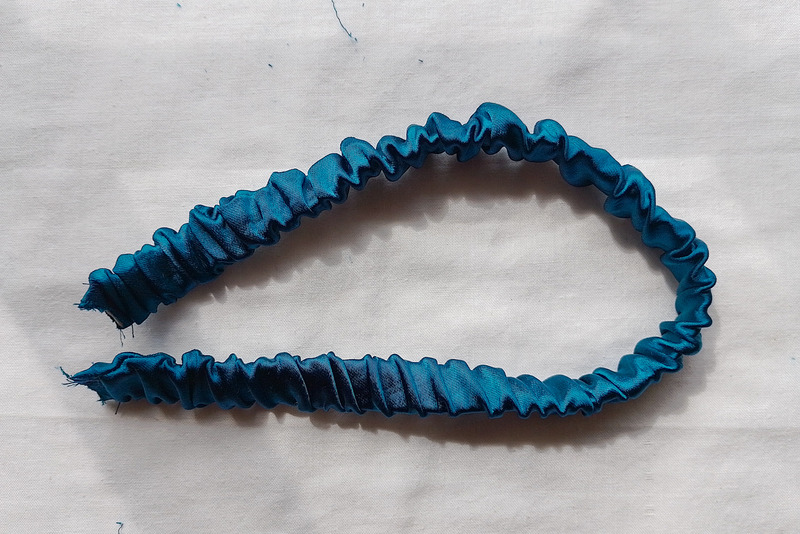
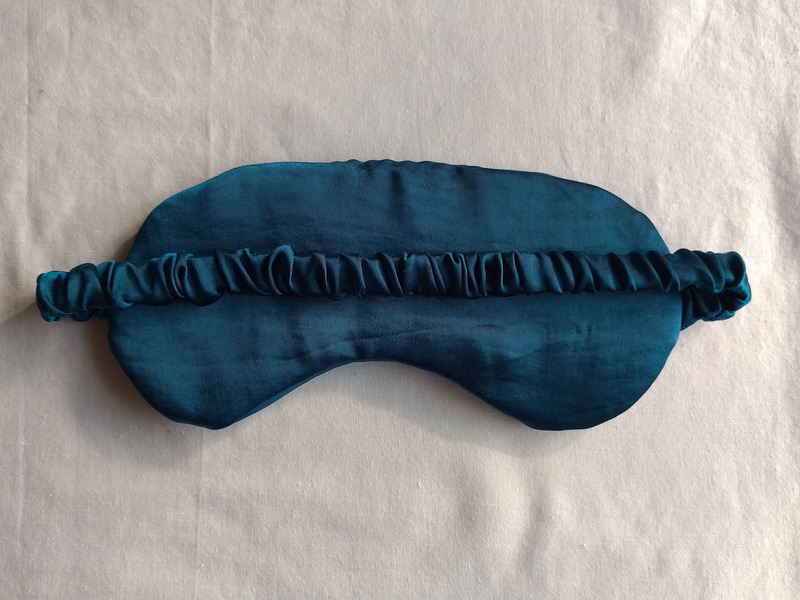
Pull the elastic all the way through, then secure the other end with a pin or clip. Sew across both ends to secure the elastic inside the casing. Gently distribute the gathers evenly along the casing.
Step 2: Sew the mask front
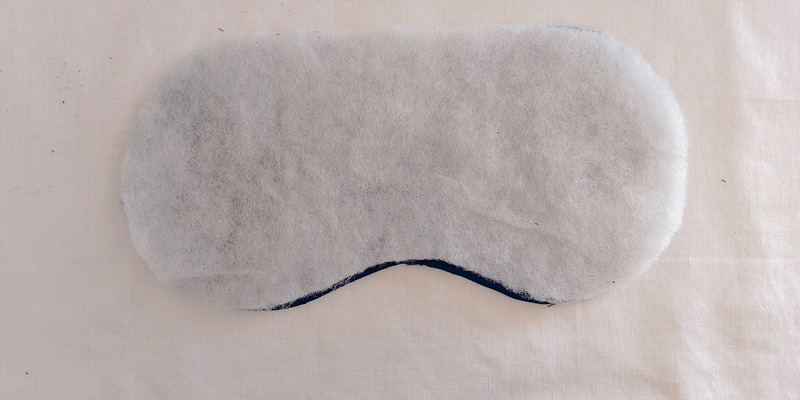
Place one of the satin mask pieces wrong side up. Place the batting piece on top, aligning all the edges. You can baste them together with a long stitch close to the edge to keep them from shifting. This is now your mask front.
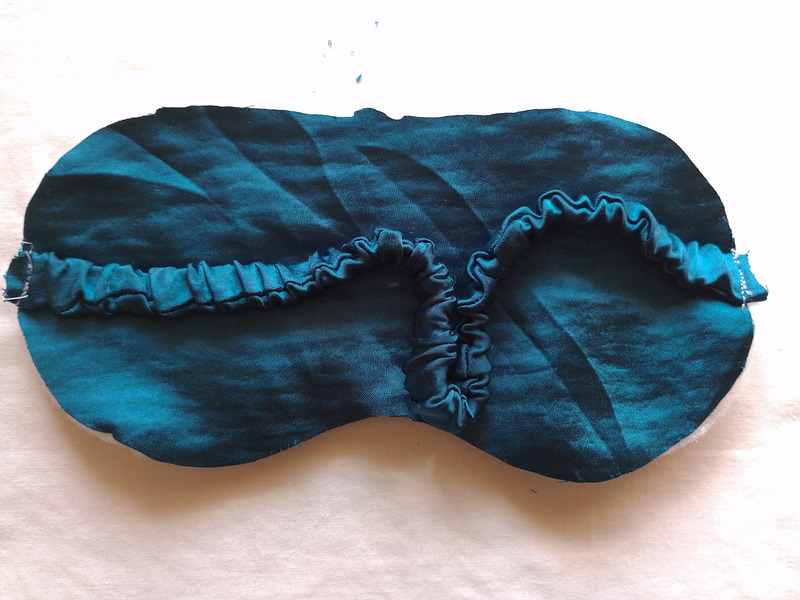
Flip the front mask over so that the right side of the main fabric is facing you. Line up the ends of the finished mask strap with the notches on the mask.
Sew the ends of the strap in place, about 0.3 cm (⅛ in) from the raw edge.
Step 3: Assemble the mask
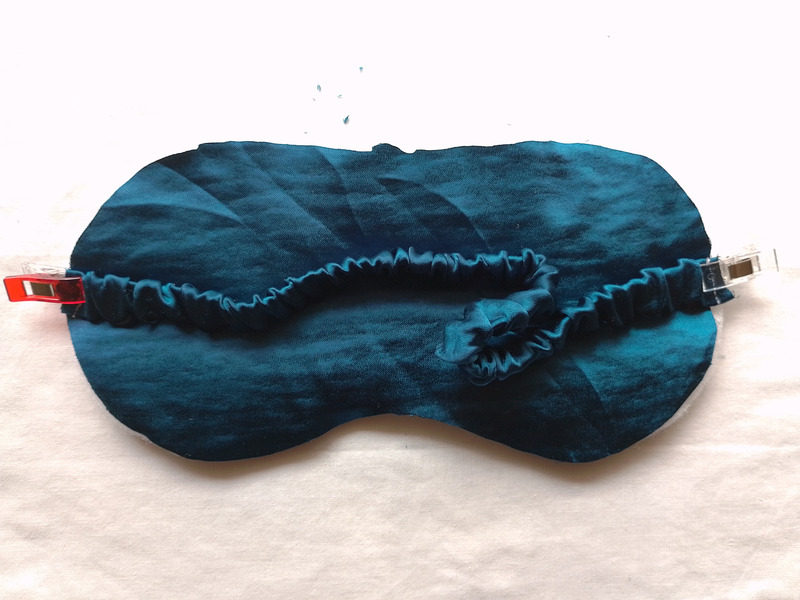
Place the second satin mask piece on top of your mask front, with right sides together. Pin or clip all the way around the mask, but leave a gap three to four fingers wide at the top to pull out the strap later.
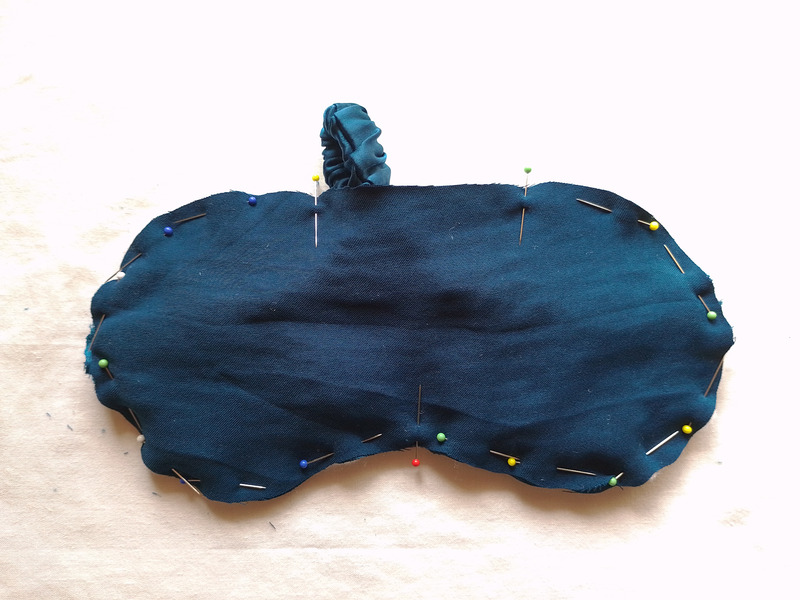
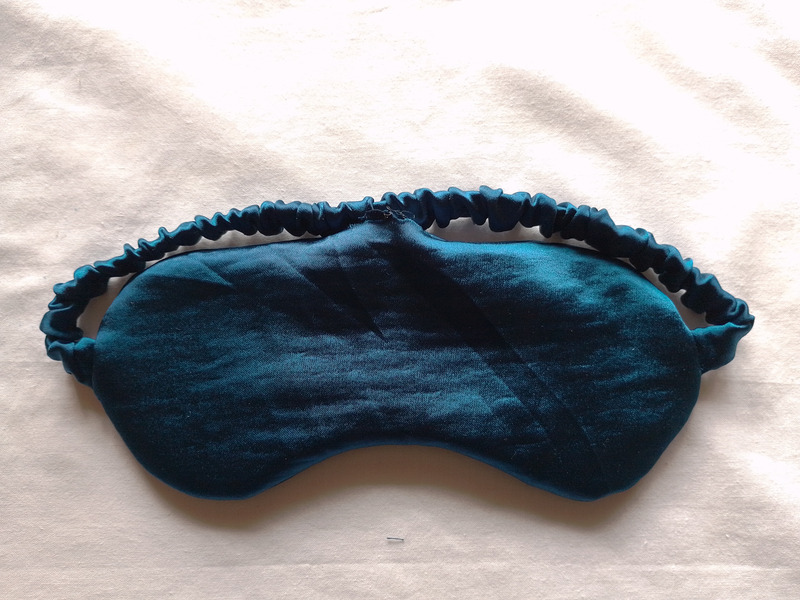
The strap is now sandwiched between the two layers. Pull the strap out slightly through the gap as shown in the picture
Sew around the mask with a 0.6 cm (¼ in) seam allowance and leave an opening at the top to turn the mask right side out. Make sure to backstitch at the beginning and end of your stitching.
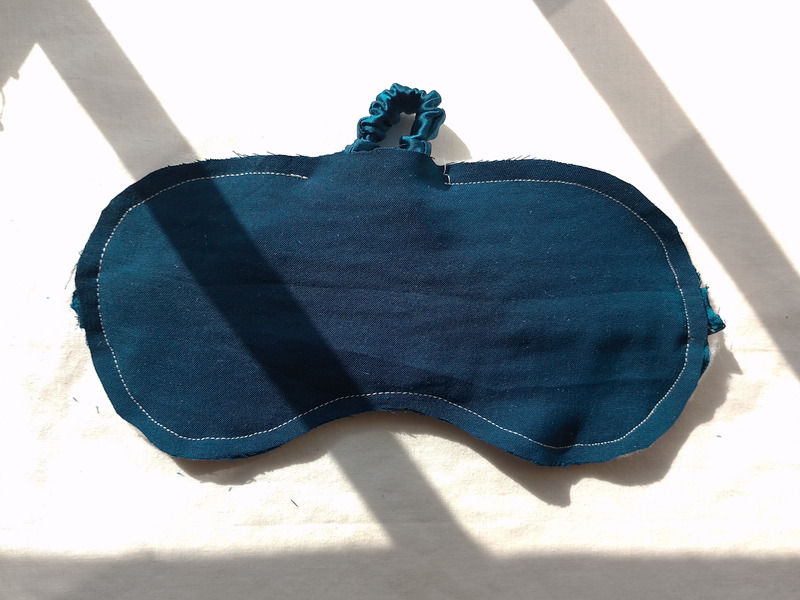
Flip the mask over so that the side with the batting is facing you. Very carefully trim the seam allowance of just the batting down to the stitch line.

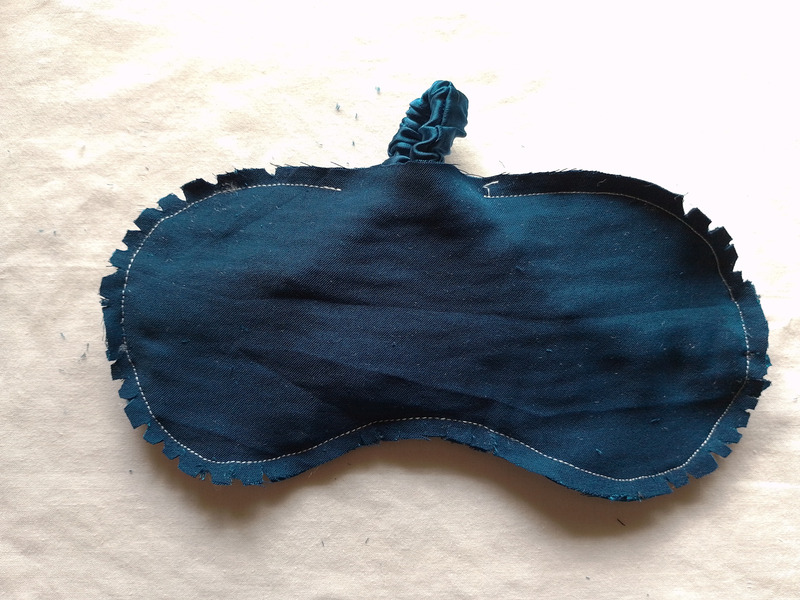
Now make small snips on the curves around the nose area. Trim the seam allowance of the ends of the mask strap to reduce bulk. Then cut notches into the seam allowance on the outer curves like in the photo below.
Step 4: Finishing steps
Pull the strap out through the opening and turn the mask right side out. Use a blunt pointy tool like a chopstick to gently push out the seams.
Fold the raw edges of the gap at the top of the mask inward and press them using a press cloth. Now close the gap with an invisible/ladder stitch.
I know this may seem like an annoying alternative to just topstitching around the mask but I promise the result is well worth it! Check out the video below for a tutorial on the invisible stitch.
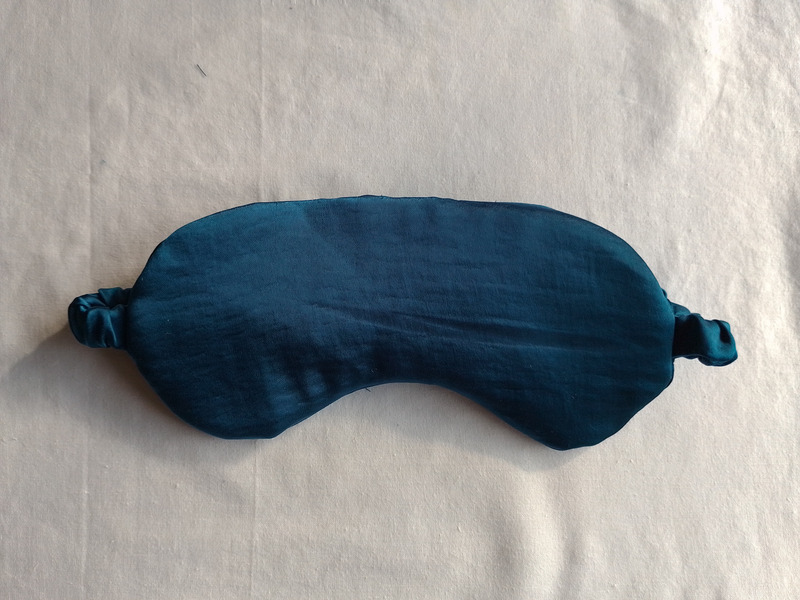
Use a press cloth to do the final press. Your sleep mask is all done, congratulations! Let me know in the comments if you managed to sew your own mask.
Thank you! Great pattern!
Most welcome!!