How to Sew a Simple Drawstring Bag with French Seams (Free Pattern)
Today I’m sharing an incredibly useful and beginner-friendly sewing project: a simple drawstring bag with French seams. Unlike my DIY lined drawstring bag tutorial, this version has no lining, making it a quick and easy project that still looks nice on the inside, thanks to the French seams.
Use this drawstring bag for traveling, as a gift bag and to store all your little kick-knacks. This pattern is absolutely free (no sign ups), and comes in three sizes.
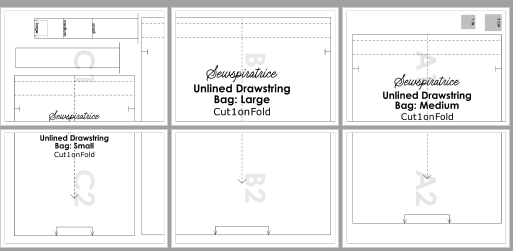
Download the Free Drawstring Bag Pattern with French Seams PDF
This six-page PDF pattern comes in three different sizes. Click the button below to get your copy.
French Seams Drawstring Bag Pattern PDF (0 downloads )
Disclaimer: You are welcome to sell items made from this pattern! However, please do not sell, redistribute, or claim this pattern as your own.
Printing Instructions
- Open the PDF and set your printer scale to 100% or “Actual Size.”
- Print page 1 first and measure the test box with a ruler to ensure it is exactly the right size.
- Once the scale is confirmed, print the remaining pages and assemble the pattern pieces.
Supplies and Preparation
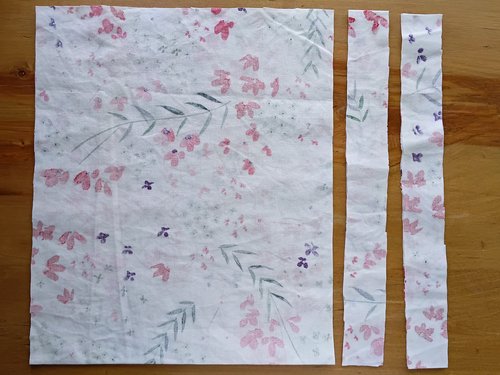
For this project, you really just need your favorite fabric (I suggest a quilting cotton as it creases well) and matching thread. This pattern is designed to be cut on the fold at the bottom, perpendicular to the grainline, so small fabric scraps may not work
Marking your notches
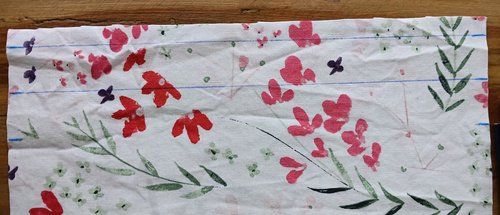
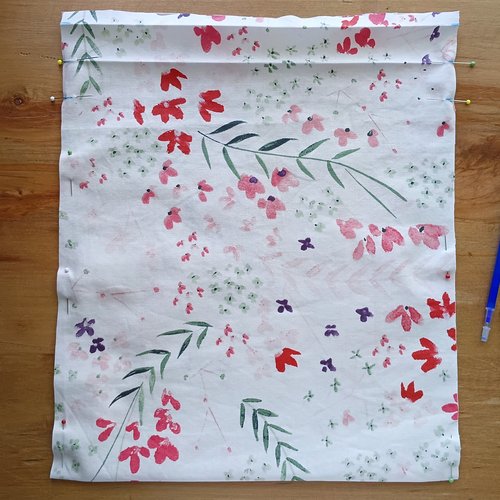
Place the pattern on the fold at the bottom and cut out your fabric. Using chalk or an erasable marking tool (avoid heat-erasable ones as pressing can make them disappear too early), mark the positions of the two horizontal lines on the fabric edges, as well as the notches below the bottom-most horizontal line.
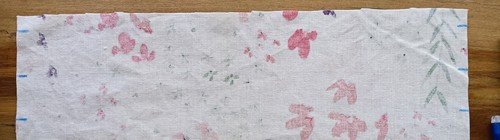
Mark these on both the wrong side and right side of your fabric. Then, on the right sides only, connect the marks to draw two complete horizontal lines across the fabric. These will become your fold guides for the drawstring casing.
French Seam Drawstring Bag Tutorial
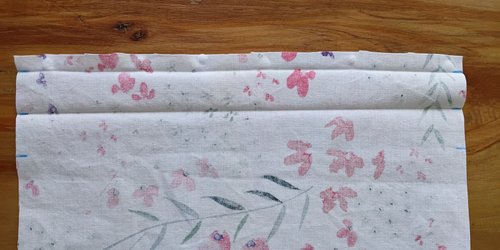
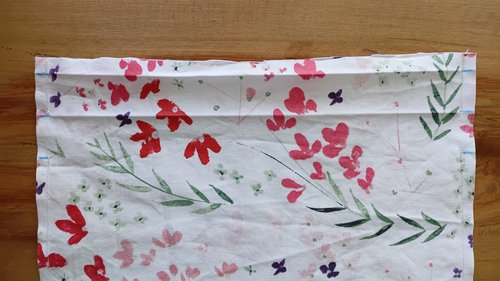
Fold and press the top edge of the fabric onto the wrong side along the first horizontal line. Fold and press again using the second horizontal line. Repeat on the other face of the fabric, then open both folds back out. These crease lines will guide you when creating the casing later.
Sewing the French seams
French seams are sewn in two passes. In the first pass the fabric is joined with wrong sides together; in the second pass it is flipped so the raw edges are enclosed inside the seam. The steps below take you through the full process, including how to leave an opening for the drawstring casing.
First pass French seam
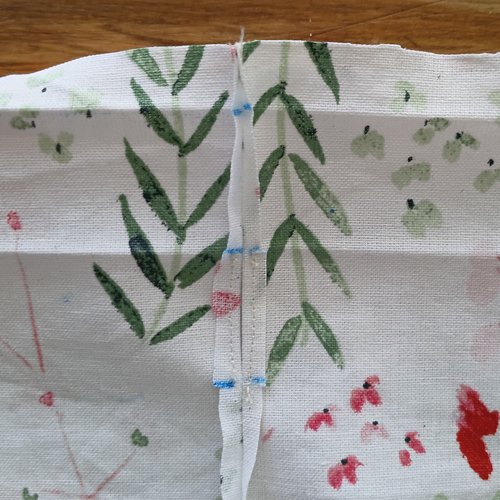
With wrong sides together, pin one side edge. Place two pins parallel to the creases to mark the gap, which is the section between the bottom-most crease and the notches below it. This gap is where the drawstring will exit the bag, so it must be left unsewn.
Starting from the top, sew down the side with a 0.6 cm (¼”) seam allowance. When you reach the bottom-most crease, backstitch and stop. Skip the pinned gap entirely. Backstitch to secure, then continue sewing from the lower notch all the way to the bottom. Repeat for the other side.
Reinforcing the casing opening before the second pass
Why this step? The gap you left in the seam will become the opening for the drawstring. Before you flip the fabric for the second seam pass, you need to neaten the edges around the gap so they stay flat and don’t fray once the French seam encloses everything.
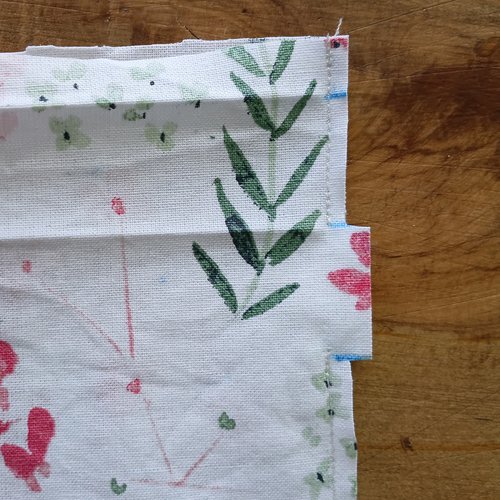
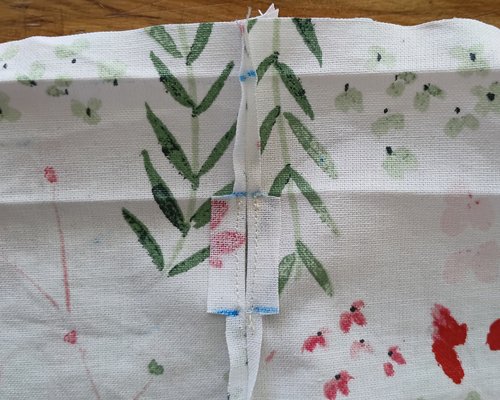
Working on one side at a time, trim the seam allowance from the top of the seam down to the top of the gap to about 0.3 cm (⅛”). When you reach the gap, cut straight across to the edge of the fabric. Repeat from the bottom of the seam up to the bottom of the gap. You have now created a small flap on either side of the opening. Press the seam allowance at the gap open.
Turn the bag wrong side out. Along each edge of the gap, stitch as close to the folded edge as possible to secure the pressed-open seam allowance in place. Repeat on the other side.
Turn the bag right side out and trim the seam allowance on either side of the gap down to 0.6 cm (¼”).
Second pass French seam
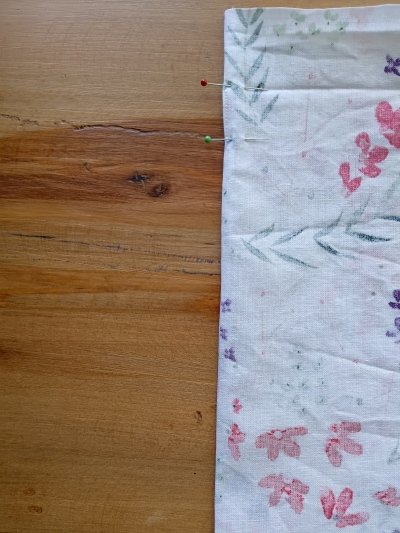
Turn the bag wrong side out, press the side seams flat and pin them. Place two pins to mark the gap so you remember to skip it. Sew down each side again with a 0.6 cm (¼”) seam allowance, leaving the gap open. Backstitch before and after the gap to secure. The raw edges are now fully enclosed inside the seam and your French seams are complete.
Creating the drawstring casing
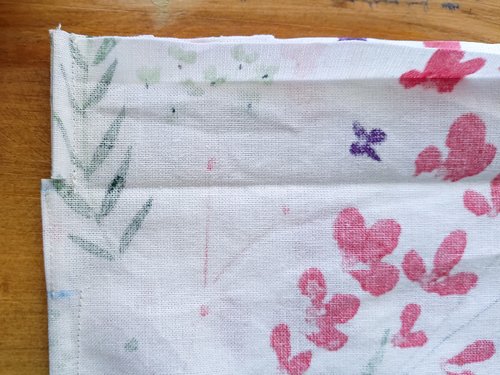
To reduce bulk at the top corners, make a tiny snip into the French seam allowance just above the bottom-most crease line. This allows the seam to lie flat when the top edge is folded down.
Using the creases you pressed earlier, fold the top edge toward the wrong side twice. Because of the snip, you can press the side seam allowances flat in opposite directions to reduce bulk.
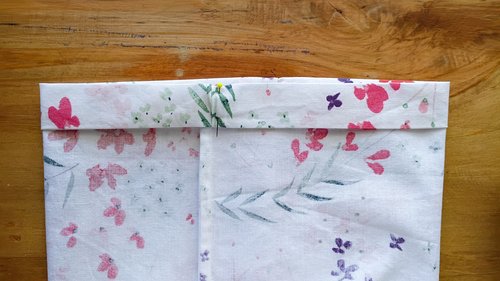
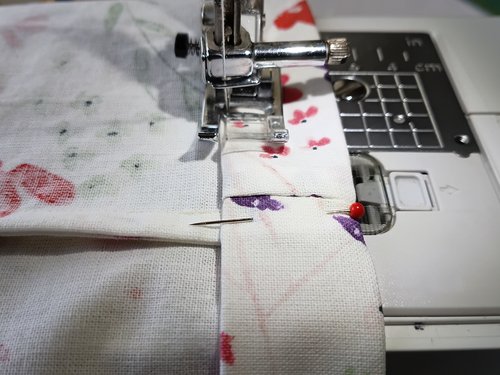
Sew around the entire circumference of the bag as close as possible to the bottom folded edge. Then sew a second line around the very top edge of the bag, backstitching over the side seams as you go. This secures the seam allowances and stops them being pulled out of the casing when you thread the drawstring through. You could also use a bar tack on the side seams if of you wish.
Turn the bag right side out. Use a point turner or a blunt tool like a chopstick to push out the bottom corners neatly, then give the whole bag a final press.
Making the drawstrings
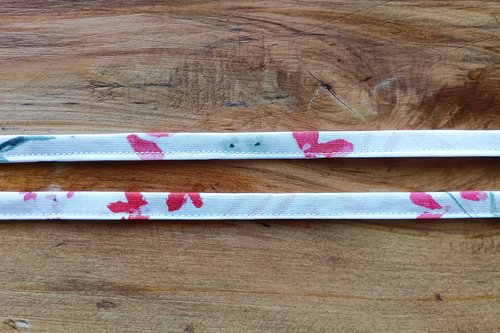
Take one drawstring fabric strip and fold the short ends in by 0.6 cm. Press and stitch near the folded edge to secure.
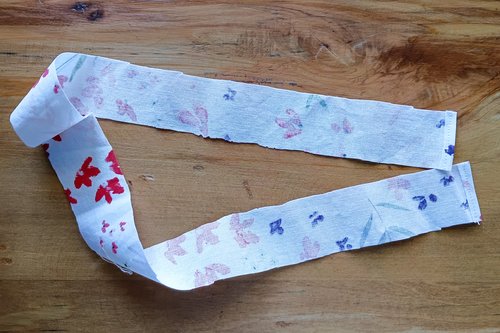
Fold the strip lengthwise to create a centre crease, then open it back out. Fold both long edges inward to meet at the centre crease and press.
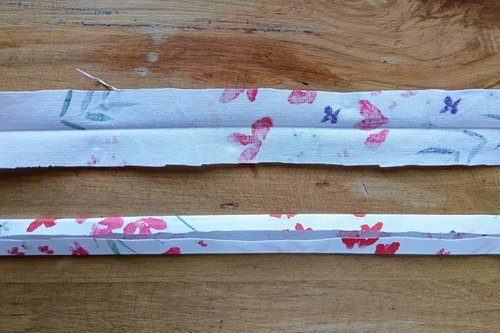
Fold the whole strip in half one last time and sew along the length to close it. Repeat for the second drawstring.
Final assembly
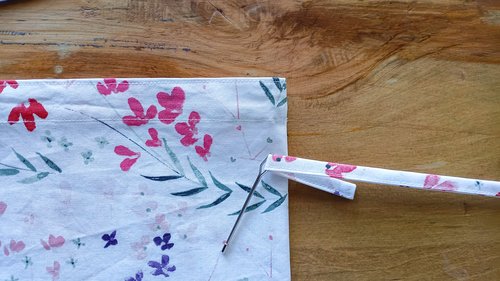
Attach a safety pin or bodkin to one drawstring. Insert it into one of the casing openings, feed it gently all the way around the channel, and bring it back out through the same hole. Please note that depending on the fabric you use, the seam allowance near the gaps at the side seams may be exposed once you exit, just tuck it back in when you’re done.
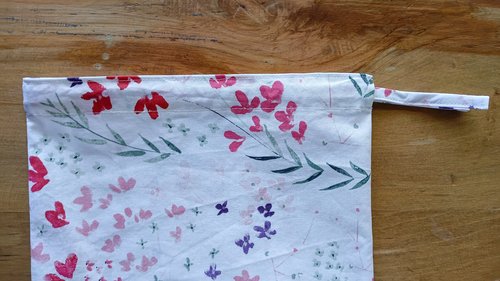
Repeat with the second drawstring, starting and ending at the opposite side opening. Tie a knot at each end of both strings to stop them slipping back into the casing.
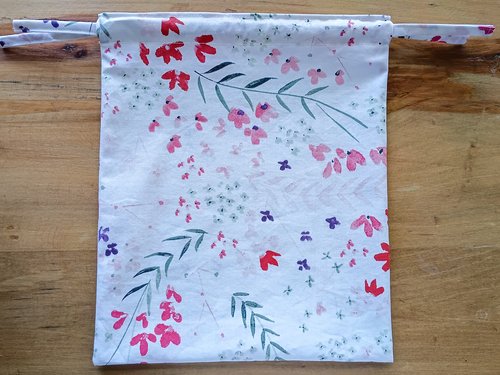
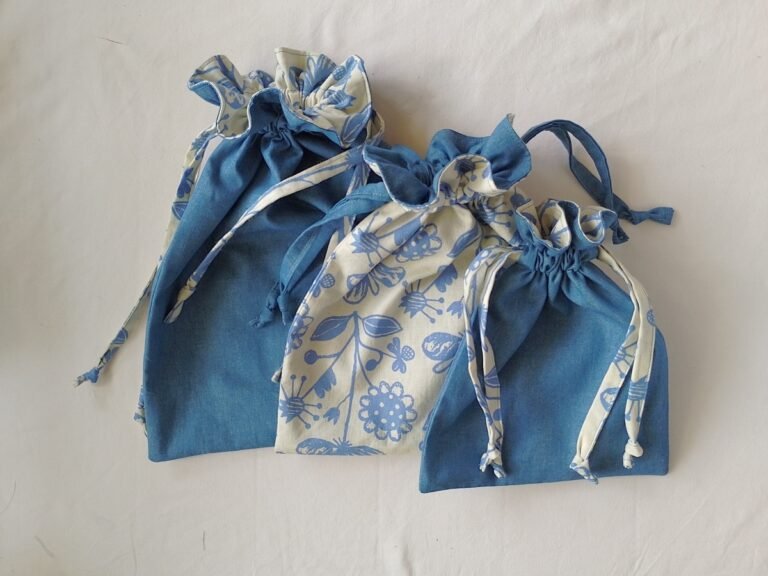
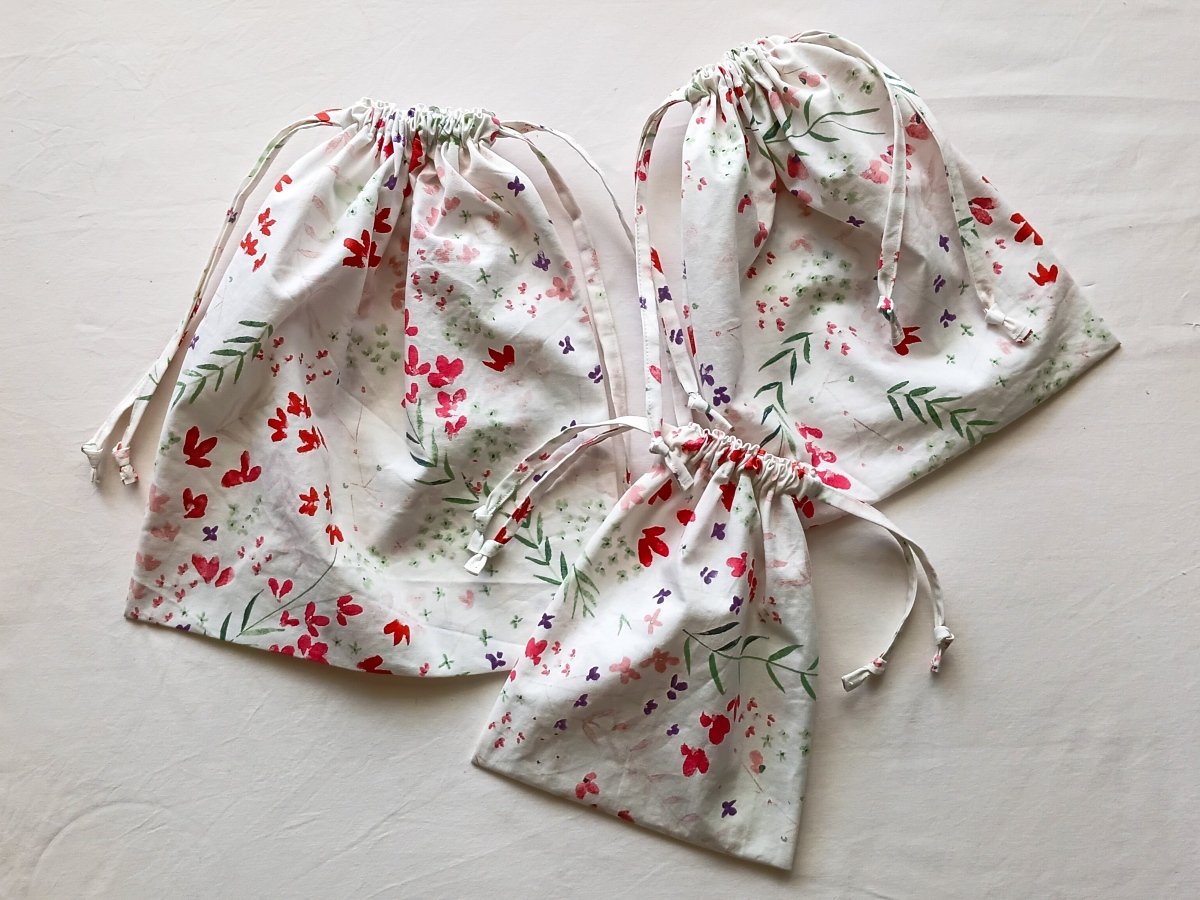
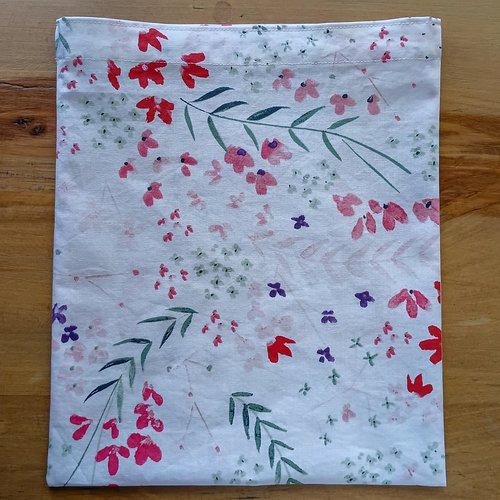
Your finished drawstring bag with French seams
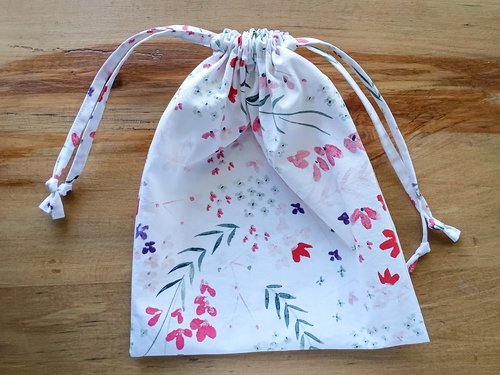
Congratulations on finishing your drawstring bag with French seams. This technique is perfect for unlined bags as it does not expose any raw edges.I hope you can make several of these for yourself and loved ones.
If you enjoyed this tutorial, I’d love to see your version! Let me know in the comments below and or check out my DIY foldable tote bag with drawstrings sewing tutorial if you enjoyed this sewing project.