How to Draft a Women’s Boyshorts Sewing Pattern
I’m so excited to finally teach you how to DIY your own underwear with this women’s boyshorts pattern drafting tutorial. Boyshorts (or boy shorts) are similar to regular panties but offer more coverage and have an inseam, kind of like leggings do. They are an excellent choice of underwear if you want more comfort and coverage.
The pattern drafting method for these boyshorts is quite different from drafting regular to panties (I wrote easy-to-follow pattern drafting sewing tutorial for a basic panties block which you can read later) because here, we include the an inseam and crotch curve.
This is still a beginner accessible tutorial and you’ll be able to draft a boy shorts pattern based on your unique measurements in no time.
Measurements needed for drafting
To draft these women’s boyshorts, you’ll need 3 measurements and a few derivative ones. Use the diagrams below (G09, N01, N04 only) to guide you and write your measurements down on the free printable PDF sheet below or this Google sheet calculator.

- Hip circumference – Measured at the fullest part of the hips
- Total crotch length – Measured from center front waist, through the legs, to center back waist
- Crotch depth -Measured seated, from waist to surface
Pattern drafting supplies
- Pattern Paper width: 3/4 Hip Measurement, length: 0.5 Total Crotch Length
- Pencil or preferred drawing tools
- Long ruler and optional french curve
- Scissors
Drafting the boyshorts pattern
Building the basic frame
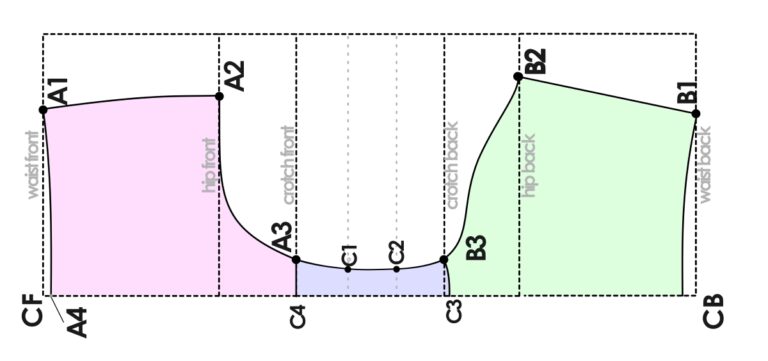
We will start with point A. Draw a horizontal line, that is half of the reduced hip measurement (reduced by 20%), and mark B:
\frac{1}{2} (0.8\times \text{hip circumference})

Square down the crotch depth from point A and mark the new point, A1. Draw another horizontal line, this time from point A2, that is half of the reduced hip measurement (reduced by 20%), and mark A3. Join Point A3 to A1, to complete the rectangle.
Find the midpoint of line A-A1 and mark A4 and the midpoint of line A2-A3, A5. Draw a line joining A4 and A5.

Line A-A2 is now represents your center back, A4-A5 the side seam and A1-A3 the center front.
We now have two rectangles, one representing the front and one, the back. Remember how the height of these rectangles is the crotch depth? We’ll divide that number into three so we can have reference points for low and high hip line.
Mark 1/3 of the crotch depth down from point A4 along line A4-A5 and call it A6. Mark 1/3 of the crotch depth from A6 towards A5 and call it A7.
Draw a horizontal line from A6 towards line A-A2 and mark A8 at the intersection. Draw another from A6 to line A1-A3 and mark A9 at the intersection. Join points A8, A6 and A9 with horizontal line.

Draw a horizontal line from A7 towards line A-A2 and mark A10 at the intersection. Draw another from A7 to line A1-A3 and mark A11 at the intersection. Join points A10, A7 and A11 with horizontal line.

We still need to add a bit more to the height of this frame which will help us draw the crotch curve. The following are the formulae for the front and back crotch which are in the measurement and Google sheet calculator in the Measurements section.
\text{Front Crotch} = \frac{1}{3} \times (\text{Total Crotch Length} - 2 \times \text{Crotch Depth})\text{Back Crotch} = \frac{2}{3} \times (\text{Total Crotch Length} - 2 \times \text{Crotch Depth})Extend line A5-A2 by the back crotch measurement and mark the new point A12. Extend line A5-A3 by the front crotch measurement and mark the new point A13.

From point A12, square down 3 cm and mark A14. Find the intersection of point A14 and A13 and mark A15. At the intersection of A14 and A2 mark A16.

Finally, measure a half of the back crotch measurement from A16 at 45° and mark A17. Measure a half of the front crotch measurement from A3 at 45° and mark A18.

That’s it for the basic frame, now we can start drawing the actual pattern.
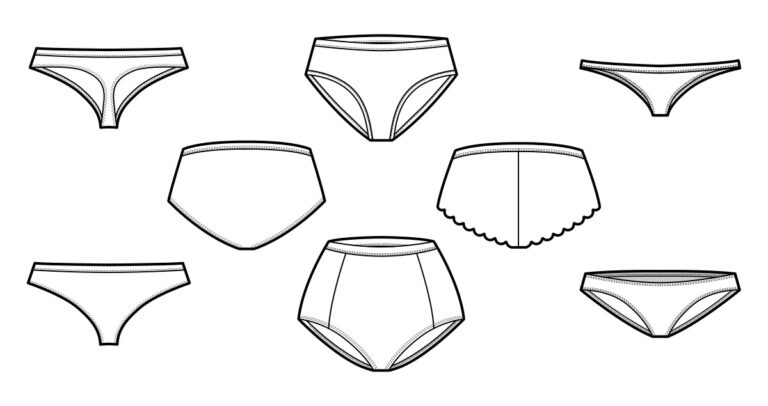
If you love sewing your own lingerie, don’t miss this curated collection of the best free panties patterns available online.
Browse 15 Free Panties Patterns →Shaping the pattern
On either side of point A4, mark A19 (left hand side) 2.5 cm away and A20 (right hand side). measure a half of line A5-A7 from A7 and mark A21.

From these, A19 and A20, draw gently curved lines that meet at A21.
Now join A8 to A14 with a curve that goes through A17 . Similarly, join A9 to A12 with a curve that goes through A18.

Square a line downwards from the curve A8-A14, about 3.5 cm and mark this point A22.. It is important for there to be a 90° angle between the curve and the line. 3.5 cm is an average measurement for the crotch width but if you find that you usually are more narrow use 3 cm and if you tend to be wider, use 4 cm.
Square another line 3, 3.5 or 4 cm downwards from the curve A9-A12 and mark this A23.

Join point A22 A21 with a straight line. Do the same for A23 and join it to A21. These will serve as guides for curving the hemline of the boyshorts.
Divide line A22-A21 into 3 and from the outer edge mark B1 and B2. Divide line A23-A21 into 3 and from the outer edge mark F1 and F2.

From B1 and F1, square down 1 cm and mark B3 and F3, respectively. From B2 and F2 square up 1 cm and mark B4 and F4 respectively.

Join A22 to A21 with a curve that goes though B3 and B4. The curve at A22 should be at a right angle to A14-A22 and also meet A21 at a right angle to A7-A21. Do the same for A23 to A21 passing through F3 and F4. The curve should also start and end off at right angles.

FInd the intersection of the curve A20-A7 and line A6-A9 and mark it, A24. Similarly, find the intersection of curve A19-A7 and line A6-A8 and mark it A25.

Climb up the A21-A25 curve by 1 cm and mark A26. Do the same on A21-A24 and mark A27. Draw a gentle curve from A26 to A8 and one from A27 to A9.

On curve A23-A21, measure the 110% of the front crotch measurement and mark A28. Square a line upwards it meets the curved line A9-A12 and at that meeting point, mark A29.

Trace the three patterns: front piece, back and the small front gusset you just sectioned off.

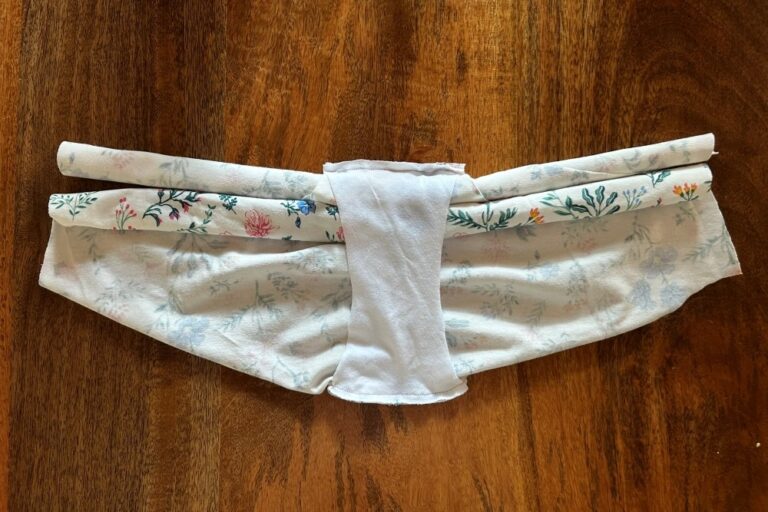
Want a professional look with no exposed seams? Learn the famous “Burrito Method” for a perfectly enclosed gusset.
See the Burrito Method Tutorial →Drafting the gusset
Now to tidy up the gusset piece. Draw a horizontal line that is 110% the front gusset length. on one side, square up a line the length of line A28-A29 (the line you squared up in the previous step). On the other end of the horizontal line, square up a line the length of your crotch width (technically, this is half of the crotch width – 3, 3.5 or 4 cm).


Join these two lines with a curve. Since this is only a half gusset piece, mirror one half to make a whole front gusset piece. You now have 3 final pattern pieces for your boyshorts: the front, back and gusset.

Preparing the pattern for sewing
You could choose to add 0.6 cm or 1/4 in seam allowance to the pattern pieces if you’re using the standard decorative elastic for underwear. You could also make the hem allowance longer so you can finish it off using a twin needle.