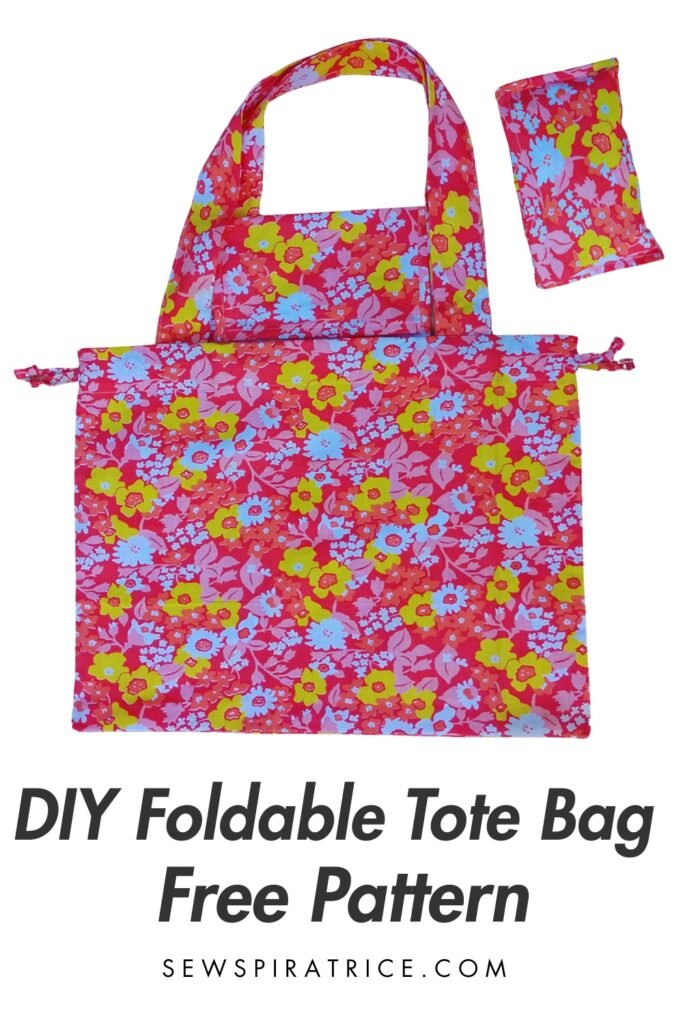
DIY Foldable Shopping Tote Bag (Free Pattern)
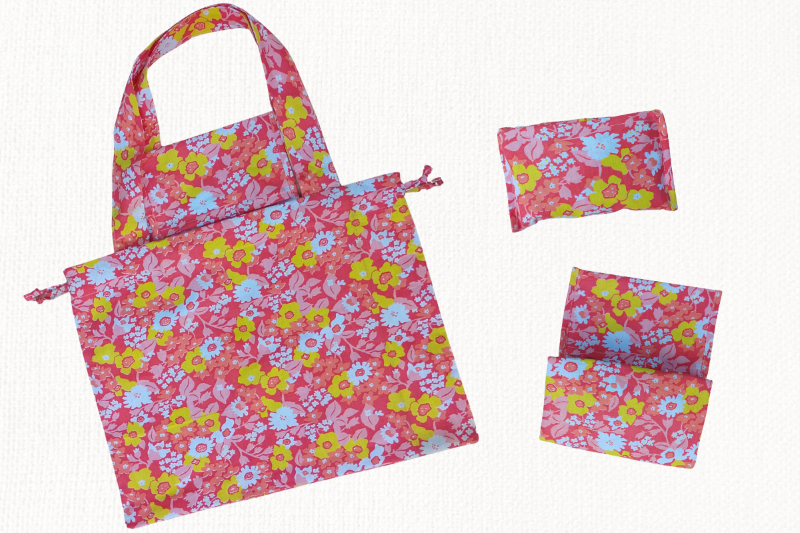
I once had a foldable shopping bag that I loved but eventually lost. Recently, I’ve been working on making my own version (one of the perks of knowing how to sew!). After lots of testing, I’m finally happy with the version I ended up with. I’m excited to share a free PDF pattern for a foldable shopping tote bag, along with a full sewing tutorial.
Single-use plastic bags are banned in my country, so reusable shopping bags that fold neatly into a little pocket are great to have on hand. I’ve already sewn a couple as gifts and can’t wait to make more. The best thing about this DIY foldable tote bag is that you don’t need any fancy closures, just fabric.
Pin this for later
Download the Free PDF Pattern
Grab the free foldable shopping bag PDF pattern using the button below. You are welcome to make and sell finished bags sewn using this pattern. Please do not sell, share, or redistribute the pattern itself.
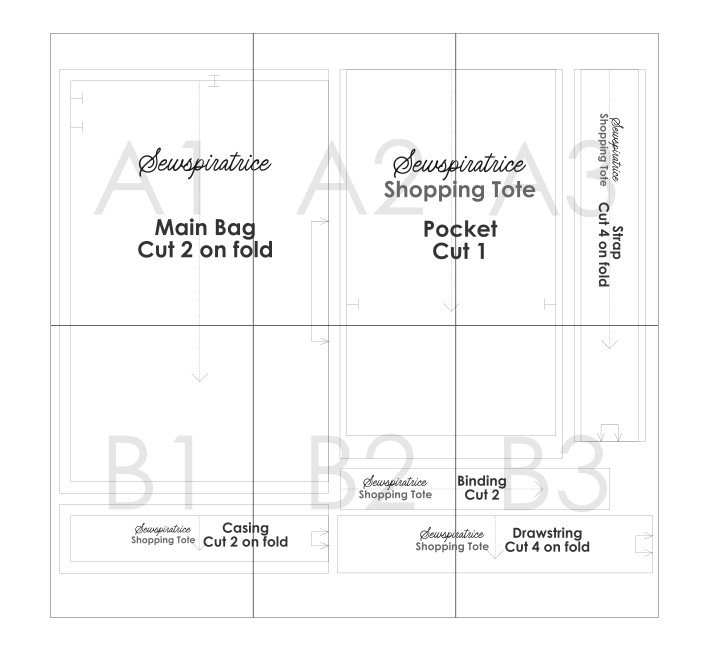
Printing Instructions
- Select your paper size.
- Print at 100% scale, actual fit or no cale.
- Assemble the pages following the layout shown below
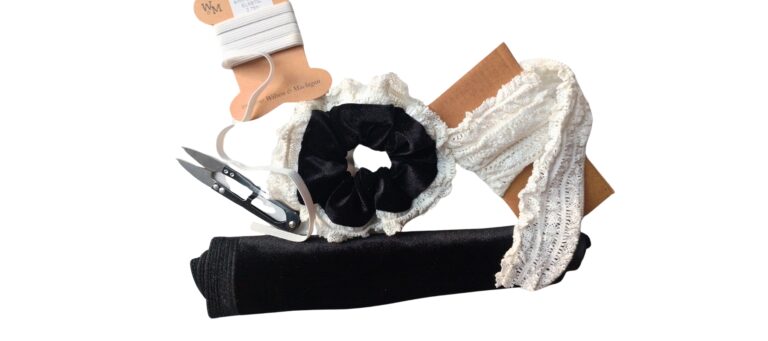
Fabric Requirements
You will need approximately 1 m (1.1 yd) of fabric to make one foldable shopping tote.
If you are using directional fabric or prefer extra cutting room, consider adding a little extra.
Foldable tote sewing tutorial
There are a few parts to this sewing tutorial, so we’ll take it section by section. Below is a quick video to complement the written instructions. You will still need the written instructions.
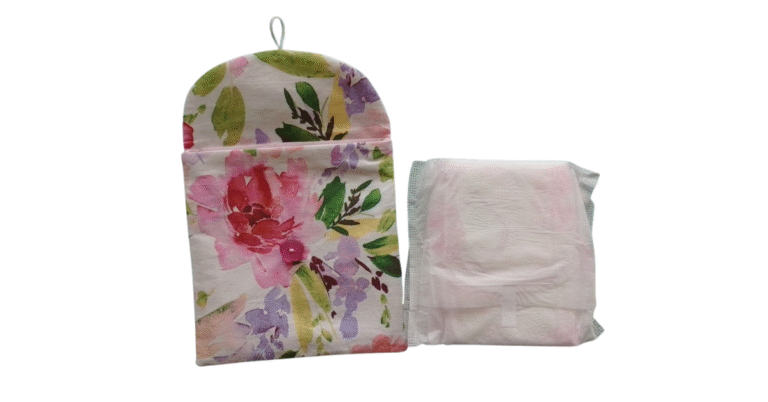
Sewing the pocket
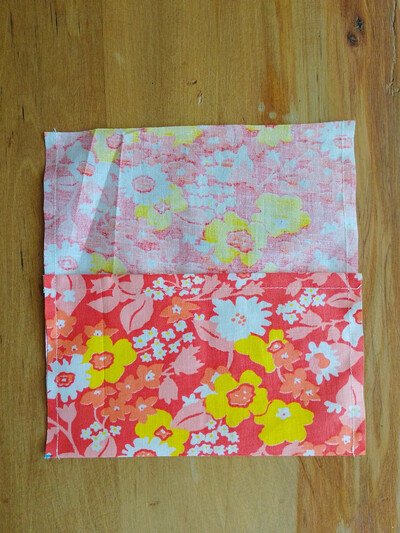
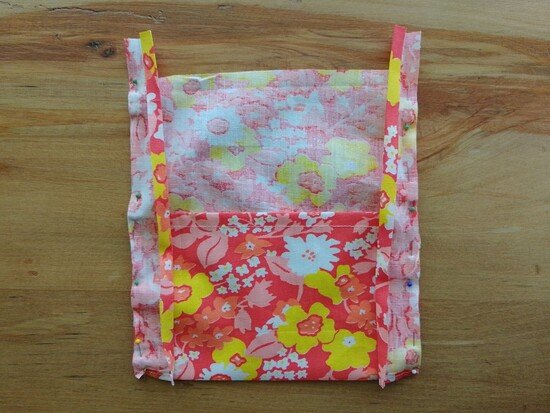
This is the little pocket that you’ll fold the tote into. Grab the pocket piece and make sure you’ve transferred the notches.
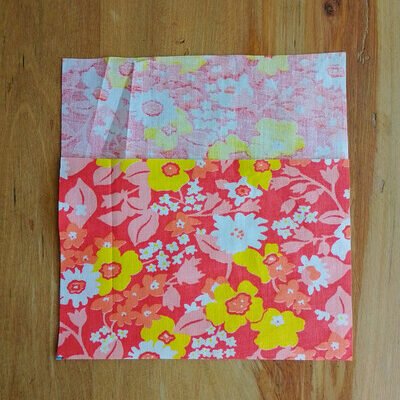
Using the notches as a guide, fold the smaller section of the pocket onto the larger section, wrong sides together, and press to create a crease.
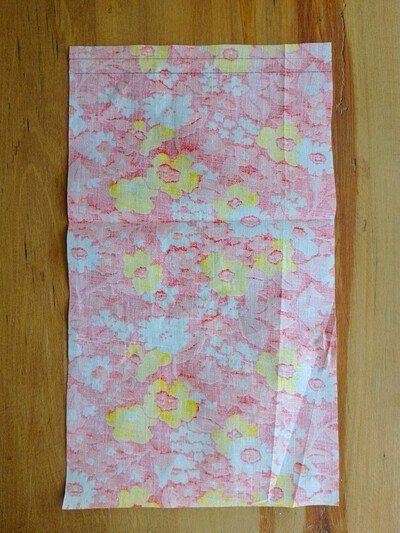
Unfold the pocket, then fold the top edge of the shorter section to the wrong side by 1 cm (⅜ in) twice to form a narrow hem. Do a line of stitching about 0.6 cm or 1/4 in from the fold to secure it.
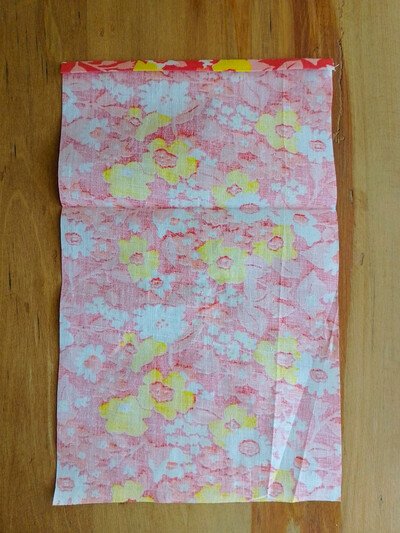
Refold the shorter section of the pocket along the original crease line onto the rest of the pocket, wrong sides facing. Sew the two side edges (from top to bottom) of the pocket together using a 0.6 cm or 1/4 inseam allowance. Trim the seam allowance down to about 0.3 cm or 1/8 in.
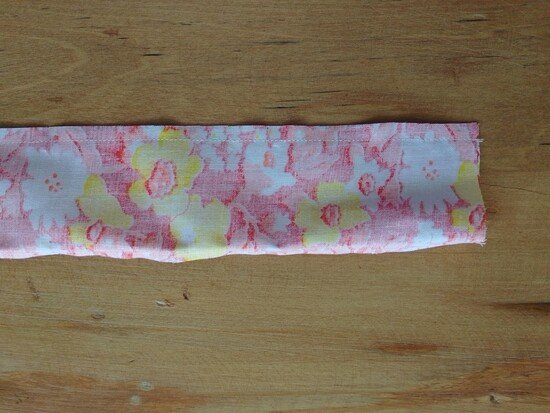
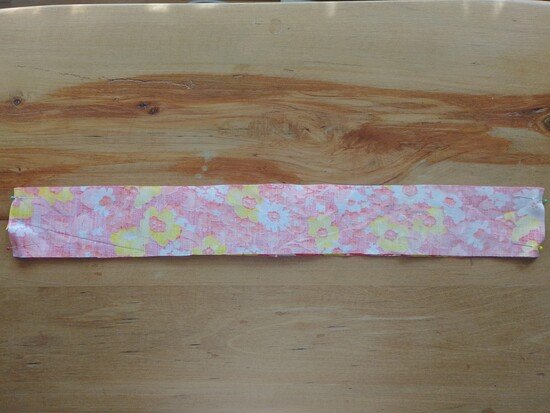
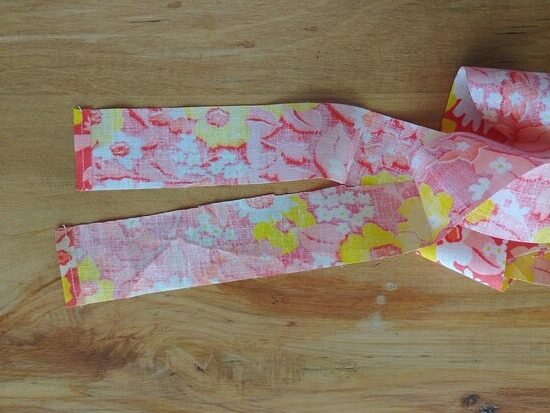
Take your binding fabric strips and fold each one in half lengthwise, wrong sides together, and press to create a center crease. Open the strip and use this crease as a guide to fold both long raw edges in toward the center, then press again.

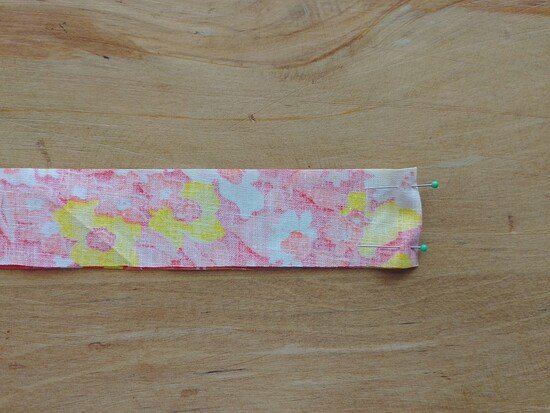
For each binding piece, fold one short edge to the wrong side by about 0.6 cm or 1/4 in and press, then secure the fold by topstitching close to the edge.

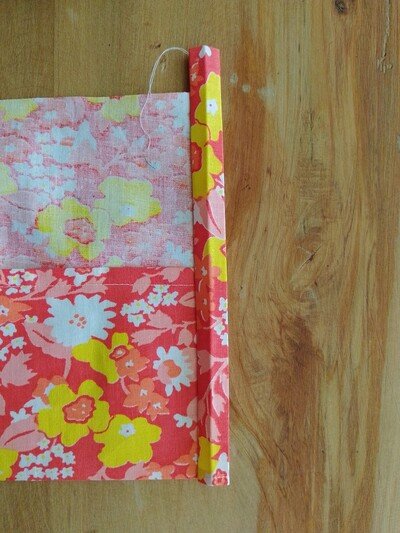
Unfold one binding piece and align its raw edge with the edge of the pocket. Position the topstitched end so that it lines up with the bottom of the pocket. Pin the binding in place, then sew it to the pocket using a 0.6 cm (¼ in) seam allowance. Repeat for the other side of the pocket using the remaining binding piece.
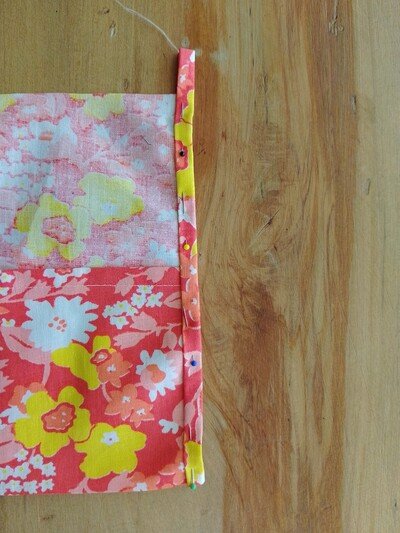
Fold the binding over to the other side of the fabric so that you enclose the pocket edge. Pin in place. Stitch close to the folded edge, then repeat this process on the other side.
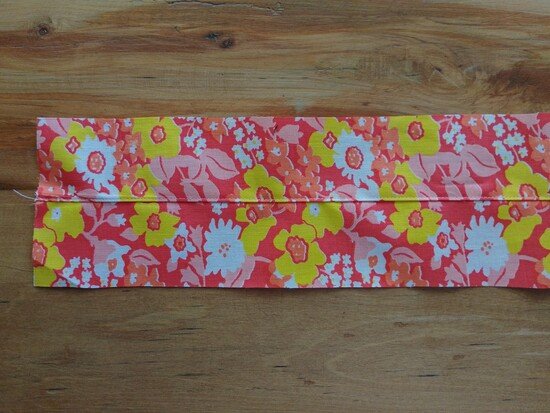
Trim off the excess length of the binding. You’ve now completed your pocket! Set it aside.
Sewing the main tote
Mark all the notches onto both main bag pieces. With wrong sides together, begin sewing at the top of one side using a 1 cm or 3/8 in seam allowance. Sew down the side to the first notch, then leave a gap as marked and secure the stitching with a backstitch.

Continue sewing to the bottom corner, pivot at the corner, and sew across the base. Pivot again at the opposite corner and sew up the other side, leaving the second gap at the notch. Continue sewing to the top edge and secure with a backstitch.
Trim the two bottom corners diagonally to reduce bulk. From the gaps down only, finish the seams using a serger, overlock stitch, or zigzag stitch.
Optional: Press the seam above the gaps open. You are now done with the main bag for now and pay put it aside.
Sewing the bag straps
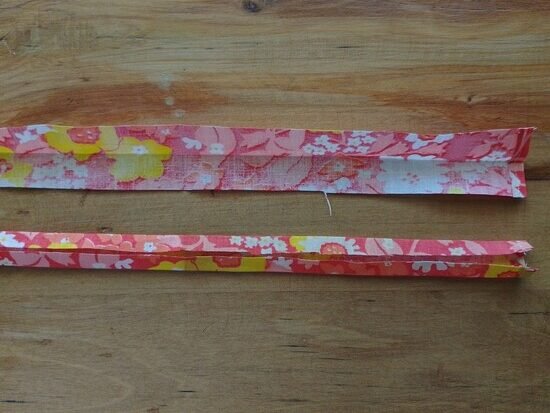
You have four strap pieces. Place two of these pieces right sides together and sew along one long edge only using a 0.6 cm or 1/4 in seam allowance. Open the pieces up and understitch the seam allowance to one side of the strap.

Line up the long edges of the strap with right sides facing and sew along the length using a 0.6 cm or 1/4 in seam allowance. Turn the strap right side out and press. Edgestitch along the remaining side (the one without the understitched seam allowance) using a 3.5 mm stitch length. Repeat for the remaining strap.

Put the straps aside.
Sewing the casing for the tote
The casing is made of two strips of fabric. Join the two on the short edges, right sides facing, and sew using a 1 cm or 3/8 in seam allowance. Press the seams open.

Fold one of the edges along the circumference of the casing by 1 cm or 3/8 in onto the wrong side of the fabric.

Done for now! Put the casing aside
Sewing the tote bag drawstrings
Finally, take two of the drawstring pieces and place the right sides together. Sew only on one short edge using a 0.6 cm or 1/4 in seam allowance. Press the seam open.

Fold the remaining short edges to the wrong side by about 0.6 cm or 1/4 in and edgestitch to secure.
Fold the drawstring in half lengthwise and press to create a center crease. Open it up and fold both long edges in toward the crease, then fold the piece in half again so it’s double folded.
Edgstitch the double folds and repeat these steps for the remaining two drawstring fabric pieces.

Drawstrings done, let’s assemble the bag!
Assembling the tote bag
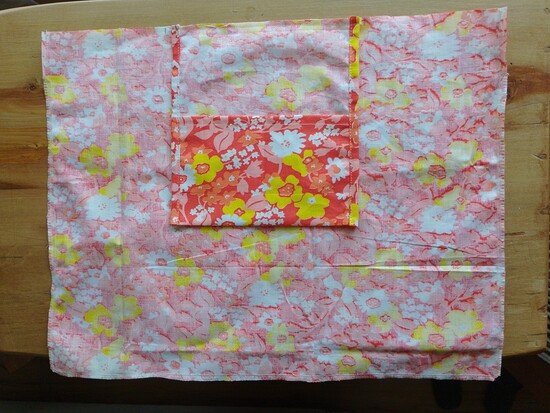
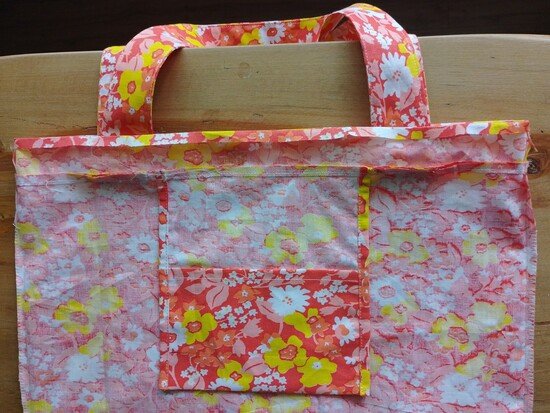
Take the main bag and lay it flat, wrong sides out. Take the pocket piece, right side out, and place its back on top of the main bag. Line up the centers of the pocket and the bag, then sew in place using a 0.6 cm or 1/4 in seam allowance.
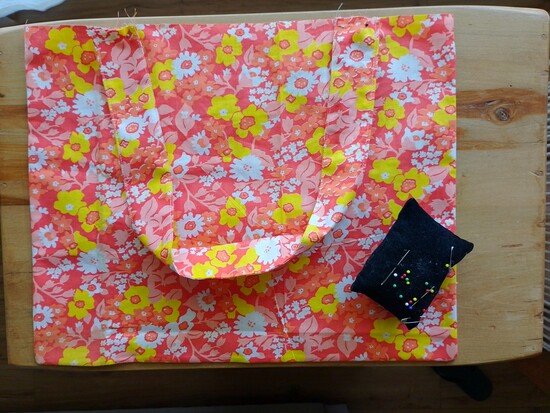
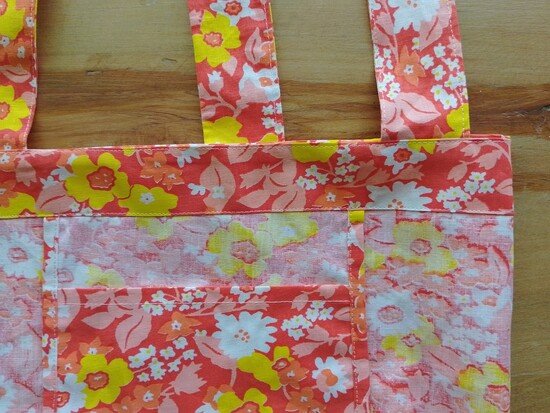
Turn the bag right side out and smooth it. Take one strap and on one side of the bag, align the strap ends with the notches, positioning the strap so its width sits to the outside of the notches. Check the photo below for reference
Note that there are two notches indicating the placement for the two short edges of the strap. Sew the strap in place using a 0.6 cm or 1/4 in seam allowance. Repeat on the other side of the bag with the remaining strap.
With right sides facing, place the casing over the main bag such that the folded edge of the casing positioned at the bottom, away from the top of the bag. Match the circumference of the casing to the bag and line up the side seams. Pin all the way around and sew using a 1 cm or 3/8 in seam allowance.
Flip the casing up and press it away from the bag, then understitch the seam allowance to the casing using a 3.5 mm stitch length as shown in the photo below.
Turn the bag inside out so the wrong side is facing out. Fold the casing down toward the wrong side of the bag and press. Stitch close to the folded edge of the casing all the way around the bag. This line of stitching forms the casing and catches and secures the pocket.
Turn the bag right side out. At each casing opening on the side seams, sew a bar tack at both the top and bottom to reinforce the opening. A bar tack is a short zigzag stitch sewn back and forth over a small area to strengthen places that undergo lots of wear and stress.
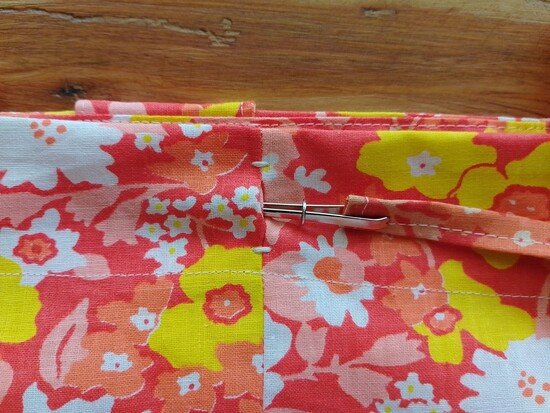
Use a safety pin or bodkin to thread one drawstring through one casing opening, guiding it all the way around the casing and back out through the same opening. Repeat with the second drawstring, starting from the opposite opening.
Tie the ends of each drawstring together to prevent them from slipping back into the casing.
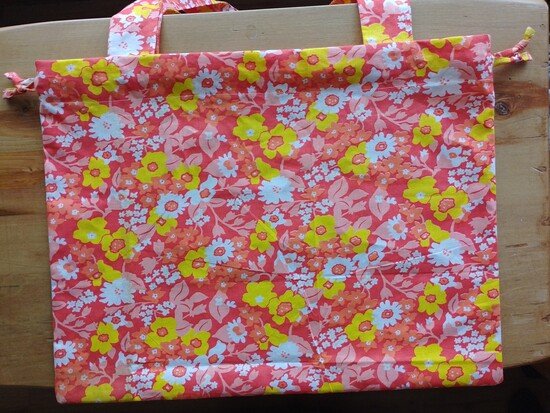
Congratulations! You’ve completed your foldable tote bag. One last step: here’s how to fold and tuck the tote neatly back into the little pocket.
How to fold the tote bag into the pocket
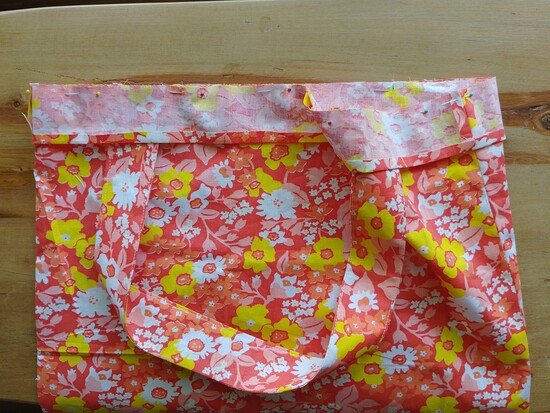
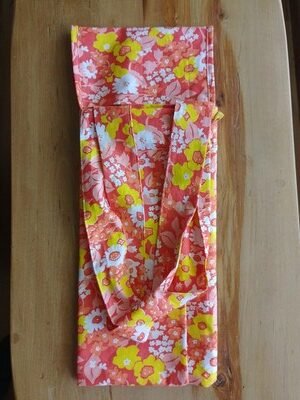
Pull the pocket out and fold it away from the bag, along with the straps. along with the straps. Using the width of the bag as a guide, fold the tote lengthwise into thirds, bringing the outer edges toward the center. Place the straps back onto the folded bag.

Next, fold the bag into thirds again, working toward the pocket and finally tuck the folded bag into the pocket.

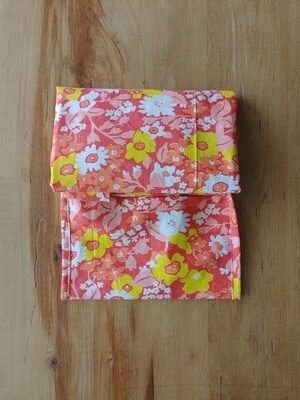
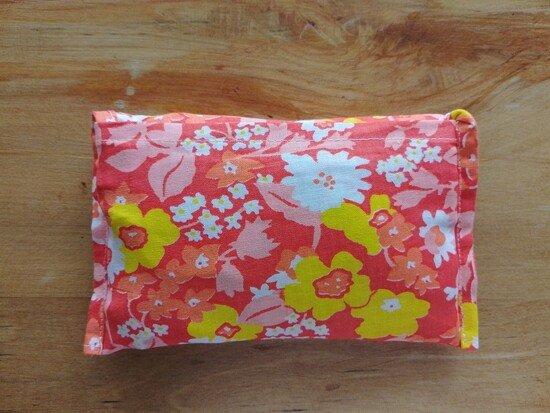
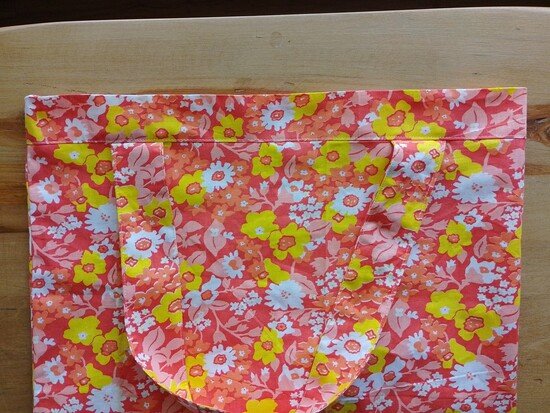
Below is your tote bag, finally tucked into the pocket. I hope you enjoyed this tutorial. Please like and share. Feel free to comment with a picture of your finished sewing project.