
How to Sew a Drawstring Bag with Lining (Free PDF Pattern 3 Sizes)
Today, I’m sharing an easy and fairly quick sewing tutorial showing how to sew a drawstring bag with lining. This lined drawstring bag is a perfect beginner sewing project as it has no complicated closures. It’s also a fun way to experiment with different colors and patterns.
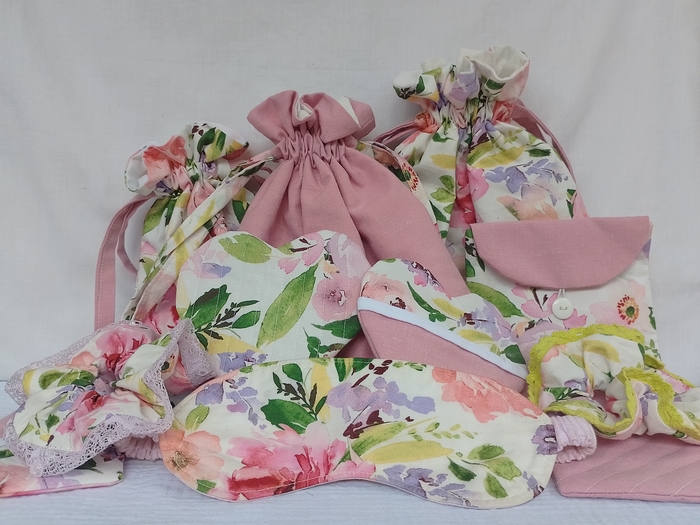
I’ve actually sewn several sets of three lined drawstring bags as gifts, and they’re always a hit. It makes me so proud to see my sister use them when she’s traveling (🥹). Anyway these are suitable for gift bags and storage bags. This sewing tutorial walks you through how to make a lined drawstring bag step by step, with a free printable pattern that comes in 3 sizes.
Ps: Want a quicker drawstring bag tutorial, check out my simple unlined drawstring bag tutorial and pattern.
This post contains affiliate links meaning I may earn a small commission if you make a purchase at no extra cost to you. These are products I find helpful and use.
Download the lined drawstring bag PDF pattern
Get your PDF pattern using the button below. You are free to sell items you make using this pattern. However, please do not sell or distribute my pattern.
- Open the PDF and set your printer scale to 100%, Actual Size, or None
- Print page 1 first and check the test box to confirm the scale
- Once the scale is correct, print the remaining pages
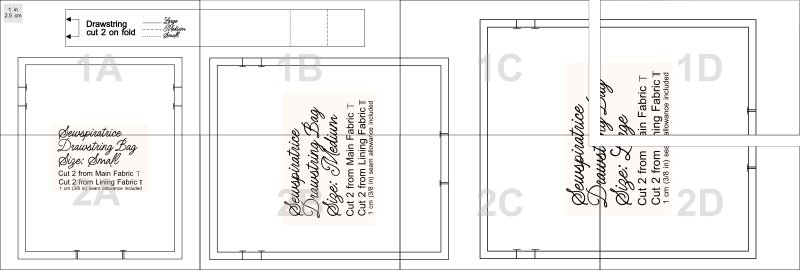
- Assemble the pattern pieces as shown in the layout below
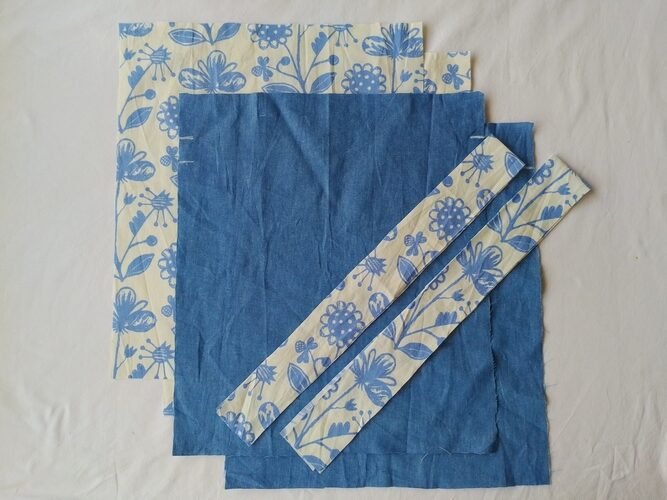
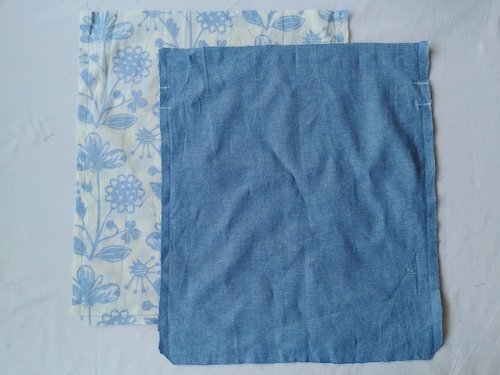
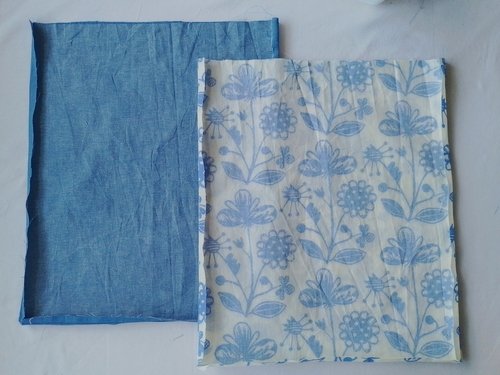
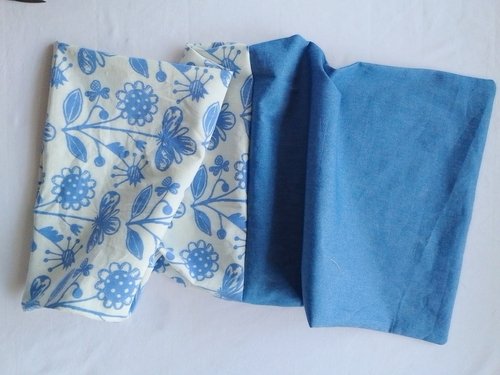
- Cut out the pattern pieces and mark the notches. You should have:
- 2 rectangles of main fabric
- 2 rectangles of lining fabric
- strips of fabric for drawstrings
Drawstring Bag Sewing Instructions
Here is a Youtube video I made that is a visual companion to this blog post. But you’ll still need the instructions written here
1. Sewing the main bag
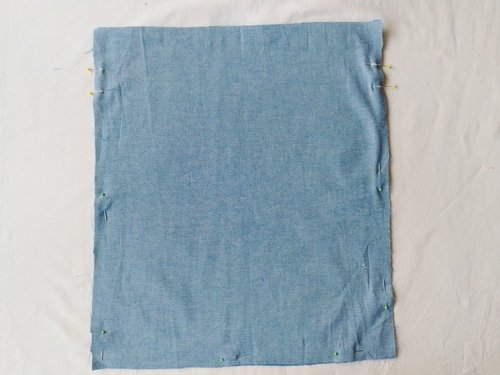
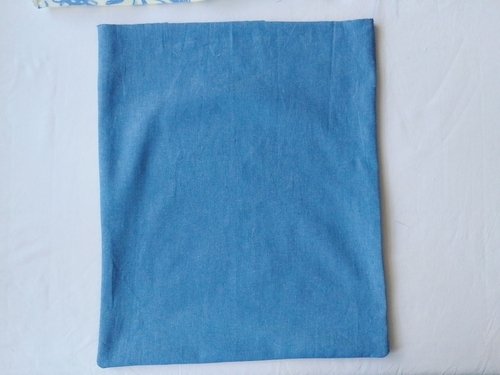
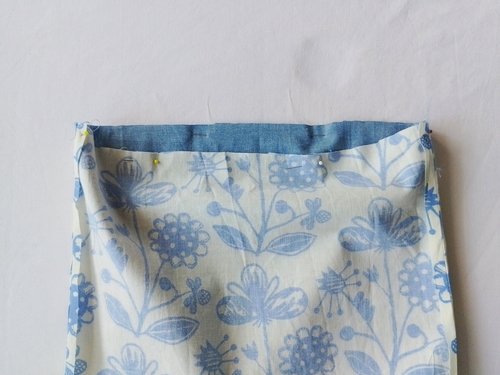
Pin the two main fabric rectangles together, right sides facing each other.
Starting from the top edge of the main fabric, sew down one side with a 1 cm (3/8 in) seam allowance, stopping at the first notch. Remember to backstitch to secure the seam.
Skip the gap between the notches designated for the drawstring casing. Continue sewing from the second notch down to the bottom edge.
Pivot at the bottom corner and sew across the bottom. Pivot again and sew up the other side, stopping at the notch. Leave a second gap for the drawstring and continue sewing from the next notch to the top edge.
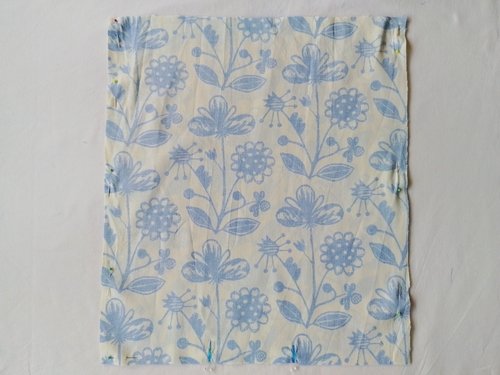
2. Sew the drawstring bag lining
Starting from the top edge of the lining, sew down one side with a 1 cm (3/8 in) seam allowance. Pivot at the bottom corner and sew across the bottom, stopping at the first notch.
Leave a gap between the notches for turning the bag out later. Continue sewing from the second notch, pivot at the corner, and sew up the opposite side to the top edge.
Grab both the lining and main bag and press them. Very carefully, clip out the corners. Take care not to cut into the line of stitching
You may choose to trim the seam allowances to 0.6 cm or 1/4 in. I prefer not to as I don’t want to risk compromising the channel openings which we’ll sew later on. Press the seams of both bags open.
3. Assembling the main and lining pieces of the drawsting bag
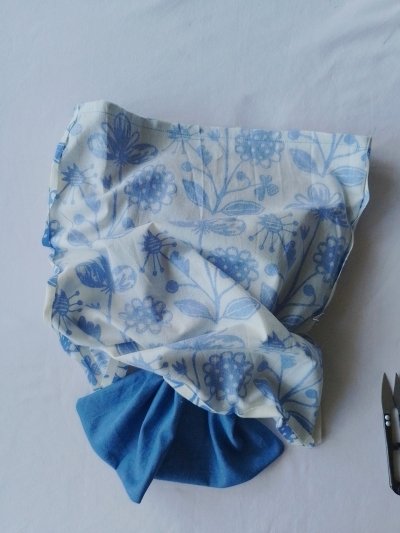
Turn only the main fabric bag right side out. Use a blunt object like chopsticks to push the corners out.
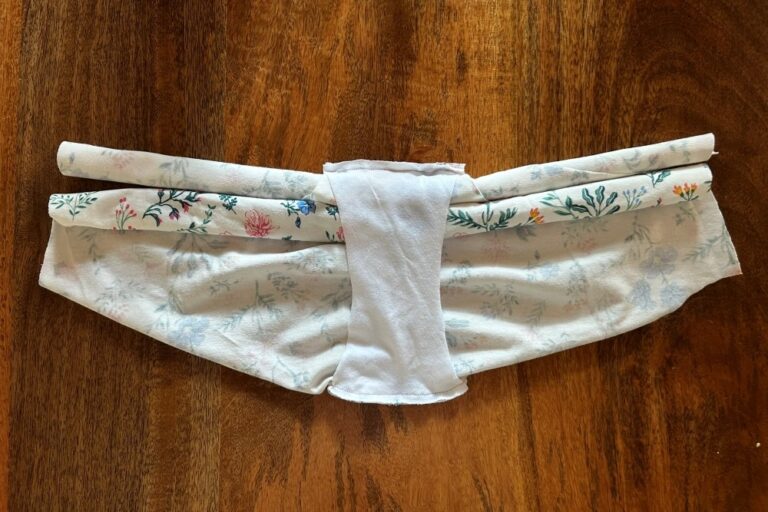
Insert the main bag it into the lining (lining remains wrong side out). At this point, the right sides of both bags should now be facing.
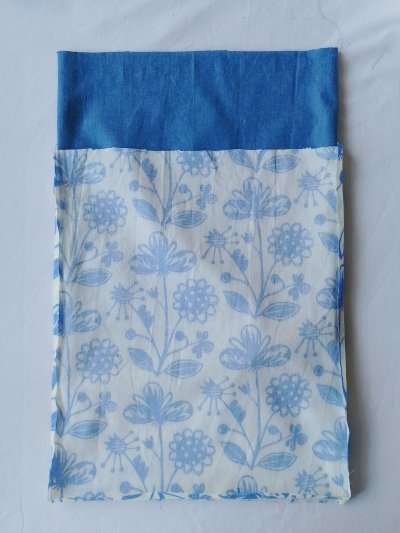
Pin the bags together at the opening of the bag and sew the around their entire circumference.
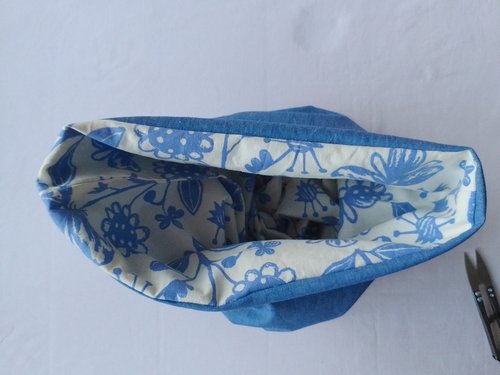
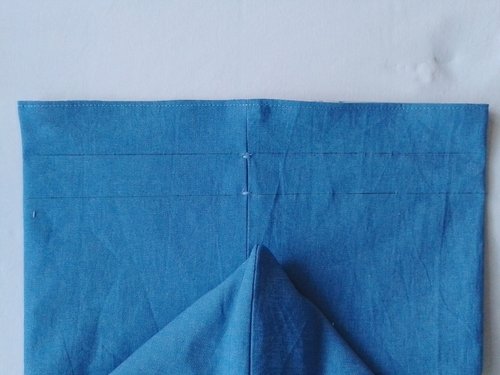
Find the gap you left at the bottom of the lining bag earlier. This is what you will use to turn the bag right side out.
Grab the main bag (which is inside the lining) and gently pull it out through the gap in the lining to expose the right sides of both the lining and main bag.
Reach through the gap in the lining to push out the corners and neaten the bags if you need to. Press.
To finish the lining, you can either slip/invisible stitch or machine stitch the gap closed.
Tuck the lining into the main bag and fiddle with it till it’s neat.
Optional: Top-stitch the opening of the bag.
Sew a bar tack above and below each opening on the seams of your pouch. This is a short zigzag stitch with a short length and a wider width, used to reinforce the opening so it doesn’t rip when you pull the drawstrings.
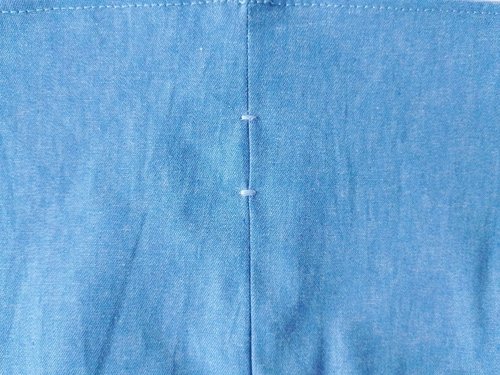
4. Sewing the drawstring channeling
Use an erasable pen or chalk and draw two parallel lines above and below the openings, all around the pouch.
Following the lines you just drew, sew two parallel lines of stitching around the pouch to create the channeling for the drawstring.
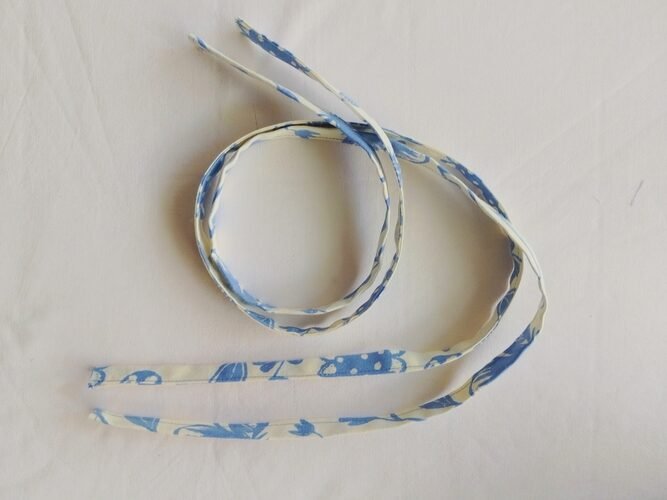
5. Sewing the drawstrings and inserting them into the channeling
Take one of your drawstring fabric pieces and repeat the following steps for the others:
Fold both short edges in by 0.6 cm (1/4 inch) and press. Sew across, close to the folded edges.

Fold the drawstring lengthwise and press to create a crease in the middle.
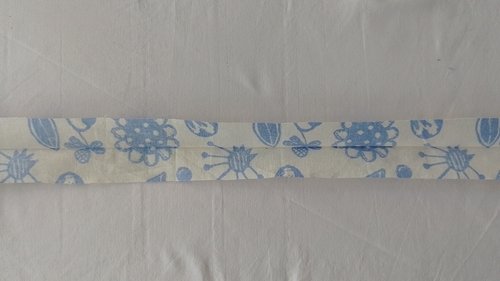
Open the fabric back out and fold each long edge towards the center crease. Press the folds.
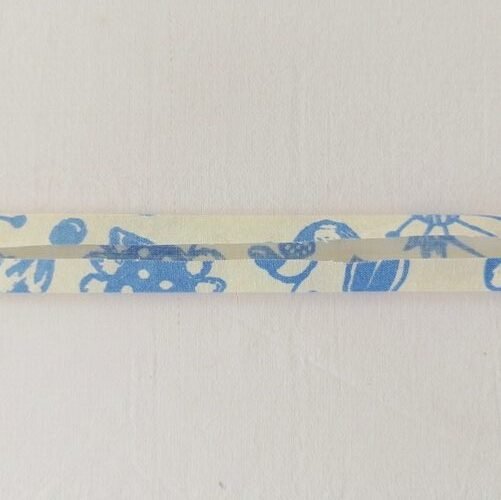
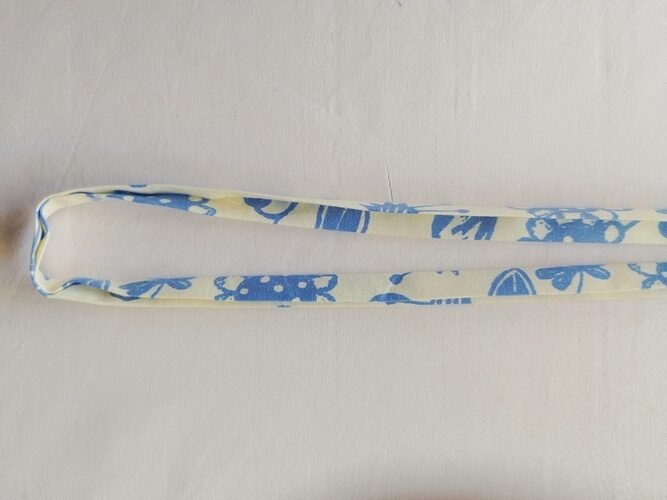
Finally, fold along the original center crease and edgestitch around the entire length to create your drawstring.
Once both drawstrings are made, attach a safety pin or bodkin to one end of one drawstring. Insert it through one of the casing openings and feed it all around the bag, exiting through the same opening you started with.
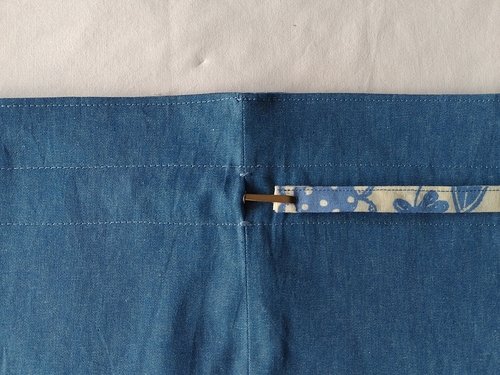
Repeat with the second drawstring, starting from the opposite opening. Pull on the ends to gather the bag, ensuring the drawstrings are even.
Knot the drawstrings if you like to make sure they don’t get lost in the casing.
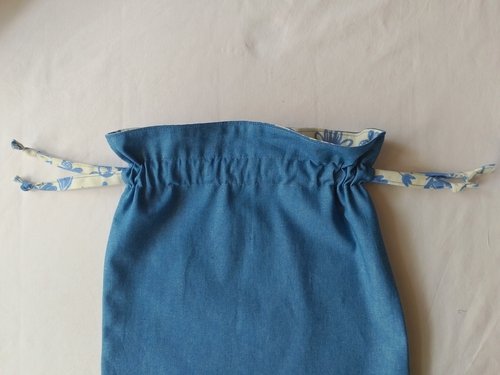
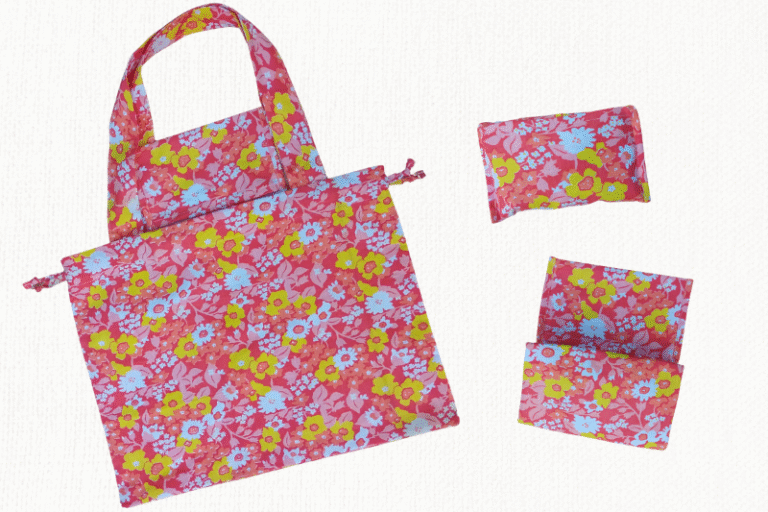
All Done! Congrats on sewing your very own drawstring bag with lining. Let me know if you made your own version in the comments and check out my DIY foldable tote bag tutorial if you’d like to sew yourself another awesome bag.


Hi, thank you so much for sharing this pattern. I have just made some domino’s using resin and flowers but I don’t have anything to put them in! I don’t like the resin boxes. And I have lots of lovely materials and ribbons so…
I found sewing after being diagnosed with Fibromyalgia and sadly I can’t do more than one bag a day, so I put my sewing machine away. It will be nice to get it out again.
Hi Erika. Thanks for sharing about your creative projects. I’m glad that despite the health challenges, you can still work on them here and there, when you’re able to. All the best!