How to Sew a Scrunchie with Lace Trim
I’ve been seeing delicate lace trim scrunchies all over the internet, and because sewing is my superpower, I decided to make a few for myself. Today, I’ll be sharing a tutorial on how to sew gorgeous scrunchies with lace trim, as seen in the popular coquette aesthetic. It’s easy and only requires a few extra steps on top of the regular scrunchie sewing method. Plus, it uses the burrito method for a neat finish. Let’s get started!
This post contains affiliate links
How to Sew Lace-trim Scrunchies
Below is a quick video tutorial to complement the written tutorial.
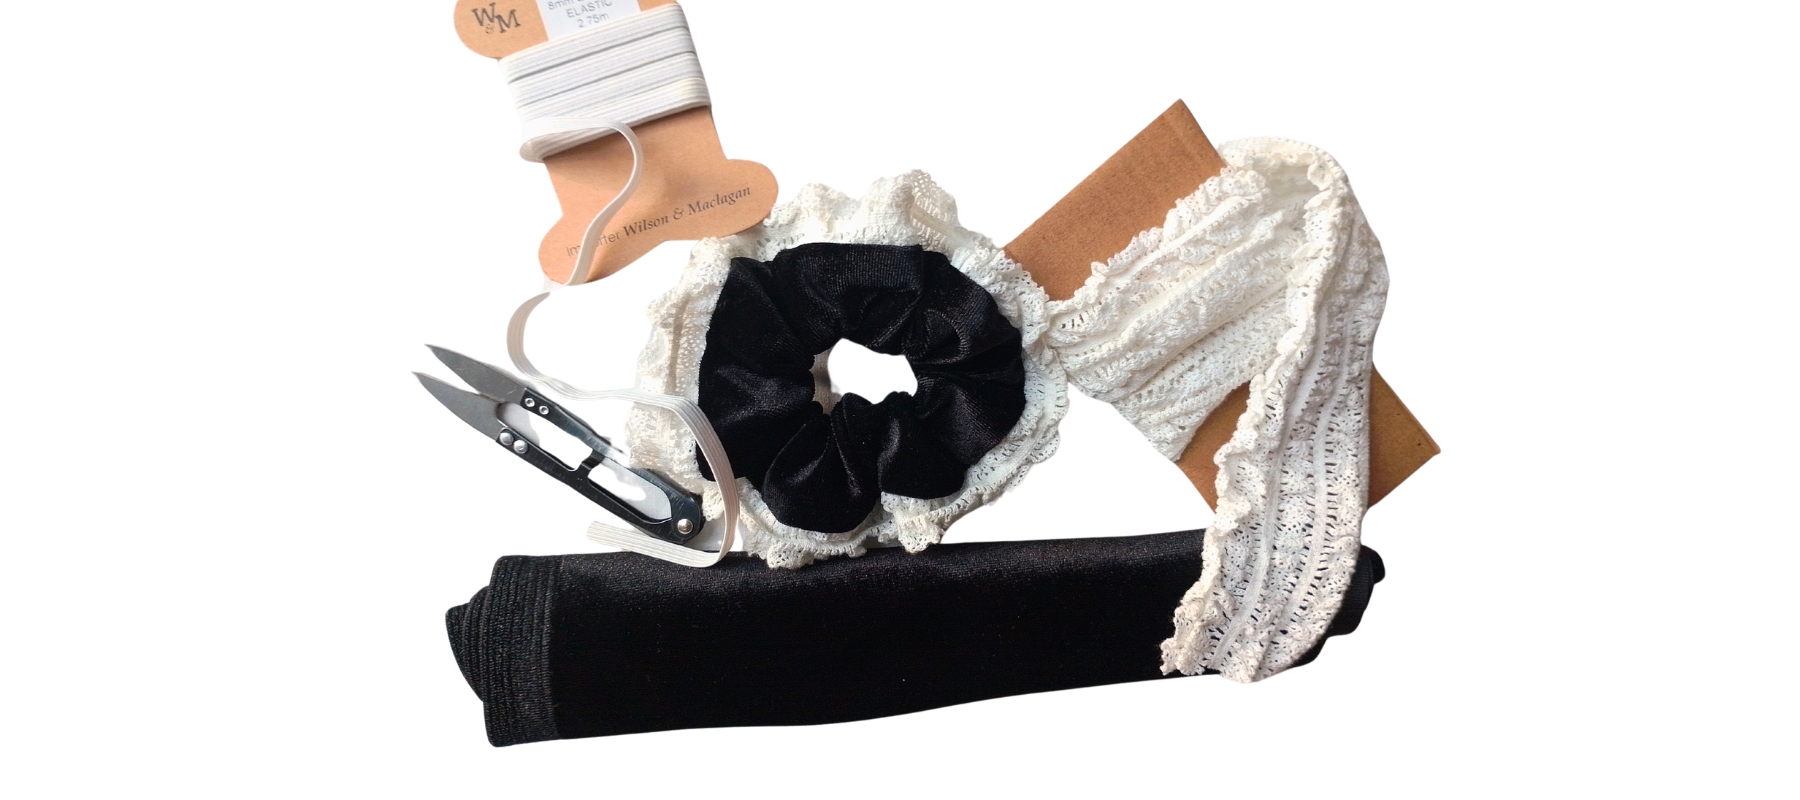
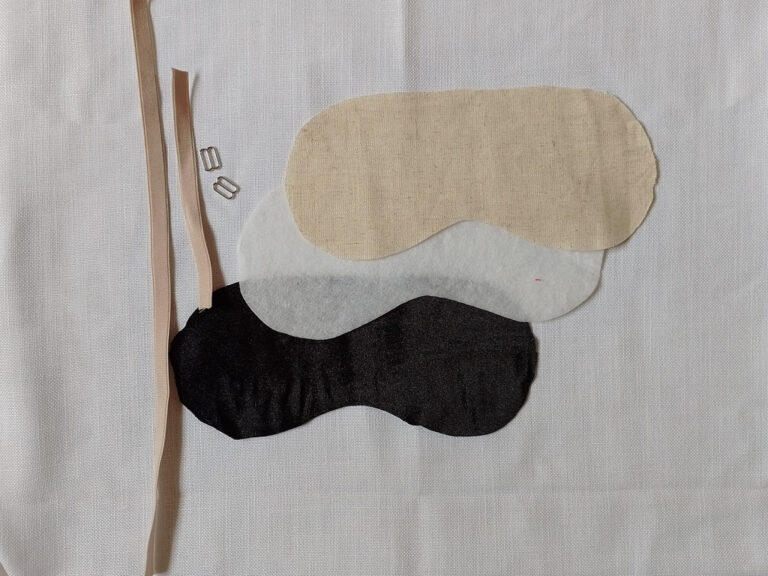
Sewing Supplies
Before you begin, gather the following materials:
- Fabric: 60 cm (23 1/2 in) x 10 cm (4 in)
- Trim: 60 cm (23 1/2 in) that is 2.5 – 5 cm wide (1-2 inches wide)
- Narrow elastic: 20 cm (7 3/4 in)
Step 1: Cut your fabric and trim
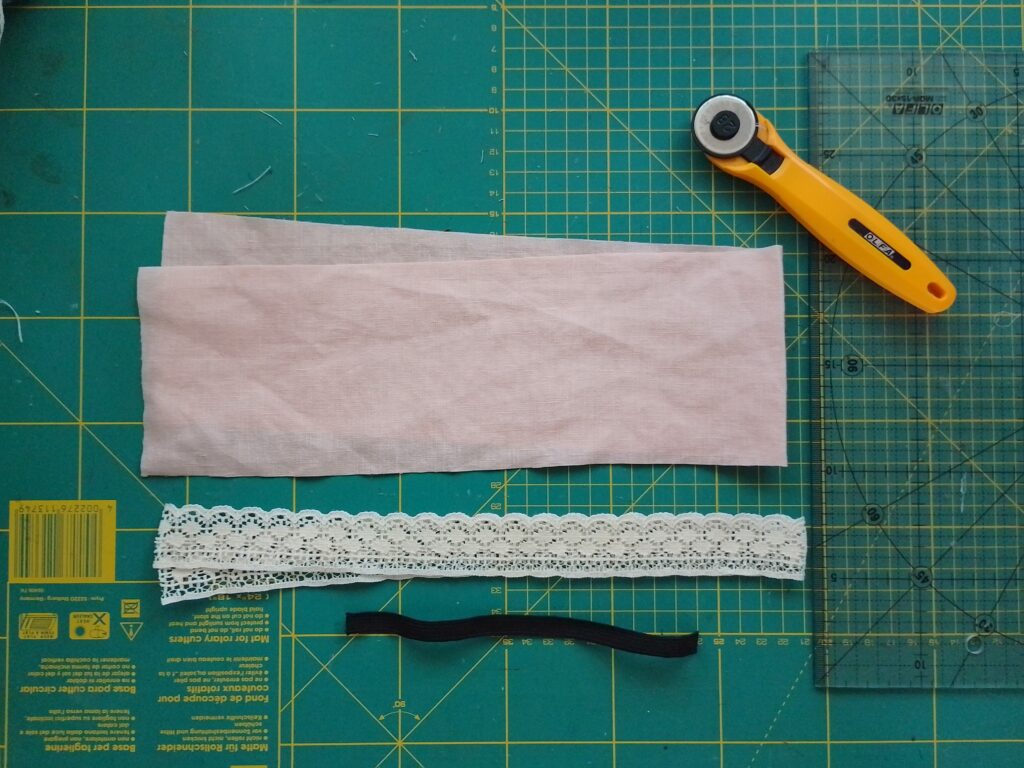
First, cut your materials to size:
- Cut a rectangle of fabric that is 60 cm (23 1/2 in) long and 10 cm (4 in) wide.
- Cut 60 cm (23 1/2 in) of cotton lace trim or any trim you have on hand.
- Cut 20 cm (7 3/4 in) of elastic.
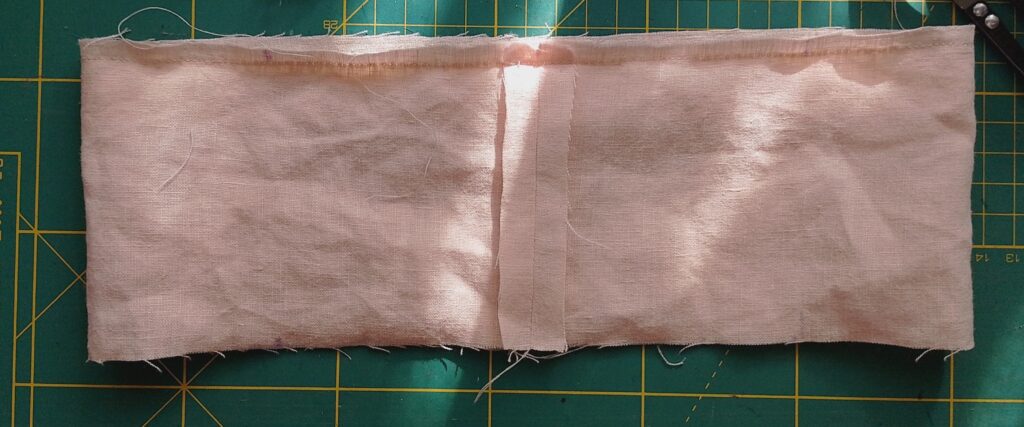
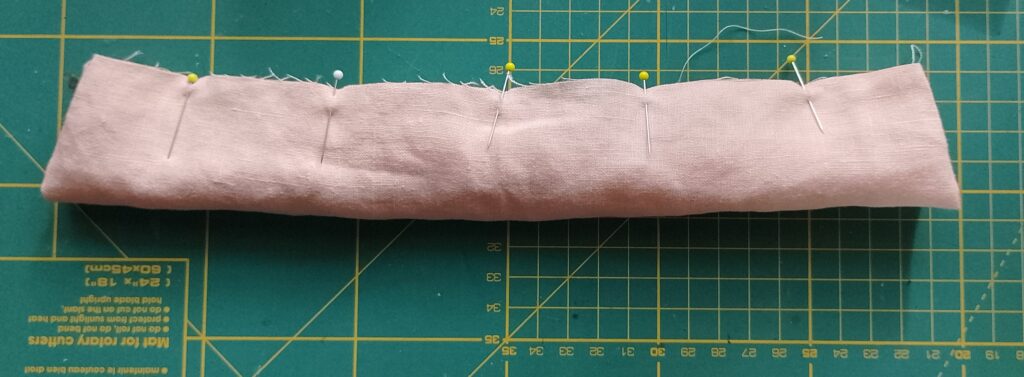
Step 2: Sew the fabric
With right sides facing, fold the fabric in half crosswise and sew along the short edges with a 1 cm (3/8 in) seam allowance. Press the seam open.

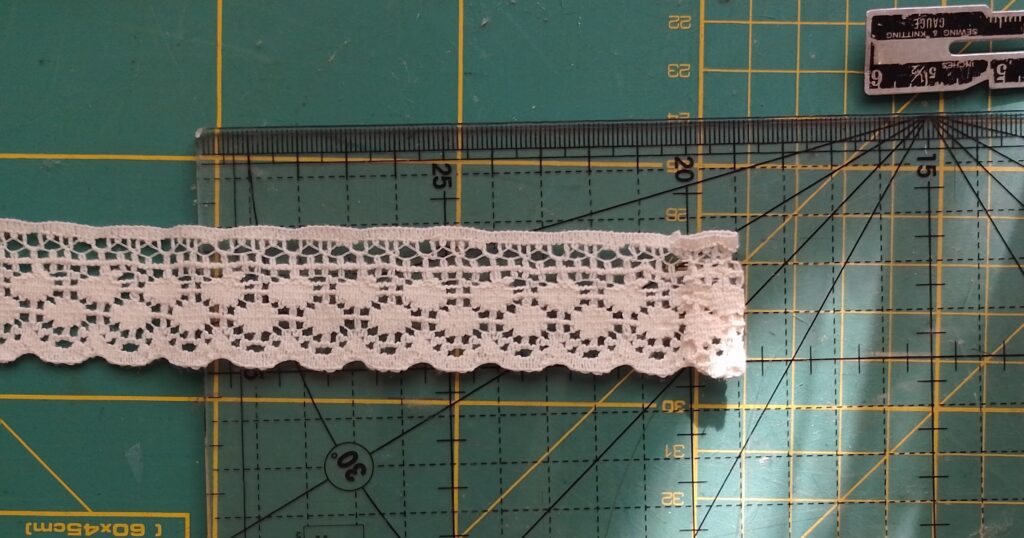
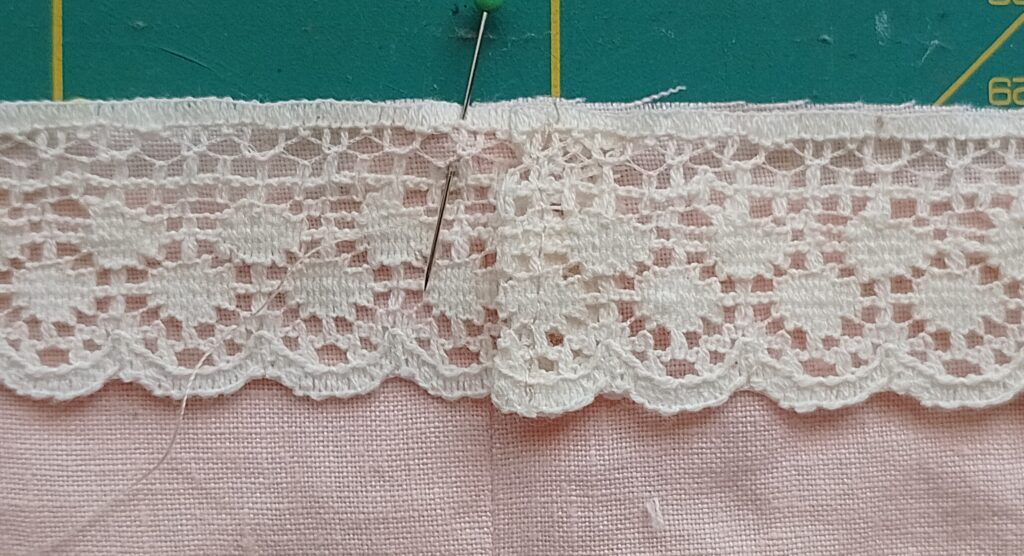
Step 3: Prepare & attach trim
Prepare your trim for attachment:
Fold one edge of the trim by 1 cm (3/8 in) onto the wrong side. Topstitch the folded edge. Trim the excess.
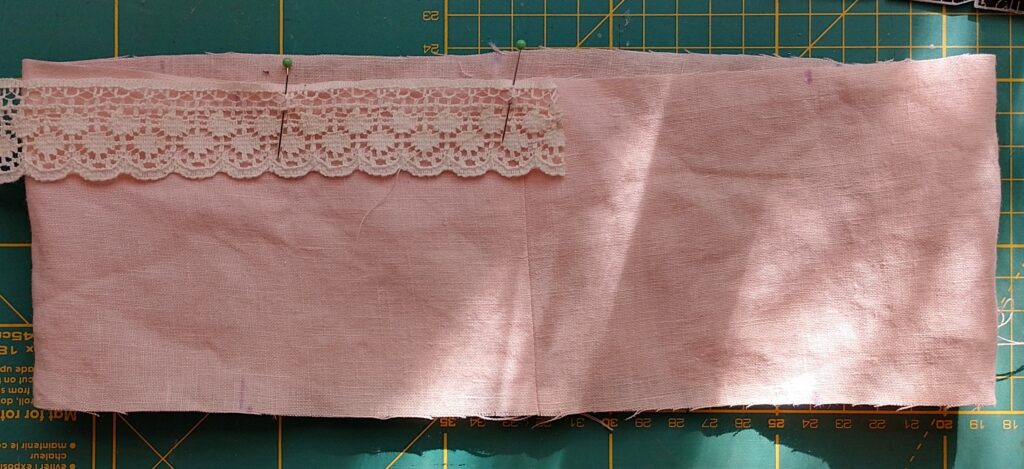
Now, to attach the trim to your fabric:
Turn your tube of fabric right side out. Place the wrong side of the trim onto the right side of the fabric, lining up the edges.
Pin the trim (the unfolded edge) to the fabric, starting 1 cm or 3/8 in beyond the seam. Carry on pinning around the tube of fabric.
As you approach the starting point, overlap the unfolded edge of the trim with the folded edge and pin in place to secure.
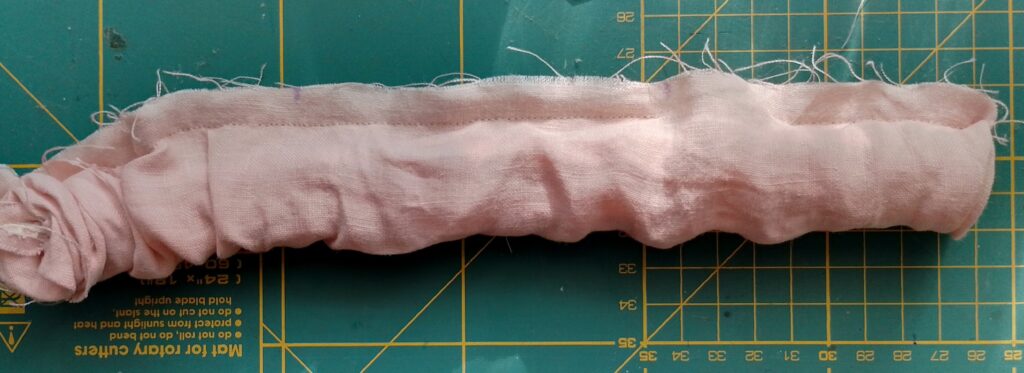
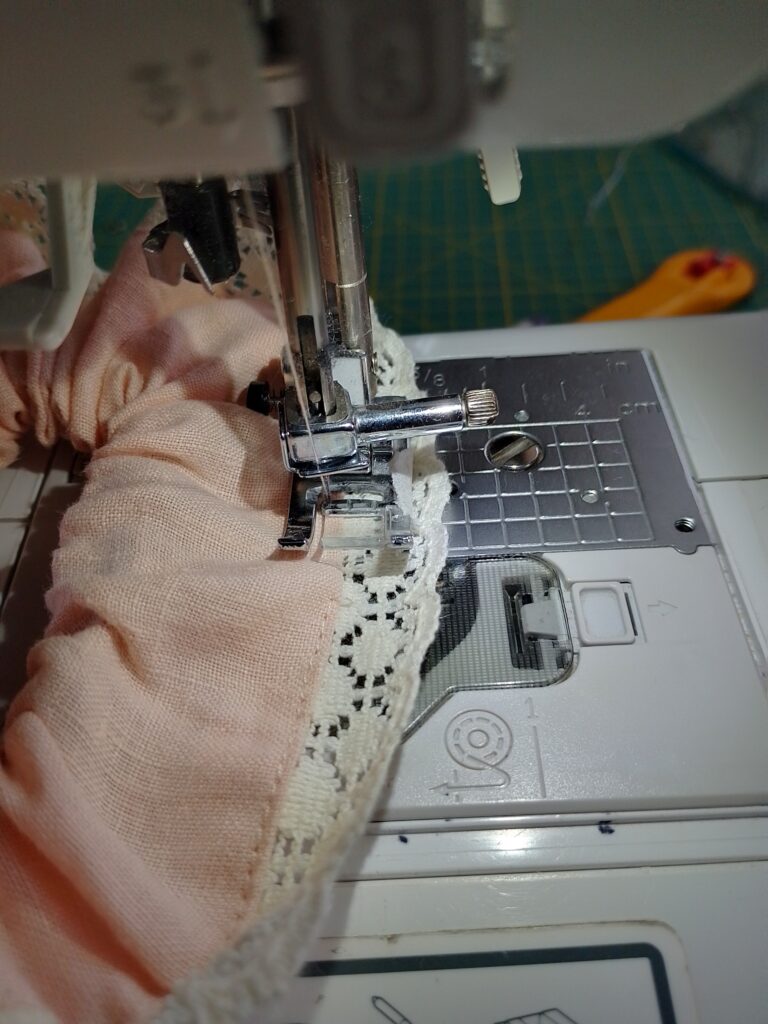
Step 4: Sew the trim to the fabric
Sew the trim to the fabric using a 0.6 cm or 1/4 in seam allowance.
Flip the trim up and sew the edges together over the existing line of stitching on the folded edge (do not sew the fabric; only sew the trim).
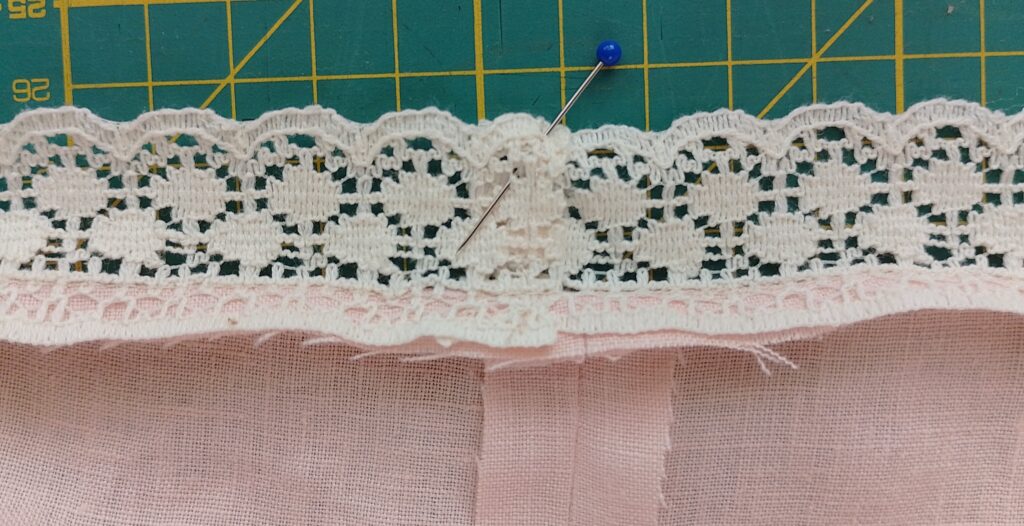
Optional: Trim the excess seam allowance of the trip (don’t trim the fabric!). Turn the fabric inside out with the wrong side facing you.
Step 5: Sewing the burrito
Roll up the bottom and top edge of the top layer of fabric towards each other (I have these pinned for illustration purposes only)
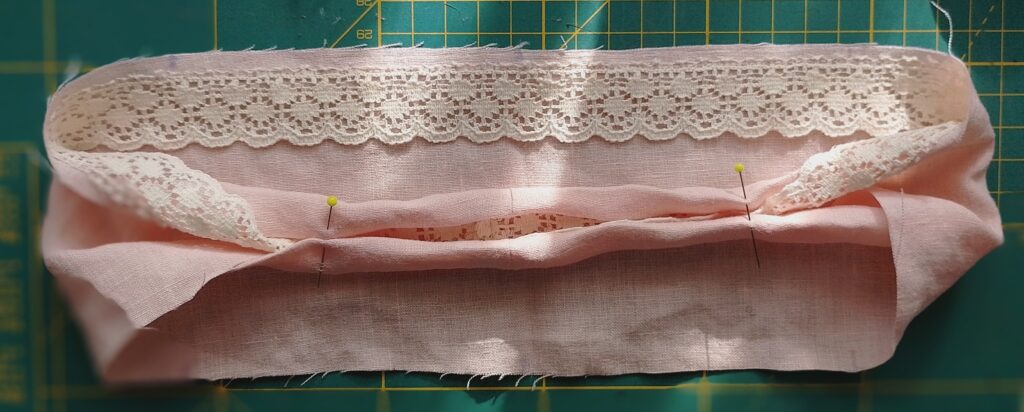
Fold the bottom edge of the lower layer of fabric onto the top edge, enclosing the rolled fabric.
Carefully start sewing with a 1 cm (3/8 in) seam allowance, making sure not to sew the inner rolled-up layer.
Gently pull out the inner rolls as you sew to expose more of the scrunchie. Check out this video tutorial at the top of the post to see how to do it.
Repeat and stop about 2.5 cm (1 in) away from the stitch line you started to leave a little gap to pull the fabric out through.
Turn the fabric right side out by pulling out the inner layers. Press your scrunchie.
Step 6: Insert elastic
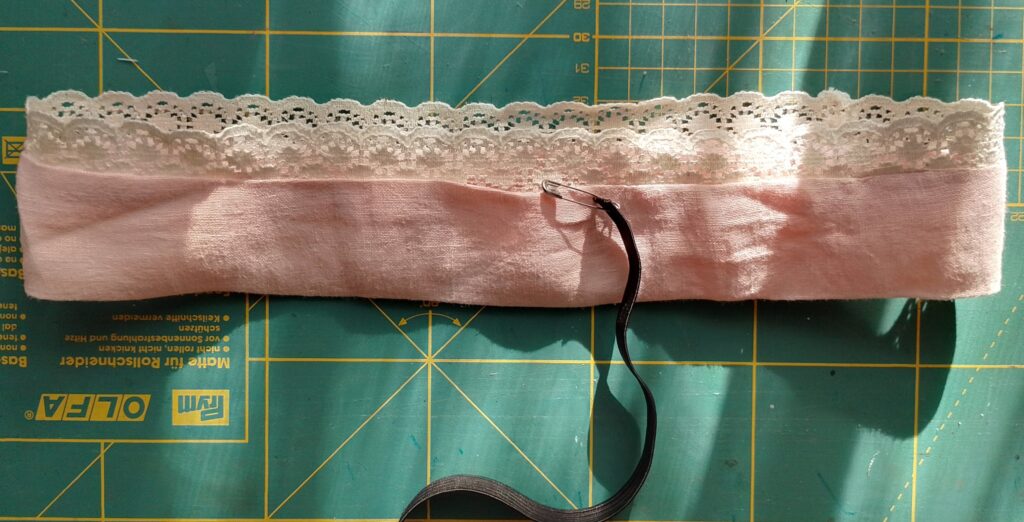
Using a safety pin, thread a piece of elastic (20 cm or 7 3/4 in) through the fabric tube. Make sure the end of the elastic remains outside the tube. I actually like to pin the other end to the fabric to make sure it remains outside the scrunchie.
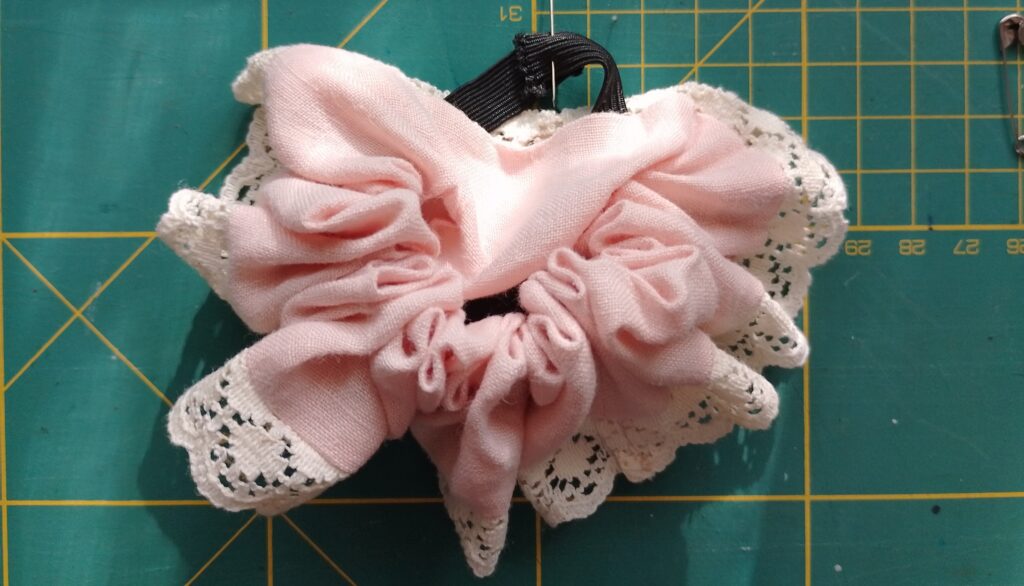
Once you thread the scrunchie, overlap the elastic ends by 1 cm (3/8 cm) and sew them together.
Step 7: Finish your scrunchie
Tuck the raw edges of the opening inside and sew the opening closed using a slip stitch or by topstitching. I chose to topstitch the gap closed and actually sewed around the entire scrunchie. I love the look!
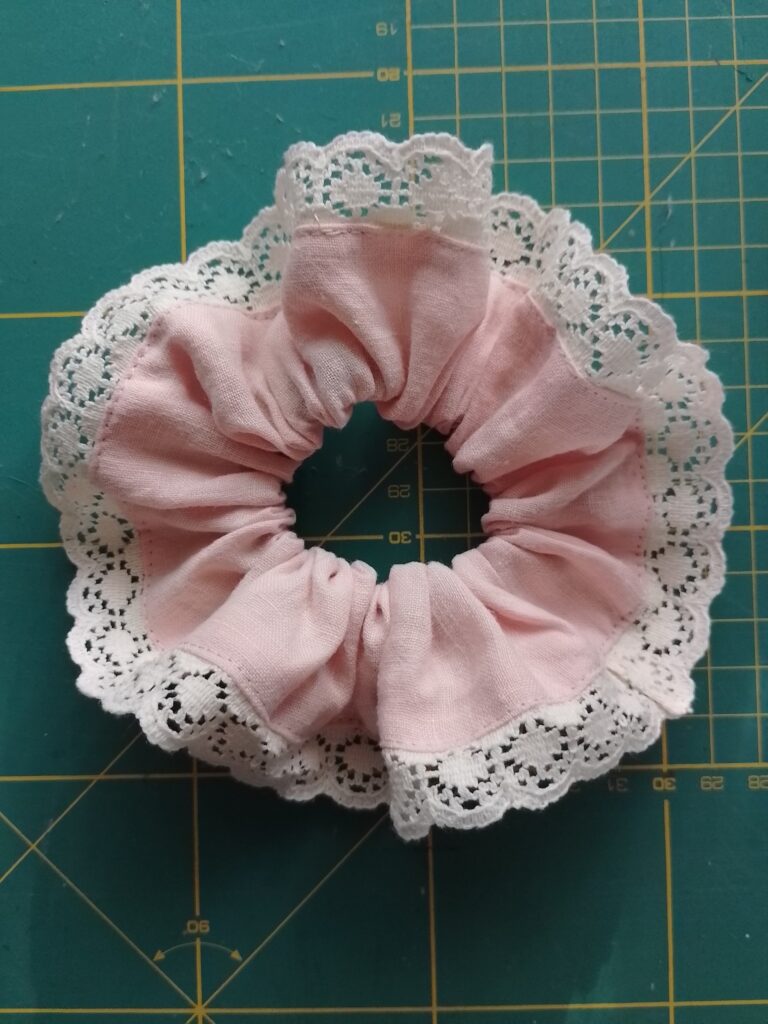
Your scrunchie with trim is now complete. Enjoy!
If you’d like more easy sewing projects to try, check out this list of my sewing tutorials.

Thank you for this tutorial. It is the first one I have managed without getting the lace caught in the short seam. This has turned out perfectly neat following your detailed instructions. Thank you.
Thank you so much for your feedback, you made my day! I’m glad you’re happy with how it turned out.