Free Drawstring Bag Pattern PDF: Easy Step-by-Step Sewing Tutorial
My beginner friendly free unlined drawstring bag pattern is genuinely quick and easy project. Unlike my DIY lined drawstring bag tutorial, this version has no lining, making it a simple project that you can finish in under 30 minutes.
Use this drawstring bag for traveling, as a gift bag and to store all your little kick-knacks. This pattern is absolutely free (no sign ups), and comes in three sizes.
This post contains an affiliate link. This means that I may earn a small commission if you make a purchase, at no extra cost to you. These are products I find genuinely helpful and use.
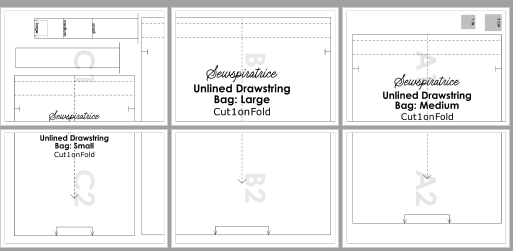
Download the free unlined drawstring bag pattern PDF
This six-page PDF pattern comes in three different sizes, small, medium and large. Click the button below to get your copy.
Disclaimer: You are welcome to sell items made from this pattern! However, please do not sell, redistribute, or claim this pattern as your own.
- Open the PDF and set your printer scale to 100% or “Actual Size.”
- Print page 1 first and measure the test box with a ruler to ensure it is exactly the right size.
- Once the scale is confirmed, print the remaining pages and assemble the pattern pieces.
Sewing Supplies

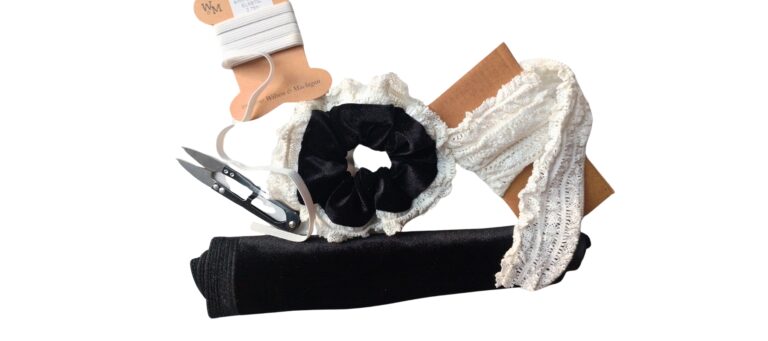
To sew this unlined drawstring bag, you’ll need:
- Main fabric for the bag. I suggest using a quilting cotton as it creases well
- Drawstring fabric. You could very well use the main fabric, but you might want to mix and match fabrics.
- Matching thread
- Chalk or a washable marking tool. Avoid heat-erasable pens, as pressing can remove the marks before you’re totally done with them
Note: Because the main piece is cut on the fold at the bottom, you’ll need a continuous length of fabric. Small scraps are unlikely to work for this pattern.
Cutting and Marking Your Fabric
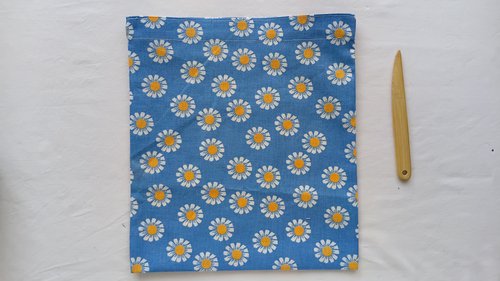
Cut 1 rectangle of fabric on the fold and two strips of fabric on the fold.
On each wrong side of the fabric: Using your marking tool, mark the two sets of notches indicated on the pattern. Remember to use an erasable or washable marking tool.
On each right side of the fabric: Mark two sets of notches based on the position of the dotted horizontal lines on the pattern, then connect each pair to draw two horizontal lines across the fabric. These lines will become your fold guides for the drawstring casing.
How to sew a simple unlined drawstring bag
Step 1: Sewing the main bag
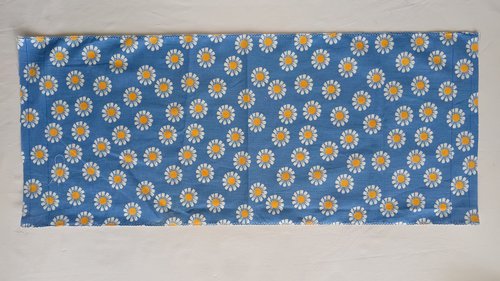
Open the fabric out flat (it was folded at the bottom; unfold it now so you’re working with one large rectangle).
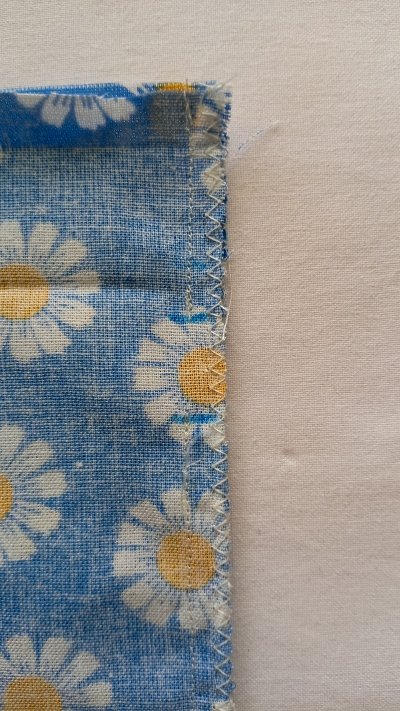
Using a zigzag stitch (stitch length: 2 mm, stitch width: 5 mm), sew along both long edges of the rectangle. If you have a serger or overlocker, use that instead, but a zigzag stitch is perfectly okay.
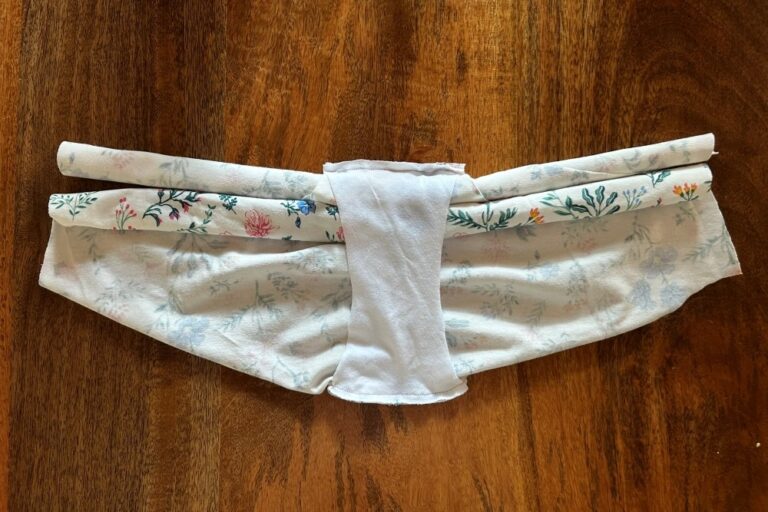
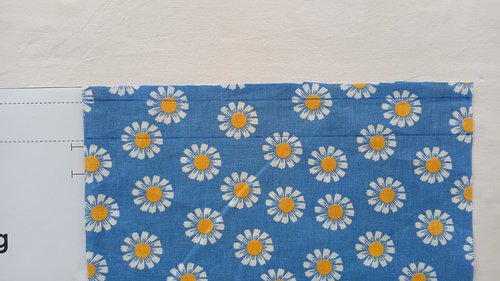
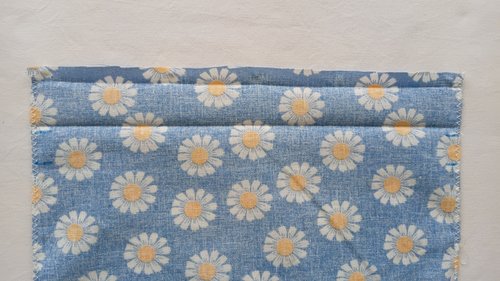
Using the two horizontal lines you drew earlier on the right side of the fabric, fold the top edge onto the wrong side along the first line and press. Fold again onto the wrong side along the second horizontal line and press well. You now have a double fold. Repeat this for the remaining end of the fabric piece.
Open both folds back out. These crease lines will guide you later when creating the casing.
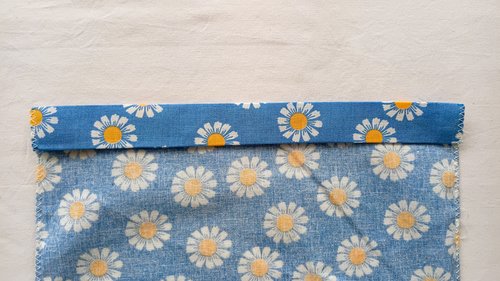
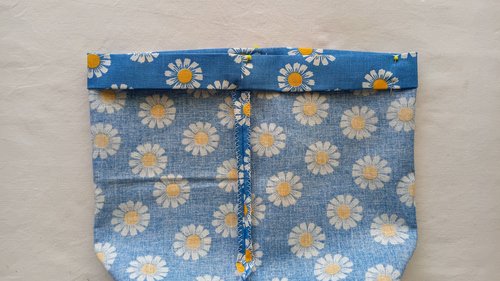
With right sides facing, fold the fabric along the original fold at the bottom and press the fold again.
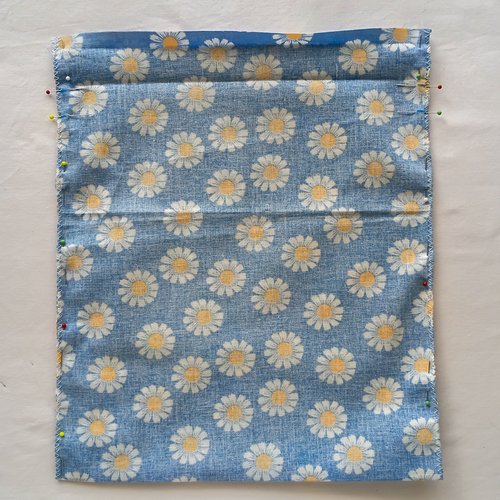
Fold the fabric in half with right sides together. Pin the side edges. Place pins perpendicular to the edge at your notches to remind yourself to leave a gap for the drawstrings.
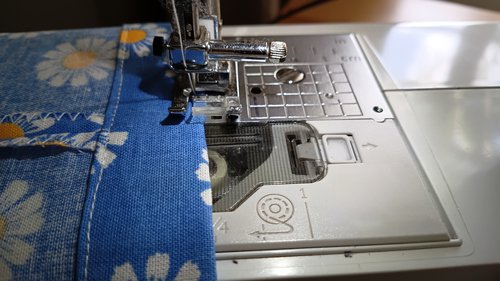
Using a 2 mm stitch length, sew down the side seam using a 6 mm or 1/4 in seam allowance. Backstitch at the first notch, skip the gap, and backstitch again at the second notch before continuing to the bottom. Repeat on the other side.
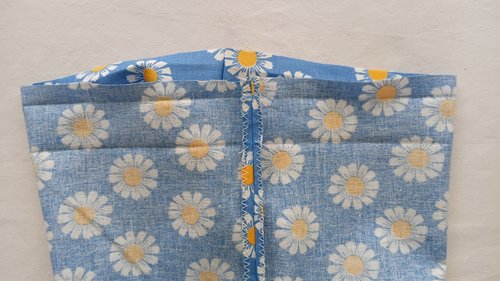
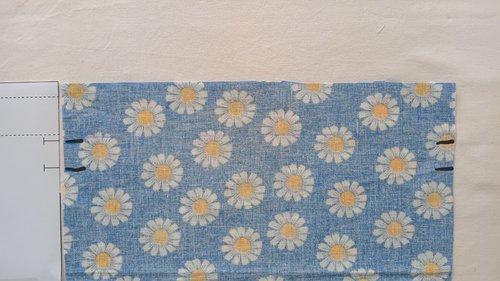
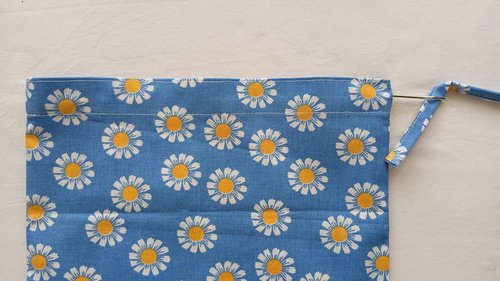
Press your side seams open. Using your previous creases as a guide, fold the top edge toward the wrong side (the inside) and press. Fold it down a second time along the next crease line so the raw edge is completely tucked away. Pin this double-fold around the entire circumference of the bag.
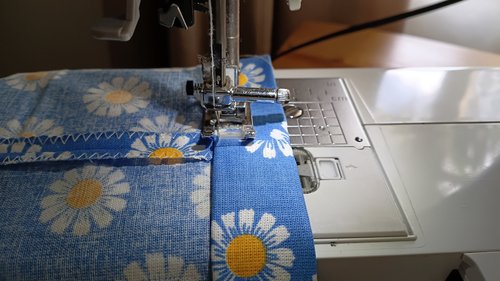
We will now sew two lines of stitching around the entire bag as follows. Edge stitch as close as possible to the bottom fold of the casing. Edge stitch along the very top edge of the bag.
Turn the bag right side out. At each casing opening (the gaps at the side seams), add a bar tack (see instructions below) at the top and bottom of each gap. This reinforces the stress points where the drawstrings will be pulled repeatedly.
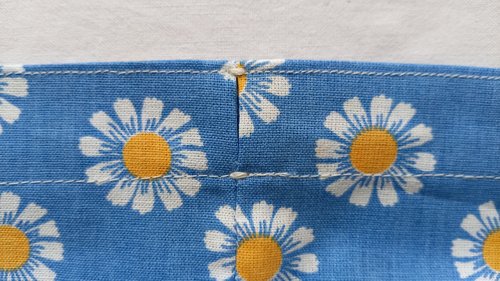
How to do a bar tack on a home sewing machine: Set your machine to a zigzag stitch 3.5 mm wide. Lower the feed dogs (most machines have a button or lever for this) so the fabric does not move forward. The needle will sew side to side in place, without moving forward or backward. Sew about 6–8 stitches, and leave generous thread tails before snipping.
If the last stitch feels a little loose, thread the tail onto a needle, pull it to the wrong side of the fabric, and tie a small knot to secure it.
You’ll add four bar tacks in total, one at the top and one at the bottom of each side seam gap.
Use a point turner or a blunt tool (a chopstick works well) to push out the bottom corners. Give the bag another press.
Step 2: Sewing the drawstrings
Take one drawstring fabric strip and fold the short ends in by 0.6 cm. Press and stitch near the folded edge to secure.
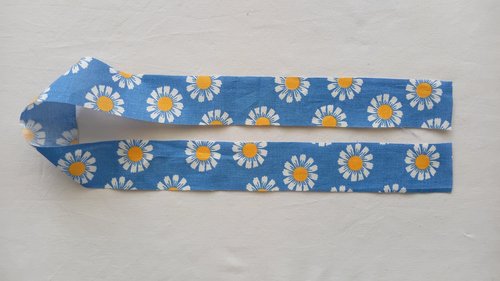
Fold the strip lengthwise to create a centre crease, then open it back out.
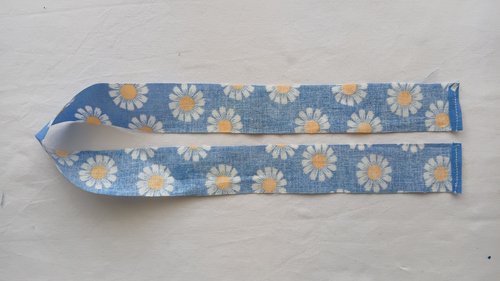
Next, fold both long edges inward to meet at the centre crease and press.
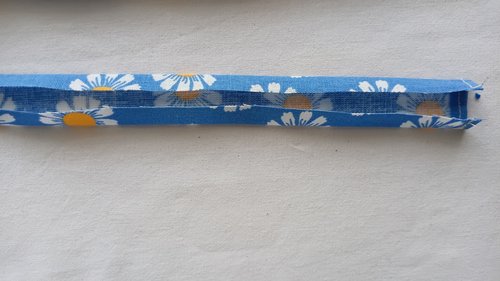
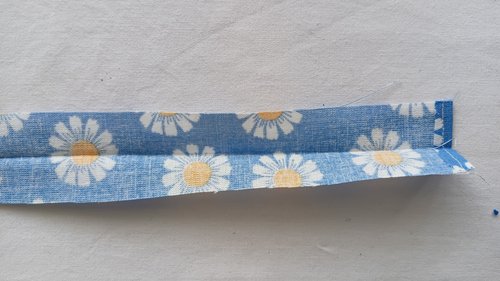
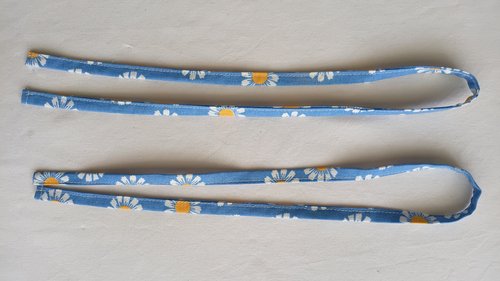
Fold the whole strip in half lengthwise along the original crease and sew along the length to close it. Repeat for the second drawstring.
Step 3: Final drawstring bag assembly
Attach a safety pin or bodkin to one drawstring. Insert it into one of the casing openings, feed it gently all the way around the channel, and bring it back out through the same hole.
Repeat with the second drawstring, starting and ending at the opposite side opening. Tie a knot at each end of both strings to stop them slipping back into the casing.
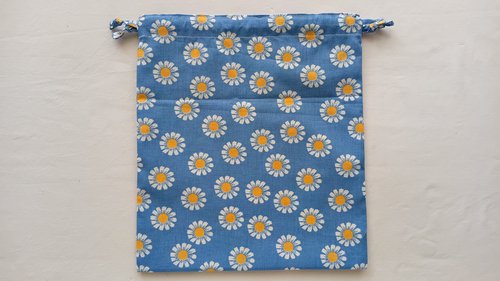
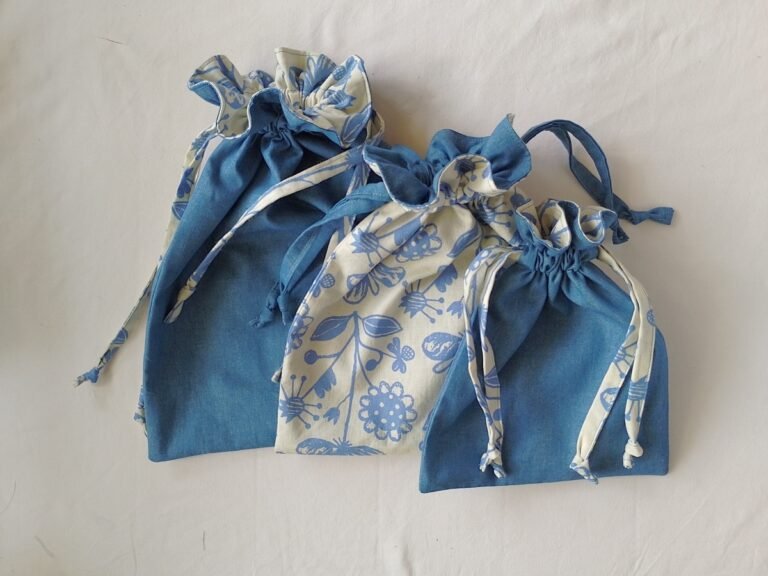
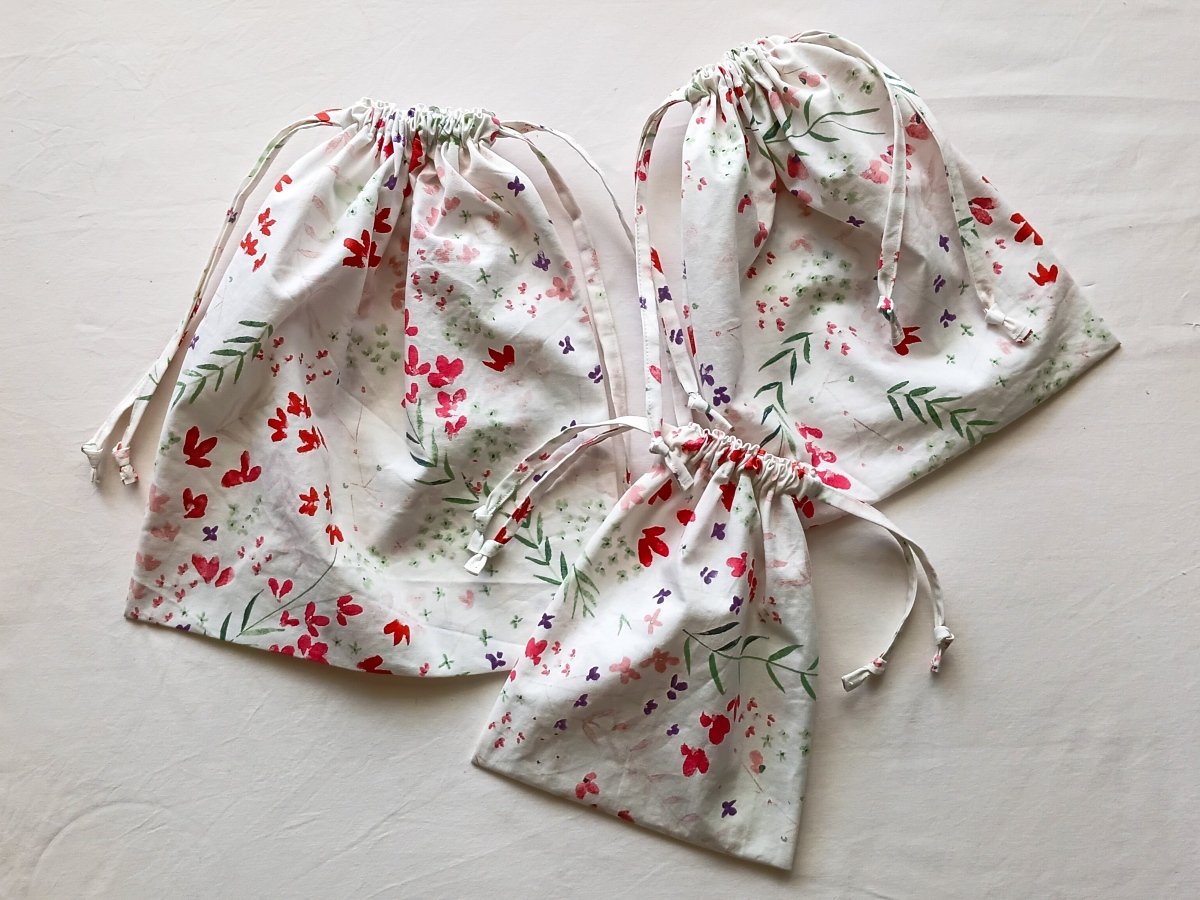
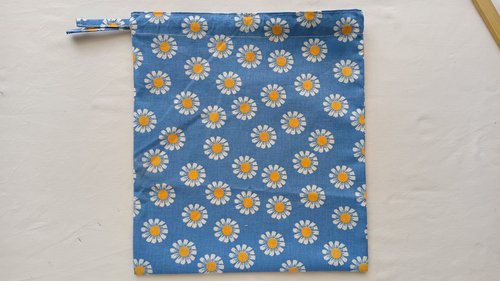
Your finished drawstring bag
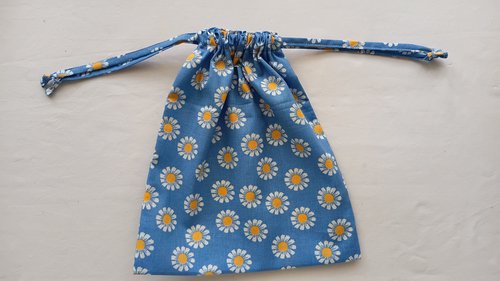
Congratulations on finishing your simple drawstring bag. This is such an easy and quick sewing project so I hope you can make several of these for yourself and loved ones. Feel free to share my free drawstring pattern with your fellow sewists.
If you enjoyed this tutorial, I’d love to see your version! Let me know in the comments below and or check out my DIY foldable tote bag with drawstrings sewing tutorial if you enjoyed this sewing project.