How to Make a Tiered Skirt With 3 Tiers (Beginner Friendly)
A tiered skirt is one of the most beginner-friendly sewing projects you can sew; and you can’t mess it up really. This tutorial shows you how to draft and sew your own tiered skirt using your hip measurement.
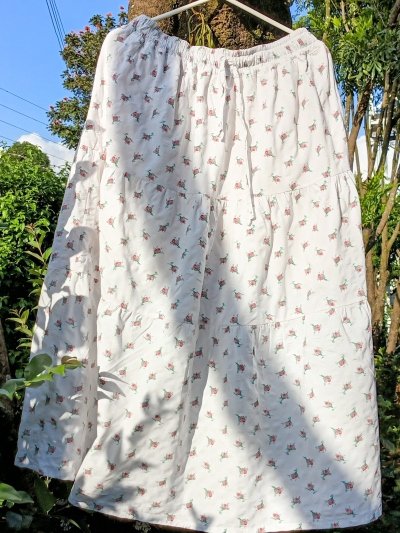
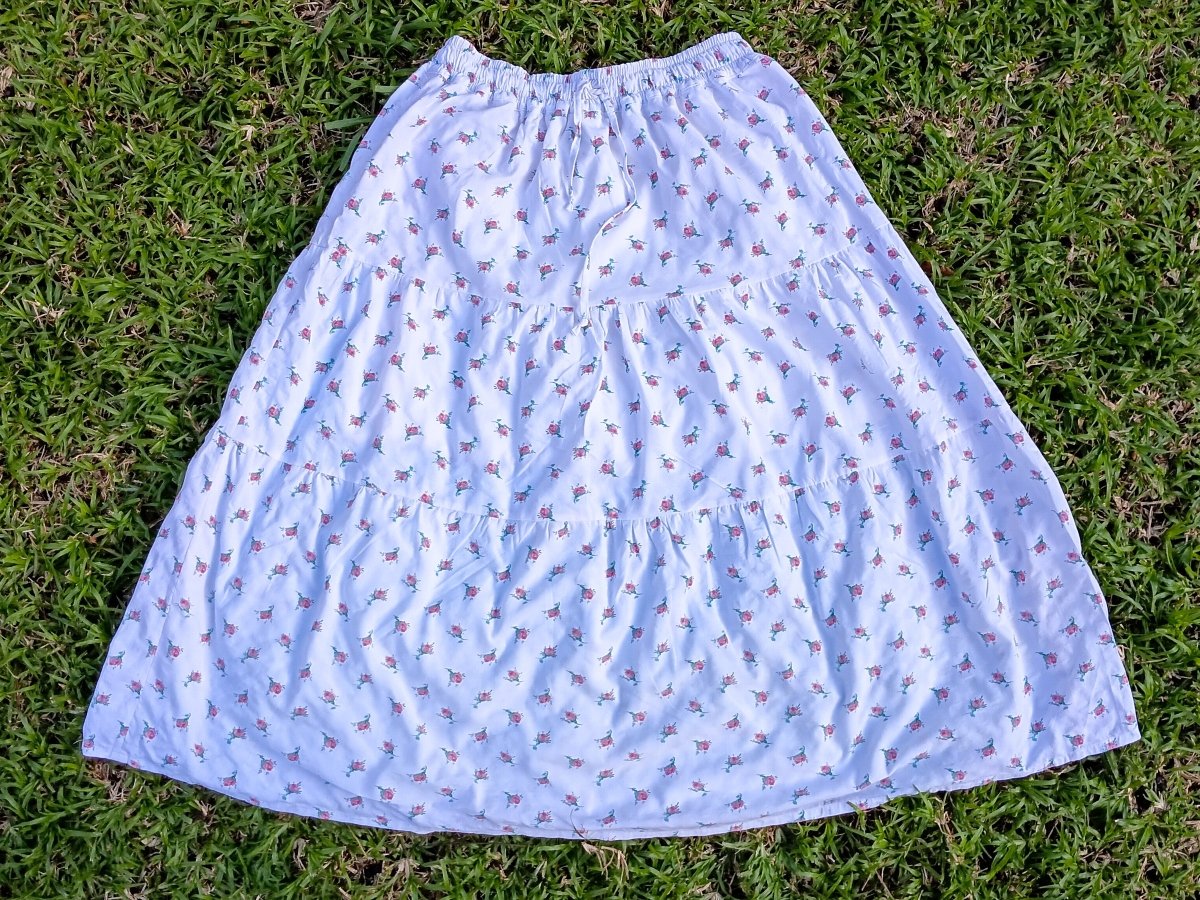
The skirt I sewed has three tiers, an elasticated waist and fabric drawstring. So if a flowy tiered skirt has been sitting on your Pinterest board for longer than you’d like to admit, this is the tutorial to finally make it happen.
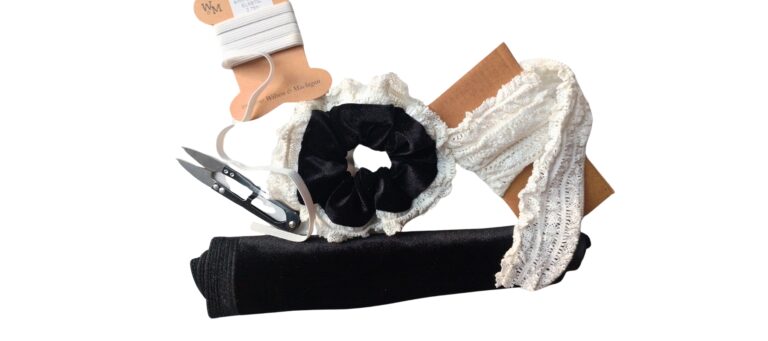
What you will need:
- 2 m or 2.25 yards of Fabric (You’ll need less if you have narrower hips)
- Wide elastic
- Fusible interfacing scraps
Drafting Your Pattern
This skirt uses your hip measurement as the main calculation because the finished skirt needs to comfortably pull over your hips without a zipper. Your waist measurement is only used later for the waistband and elastic.
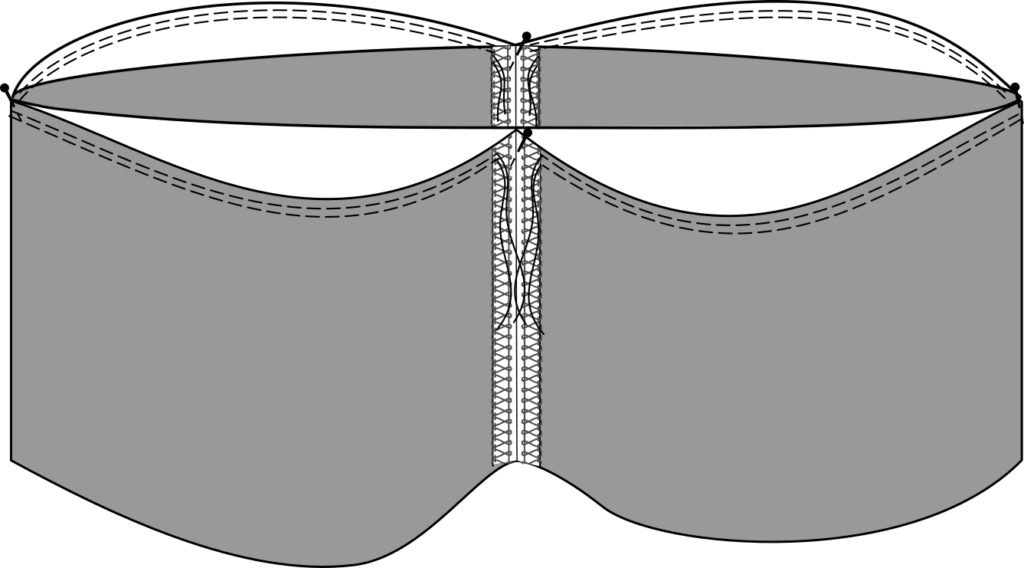
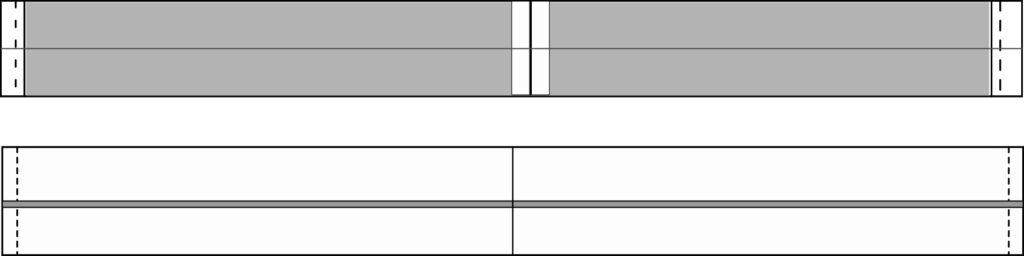
Understanding the tiered skirt diagram
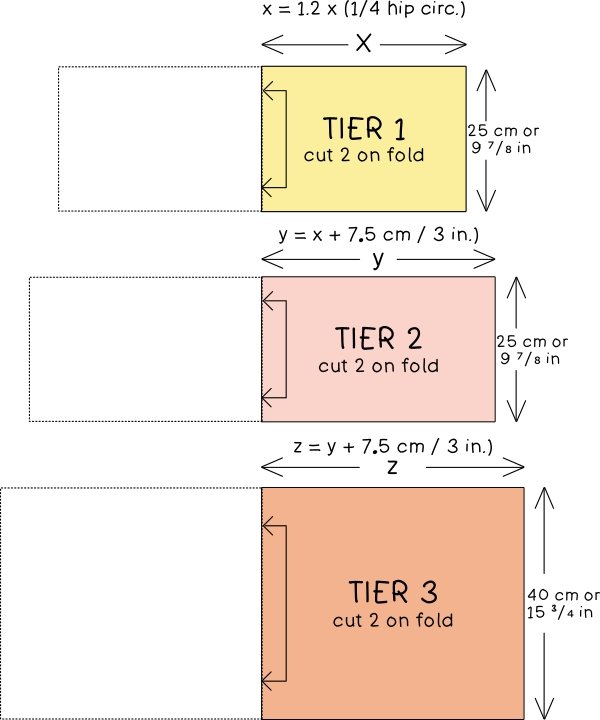
The coloured rectangles in the diagram above represent your three skirt tiers as they’d be on a quarter of your body. Each piece is cut twice on the fold. Since these are quarter pieces, they increase by 7.5 cm or about 3 in, but the entire tier, around your body, is increasing by 30 cm or about 11 3/4 in, to create sufficient gathers.
For reference, I am 5 ft 5 in and this skirt reaches my ankles. Feel free to lengthen or shorten the tiers to match your height and preferred length. The skirt tiers in the featured image increases by 20 cm per entire tier just cause I don’t like dramatic gathers. I have increased that to 30 cm per entire tier. You may increase or decrease this if you like.
Step 1: Calculating tier 1
To find the width of the first tier, x, multiply your hip measurement by 1.2 and then divide by 4.
x = (hip \times 1.2 )\div4
For example:
x=(115\space cm\times1.2)\div4=138\div4=34.5\space cm
The suggested height of the tier 2 piece is 25 cm (9¾ in). Cut 2 on fold.
Step 2: Calculating tier 2
To find the width of the second tier, y, add 5 cm or 2 in to the width of tier 1, x
y=x+7.5 \space cm \space or \space 3 \space in
For example:
y=34.5 \space cm + 7.5 \space cm=42 \space cm
The suggested height of the tier 1 piece is 25cm (9 ⁷/₈ in). Cut 2 on fold.
Step 3: Calculating tier 3
To find the width of the third tier,z, add 5 cm or 2 in to the width of tier 2, y
z=y+7.5 \space cm \space or \space 3 \space in
For example:
z=42 \space cm + 7.5 \space cm=49.5 \space cm
The suggested height of the tier 3 pattern piece is 40 cm (15 ³/₄ in). Cut 2 on fold.
Waistband Measurements

The width of the waistband is the same as that of tier one, x. Just as a reminder, multiply your hip measurement by 1.2 and then divide by 4.
The waistband height is based on your elastic width, plus a little extra ease so the elastic can move comfortably inside the waistband casing, and seam allowances at both the top and bottom edges.
\text{Waistband Height}=(\text{elastic width}+\text{wiggle allowance}+(\text{seam allowance}\space\times2))or
\text{Waistband Height}=(\text{Elastic Width}+3/8"\text{or} \space 1 \space\text{cm}+(1/2"\space \text{or}\space 1.3\space\text{cm}\times2))In my case, my elastic was 4.5 cm, so:
4.5+1+(1.3\times2)=8.1\text{cm}Using the width and height you calculated above, cut 4 on fold.
Cutting your fabric
Cut the following pieces.
- Tier 1: cut 2 on fold, width X, height 25 cm (9⅞ in)
- Tier 2: cut 2 on fold, width Y, height 25 cm (9⅞ in)
- Tier 3: cut 2 on fold, width Z, height 40 cm (15¾ in)
- Waistband: cut 4 on fold, width X, height as calculated above
When cutting each tier piece on the fold, mark a small notch at the bottom and top of the fold itself. These notches mark your center front and back and will help with gathering and waistband assembly later.
Sewing Instructions
Step 1: Sew the side seams of all three skirt tiers
Working one tier at a time, place the two pieces right sides together and pin at both short ends. Sew both side seams at 1.3 cm or ½ in seam allowance and finish the seam allowances with a zigzag, overlock stitch, or serger, and press them open.
 Tier sewn at the side seams
 Finished side seam
Repeat for all three tiers.
Step 2: Gather the Top Edge of Tier 2
Because Tier 2 is wider than Tier 1, its top edge needs to be gathered to match.

Set your stitch length to the longest setting and make sure to leave long thread tails before you start sewing. At one side seam, without backstitching, start sewing the first line of stitching about 0.6 cm or 1/4 in away from the top edge of tier 2 and stop at the other side seam. Leave long thread tails and snip your thread without backstitching.
Now sew again from the side seam you stopped at, back to the first side seam to finish the first line of basting stitches. Again, leave long thread tails and do not backstitch. Add a second row of basting stitches at about 0.3 cm (⅛ in) away from the first line, just as you did the first row.
By sewing each row in two passes rather than in one continuous circle, we’re making it a lot easier to gather the fabric to match tier 1
Step 3: Attach Tier 2 to Tier 1
With right sides facing place the top edge of tier 2 and the bottom edge of tier 1 together and match and pin the following reference points: center back, center front and side seams This divides the skirt into four equal sections and means you only need to gather each section of tier 2 to fit the tier 1 section above it at a time.
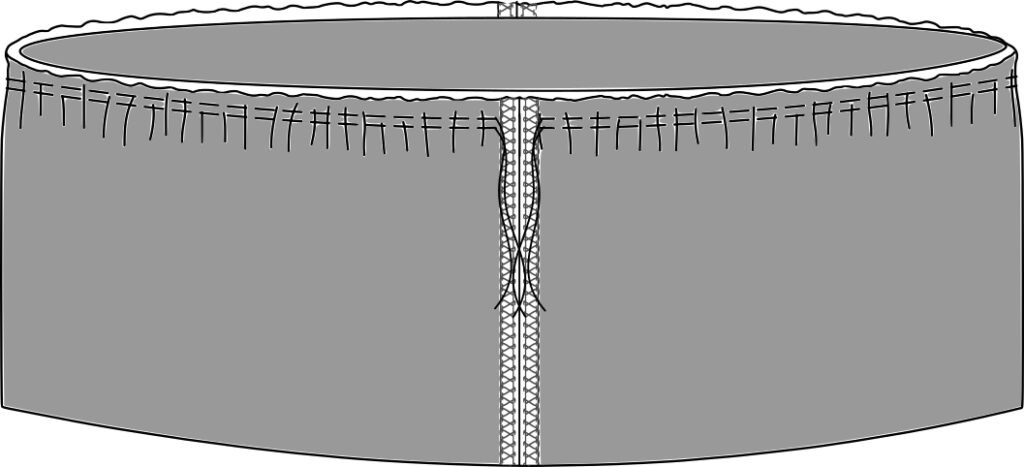
Working within each pinned section, hold both bobbin thread tails and pull gently while easing the fabric along the threads with your other hand, until the gathered edge fills the space evenly between the pins. Repeat for all four sections, then distribute any remaining unevenness by spreading the gathers with your fingers.
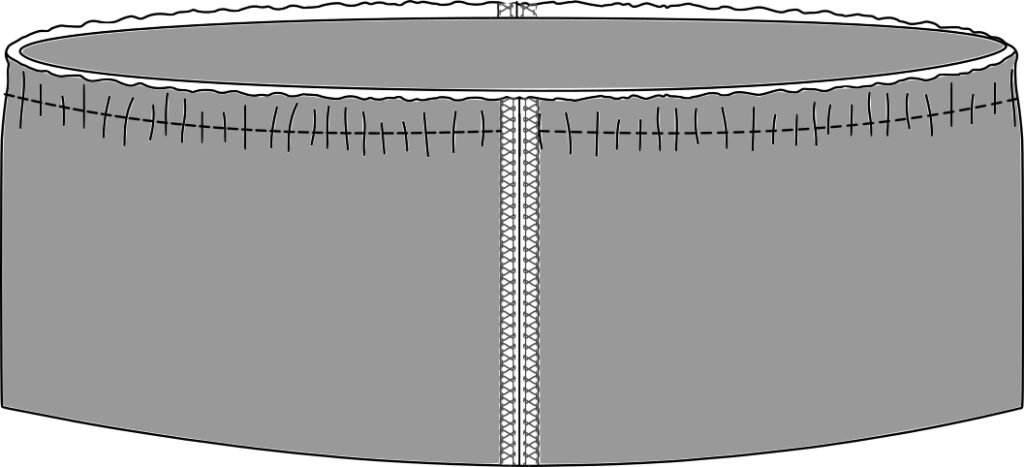
Sew at ½ in (1.3 cm) seam allowance. You may now remove the basting stitches and finish the seam however you like. Press the seam allowance downwards when done
Step 4: Gather and Attach Tier 3
Repeat Steps 2 and 3 exactly for Tier 3. Baste the top edge of Tier 3, gather it to match the bottom edge of Tier 2, then pin and sew at ½ in seam allowance. Finish the seam allowance and press it upward.
Your skirt body is now complete.
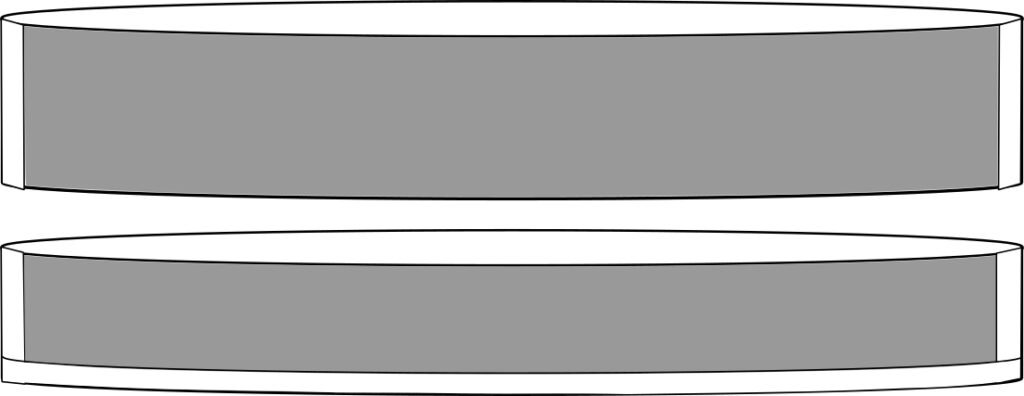
Step 5: Assemble the Waistband
You have four identical waistband pieces, two of which are the outer waistband and the other two, inner waistbands. Repeat for the other two.
Place two of waistband pieces right sides together and sew both short ends to form a complete loop. Press the seams open.
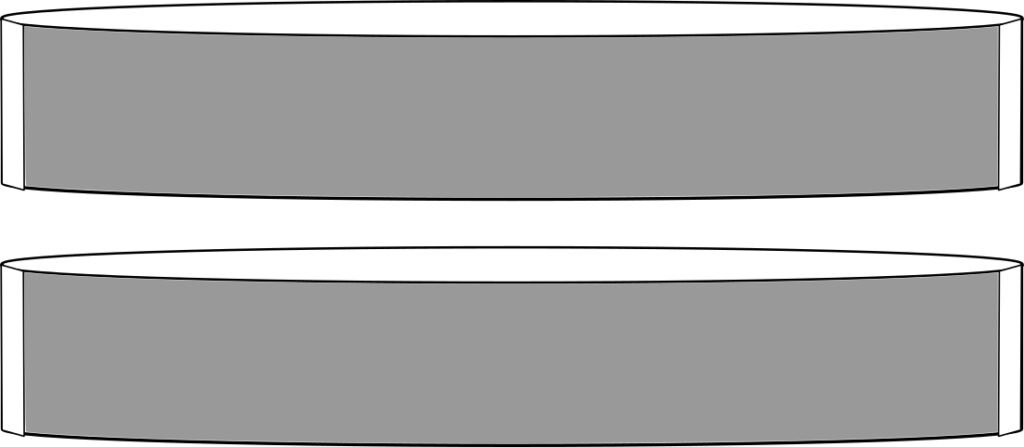
On the one of the assembled waistbands, fold one long raw edge to the wrong side by a scant ½ in or 1.3 cm all the way around the circumference of the waistband and press. This is now your inner waistband. The remaining waistband is your outer waistband.
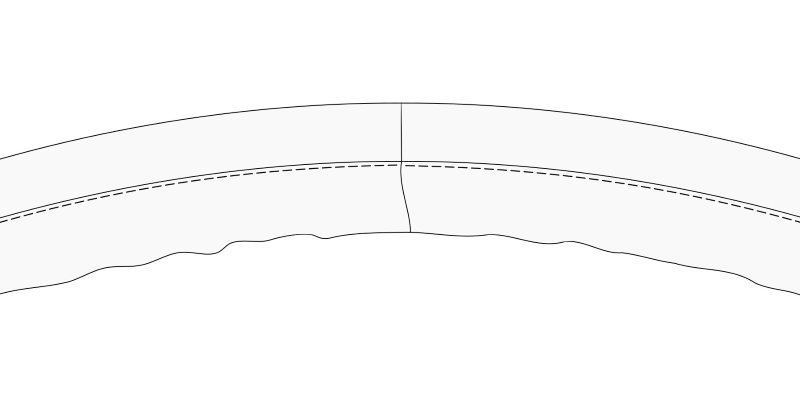
With right sides together, align the unfolded long edge of the inner waistband with one long edge of the outer waistband. Sew all the way around at 1.3 cm or ½ in seam allowance. Understitch the seam allowance to the inner waistband.

Understitch: open the inner waistband away from the outer, press the seam allowance toward the inner, and sew a line of stitching on the inner waistband and seam allowance, about 2 mm from the seam).
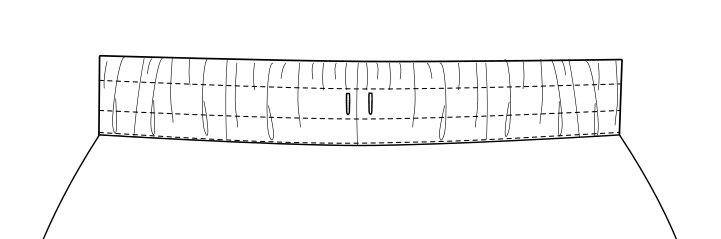
Step 6: Mark and Sew the Buttonholes
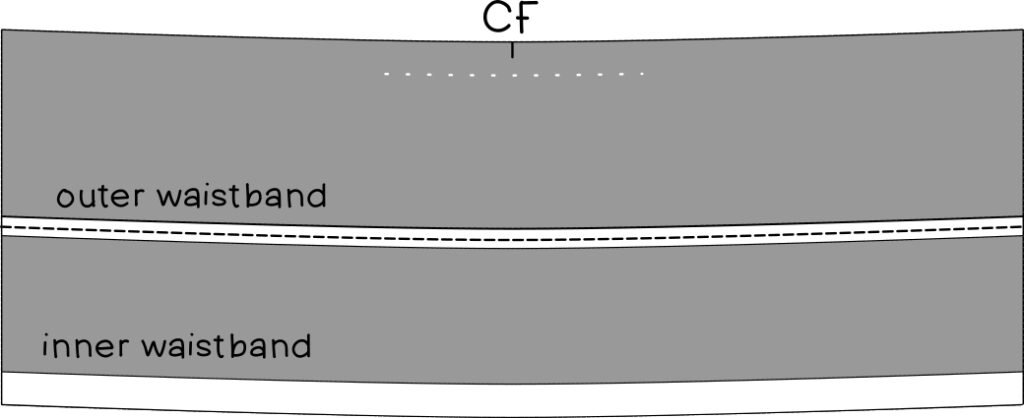
To position the buttonholes, first mark a short line ½ in (1.3 cm) up from the raw edge of the outer waistband on the wrong side to represent the skirt seam allowance. You’re just doing this near the the center front region.
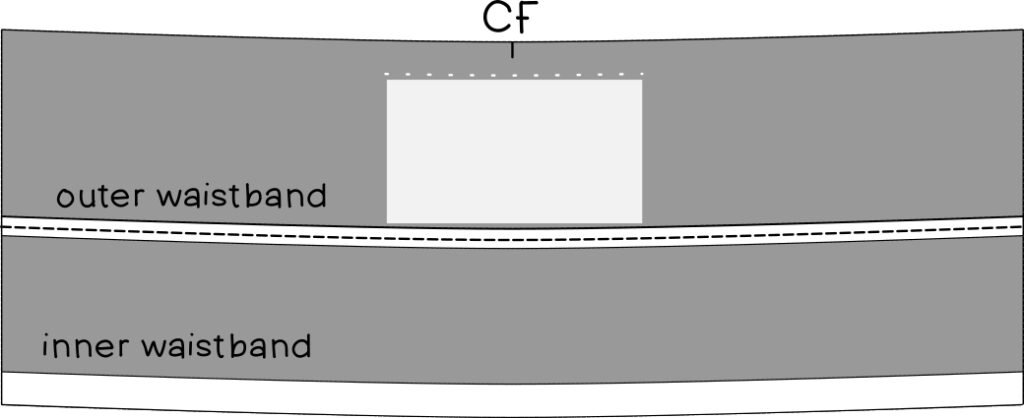
Apply a rectangle of fusible interfacing approximately 5 cm (2 in) wide below this marking, and center it on the CF notch.

Mark two buttonhole positions approximately 0.6 cm or ¼ in on either side of the CF mark. For a wide elastic waistband like this mine, divide the visible waistband height into three equal sections and position the buttonholes within the middle section. If you are using narrower elastic, place the buttonholes in the vertical centre of the visible waistband height.
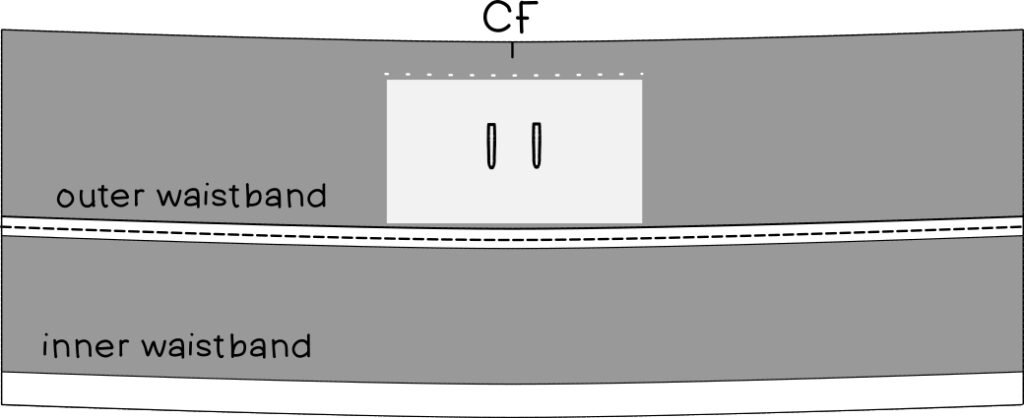
Sew the buttonholes and open them carefully using an appropriate tool.
Step 7: Attach the Waistband to the Skirt
With right sides together, pin the outer waistband to the top of the skirt body, matching the waistband seams to the skirt side seams and the CF and CB notches. Sew all the way around at 1.3 cm or ½ in seam allowance. Press the seam allowance toward the waistband.
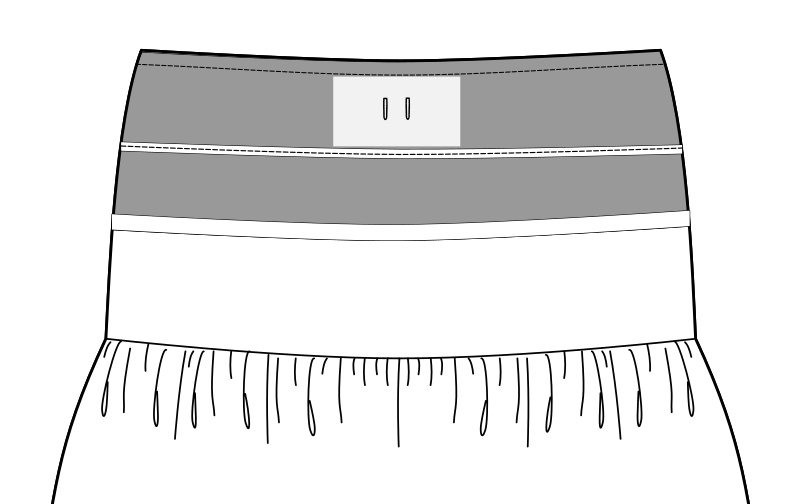
Waistband and skirt sewed together 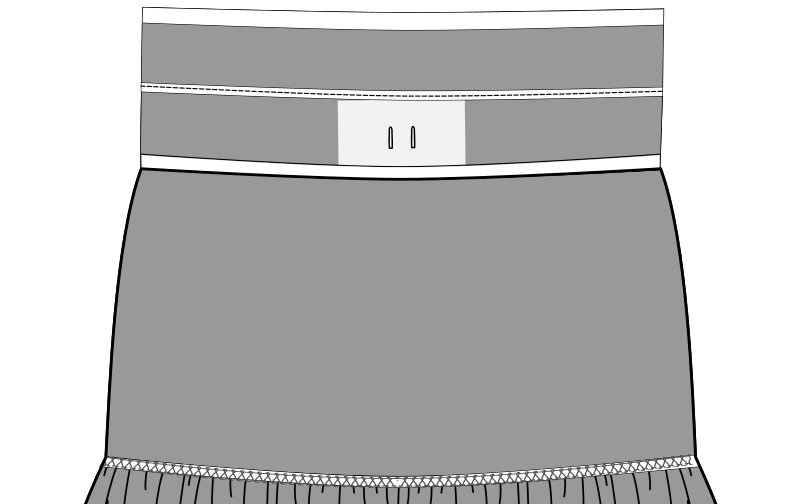
Wrong side view after sewing
Fold the inner waistband to the inside of the skirt. The pre-folded bottom edge of the inner waistband should just cover the seam line. Pin in place.
Sew the inner waistband down from the outer waistband right side by stitching if you are confident, or by sewing just above the existing seam line, catching the folded edge of the inner waistband on the inside as you go. Leave a gap of about 5 cm or 2 as an opening to insert the elastic.
Step 8: Insert the Elastic

Cut your elastic to approximately 95% of your waist measurement Before committing to this measurement, wrap the elastic around your waist and secure it with a pin to check the fit. It should feel snug but not tight, and you should be able to pull the skirt comfortably over your hips. Adjust it if you need to.
Attach a bodkin or a safety pin to one end of the elastic and feed it carefully through the gap you left in the waistband earlier. Guide the elastic all the way around the waistband and out through the same gap. Take care not to let the elastic twist as you go.
Pin the two ends of the elastic together and try the waistband on once more for a final fit check. When you are happy, overlap the elastic ends by 1.3 cm or ½ in and sew them together with a small rectangle of stitching, going back and forth several times.
Pull the waistband gently all the way around to distribute the gathers evenly. Close the gap by continuing the stitching line you left open. Make sure not to catch the elastic as you sew.
Step 9: Topstitch the Waistband
From the right side, topstitch the waistband with one line of stitching above the buttonholes and one just below. Use a slightly longer stitch length (3-3.5 mm) and stretch the waistband gently and evenly as you sew around the full circumference. These two lines create a channel for the drawstring.
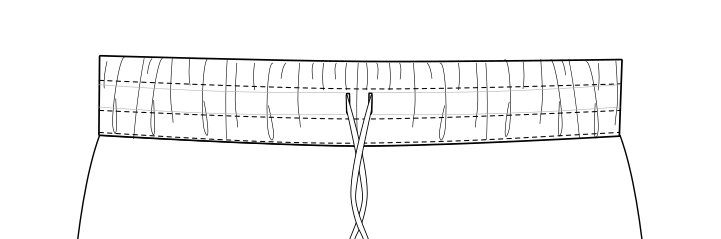
Step 10: Make and Insert the Drawstring
For your drawstring you need a total drawstring length of approximately 1.5 times your hip circumference. To cut this more efficiently, divide that total length by 4 and cut 2 pieces on the fold that are 3.6 cm or 1⅜ in wide.

Place the two strips right sides together and sew one short end at 1.3 cm or ½ in seam allowance. On the two remaining short raw ends, fold the raw edge to the wrong side by ¼ in (0.6 cm) and press then topstitch near the fold.
Fold the entire strip in half lengthwise and press to set a centre crease. Open it back out. Fold each long raw edge in to meet the centre crease and press. Fold the strip in half again along the original crease so the two folded edge are on top of each other.

Press the strip and sew along the along and close to the long edge to secure the layers together. Your drawstring is done.
Attach a bodkin or safety pin to one end of the drawstring. Feed it through one buttonhole, all the way around inside the drawstring channel, and back out through the other buttonhole. Pull both ends so they are an even length on either side of the centre front. You may knot the ends of the drawstring if you wish.
Step 11: Hem
Fold the bottom raw edge of Tier 3 onto the wrong side by0.6 cm or ¼ in and press. Fold up again by 1.3 cm or ½ in and press again. Topstitch close to the folded edge all the way around.

Your skirt is now complete! Happy sewing. If you’d like more sewing tutorials, check out my circle skirt resource page that features 2 free patterns.